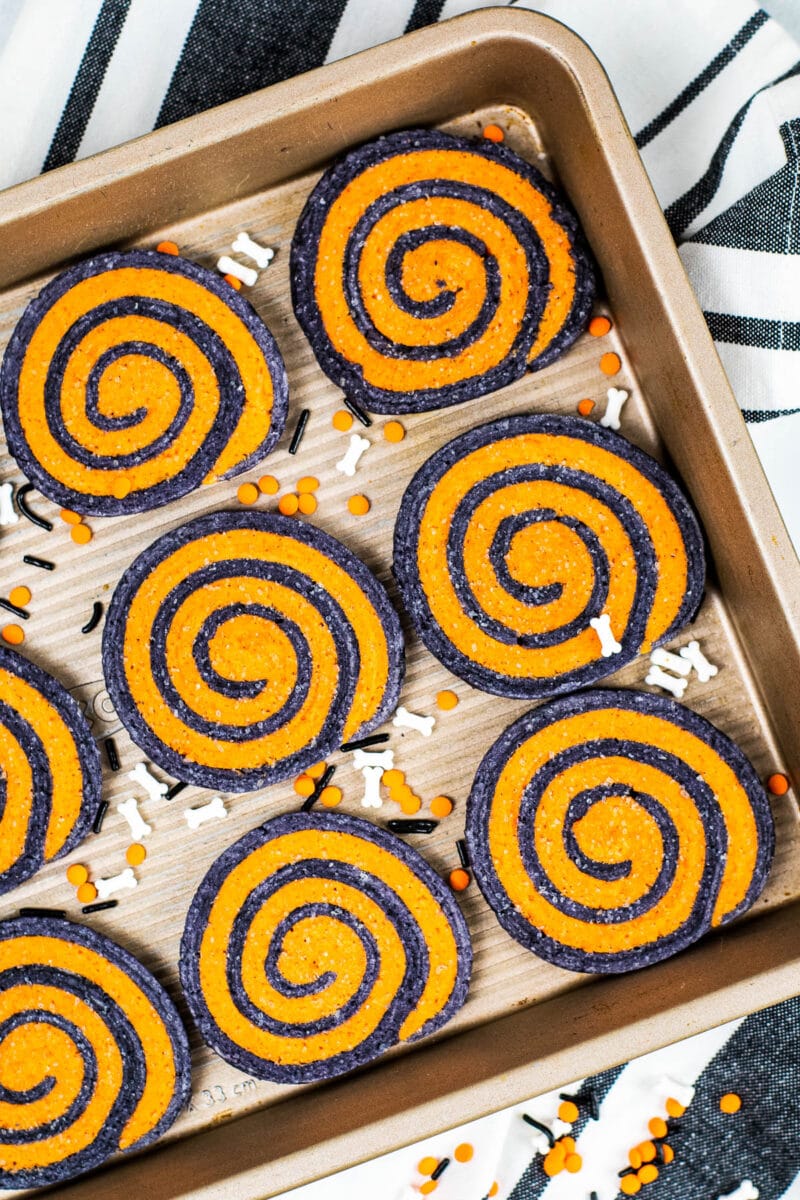
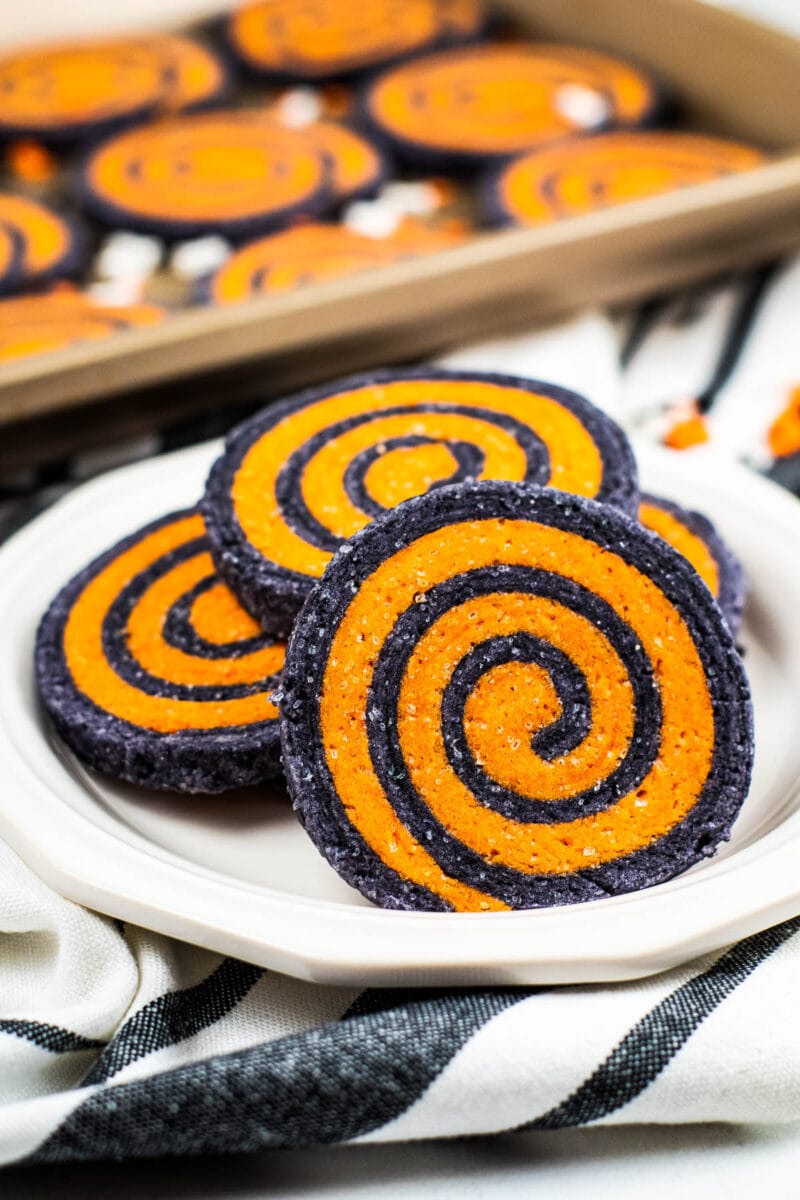
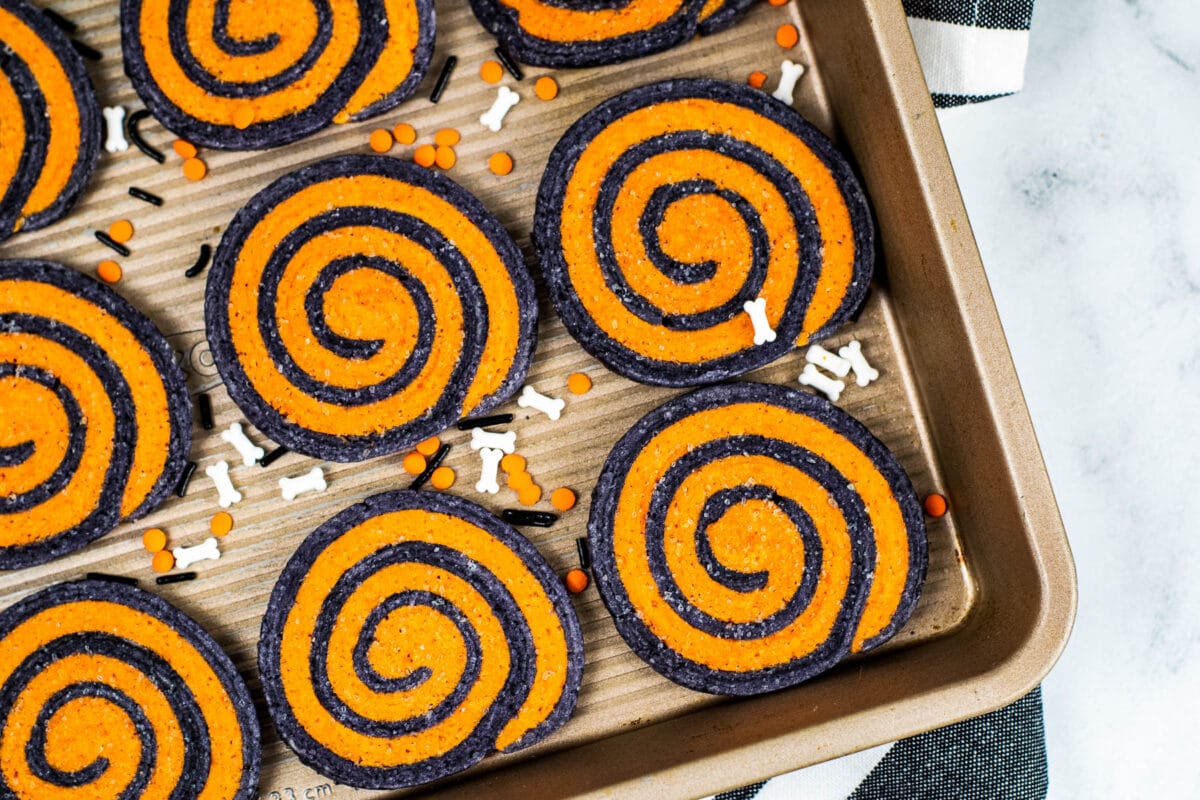
Looking for colorful cookies for your Halloween fun? Try these Halloween Pinwheel Cookies. These delicious cookies feature black and orange swirls of color!
When it comes to Halloween, I prefer cute treats, not gruesome ones. Cupcakes with dripping fake blood are not my thing! These swirl cookies are perfect because they are clearly Halloween-themed but aren’t spooky or creepy.
These taste like sugar cookies, just made into layers rolled for an easy seasonal snack. Bring them to school for classroom treats, a Halloween party, or a fun family dessert. Making pinwheel cookies is a great way to get fabulous cookies even if you, like me, don’t excel at cookie decorating!
Looking for more Halloween dessert recipes? Try Candy Corn Cookies, Oreo Mummies, and Halloween Dirt Cups!
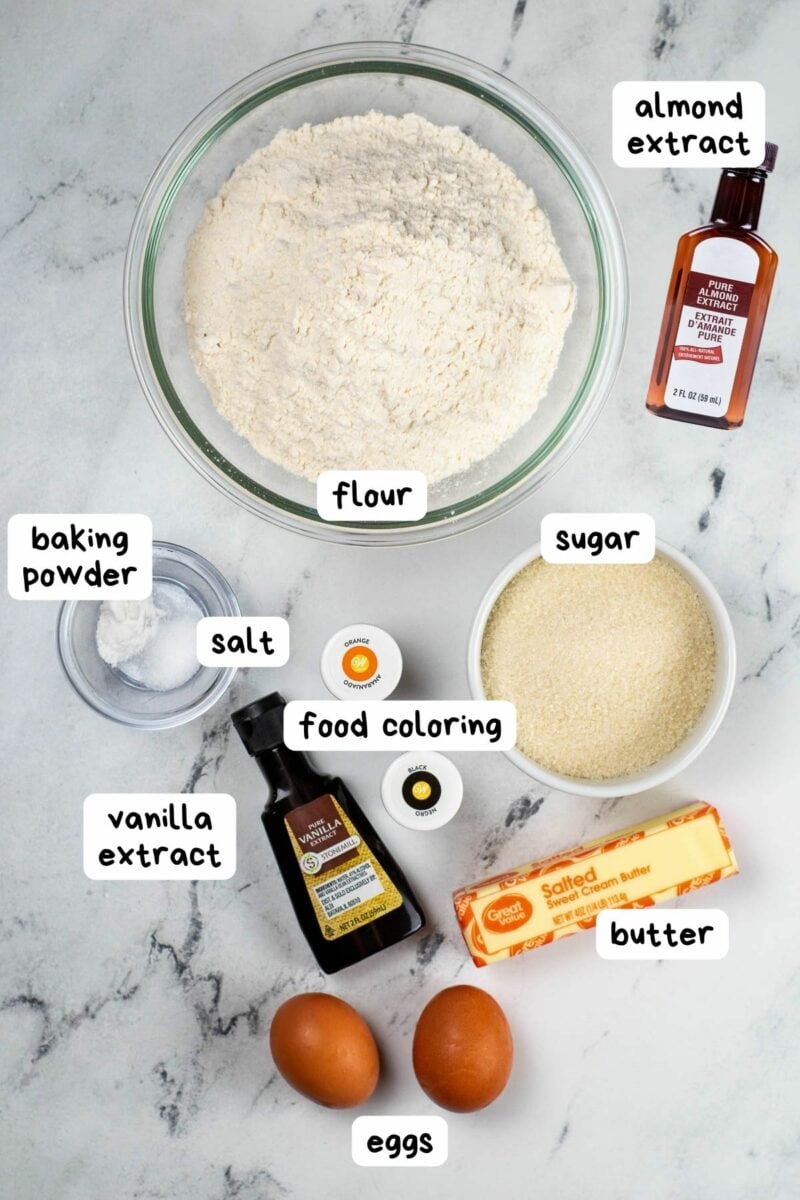
🎃Key Ingredients
For exact amounts needed see the recipe card below
Almond extract – Use vanilla extract if you don’t have almond extract, but it adds a nice flavor to these fun treats.
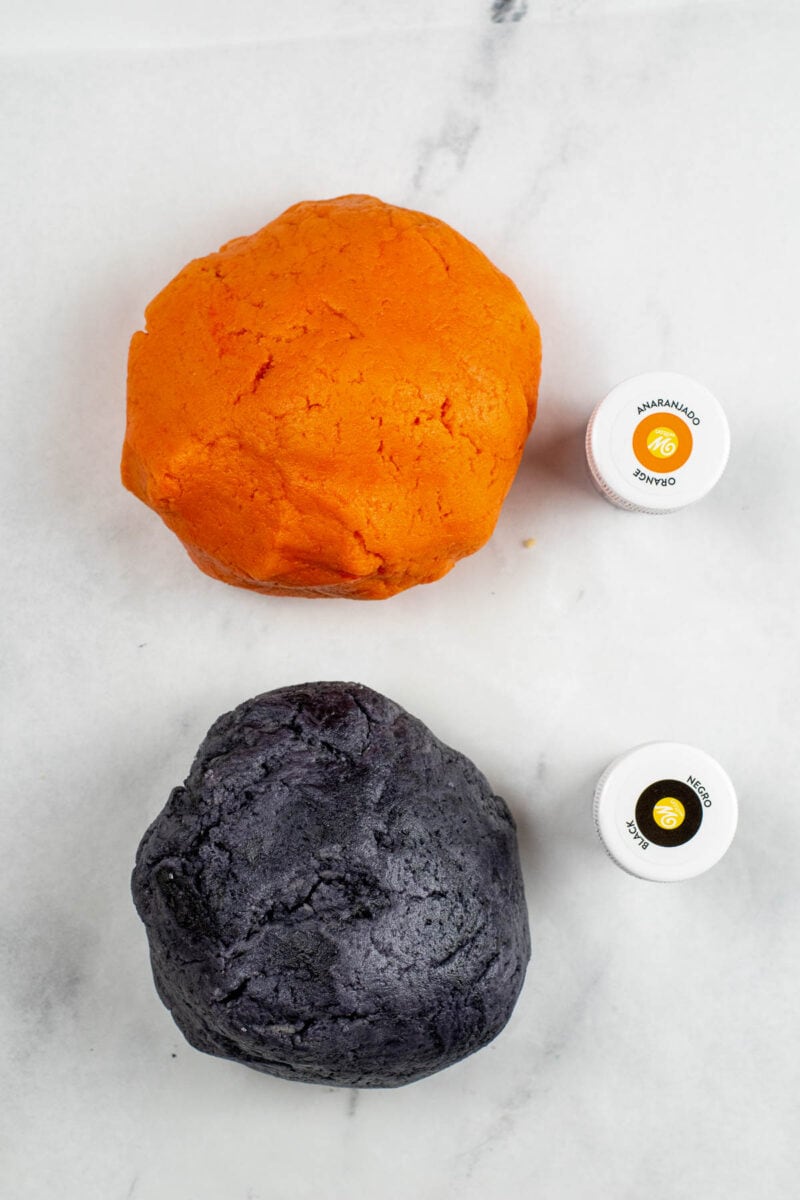
Gel food coloring – Gel food coloring is much more vibrant than standard liquid colors. In addition, it would be challenging to get black dough without gel colors! If you don’t have black food coloring, try dark purple gel food coloring instead. Or use orange and yellow food coloring for candy corn colors.
The remaining ingredients are basic sugar cookie ingredients, including butter, white sugar, eggs, vanilla extract, salt, baking powder, and flour.
🥣How to Make Halloween Pinwheel Cookies
1. Make the Dough
Use an electric mixer to cream butter and sugar in a mixer bowl. Once well mixed, add the egg, almond extract, and vanilla extract. Combine until everything is light and fluffy.
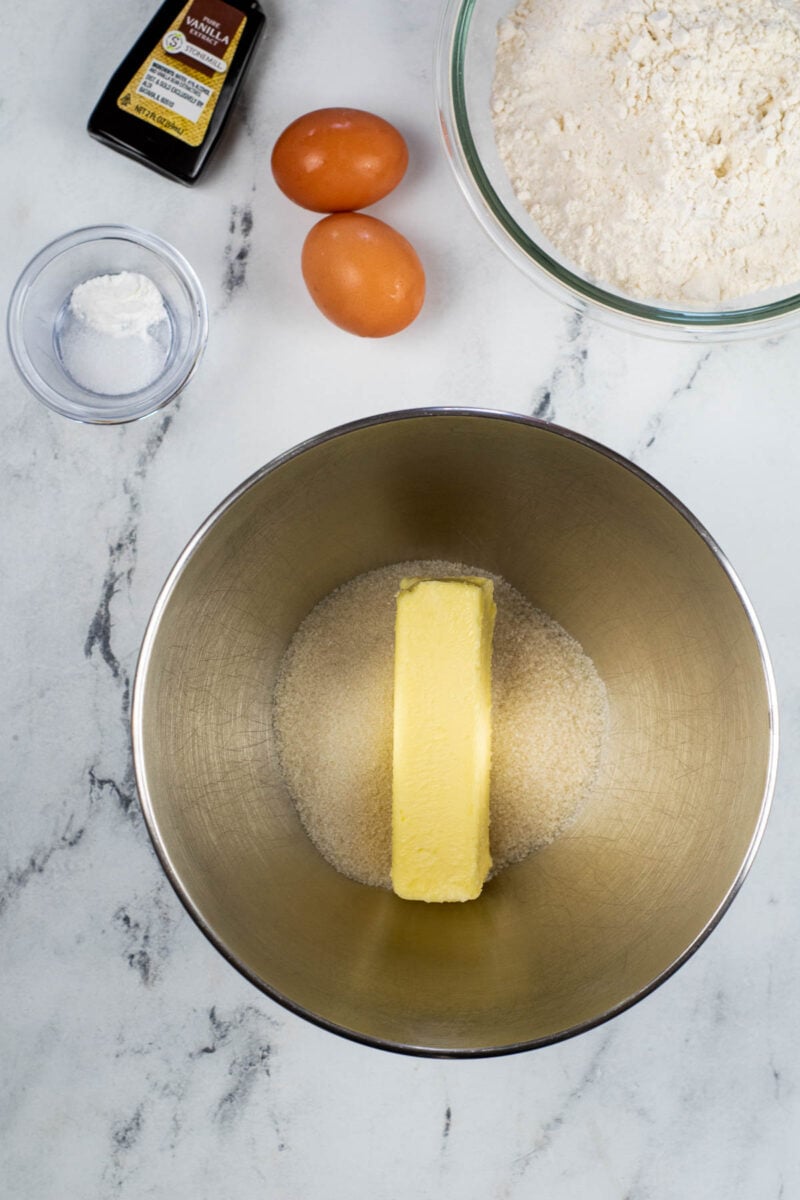
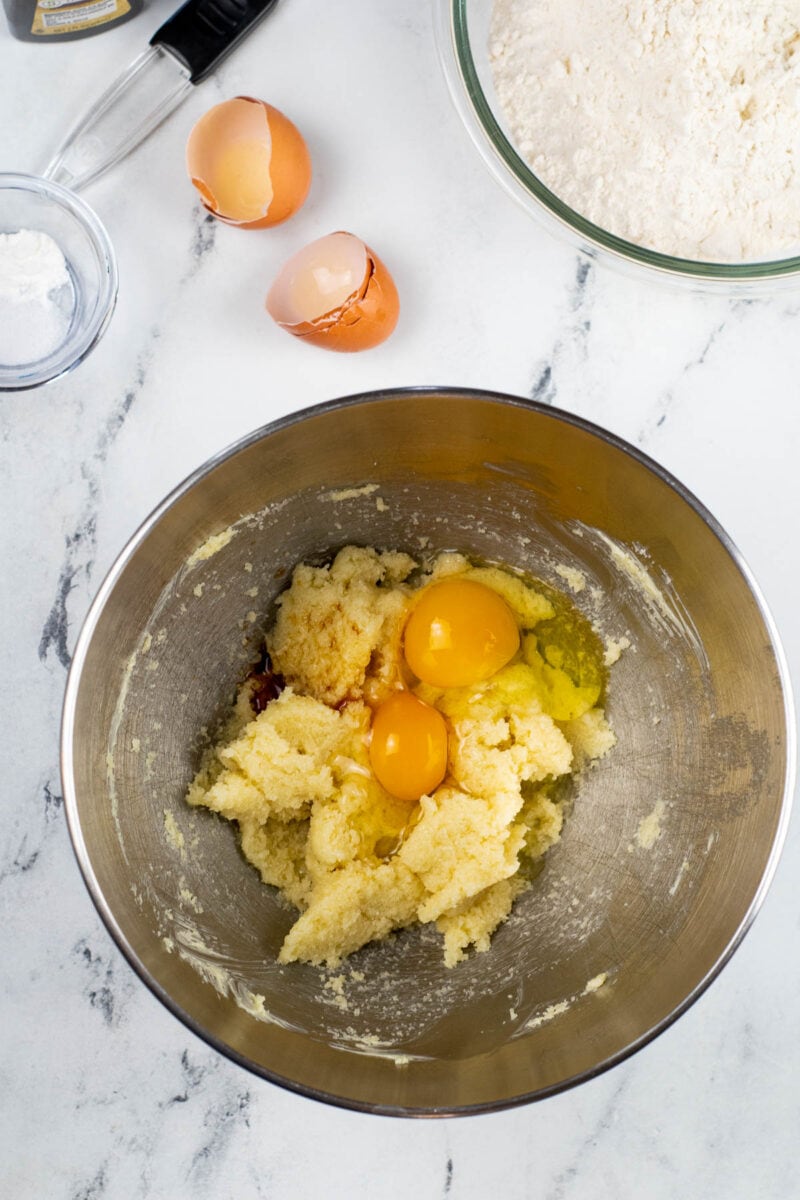
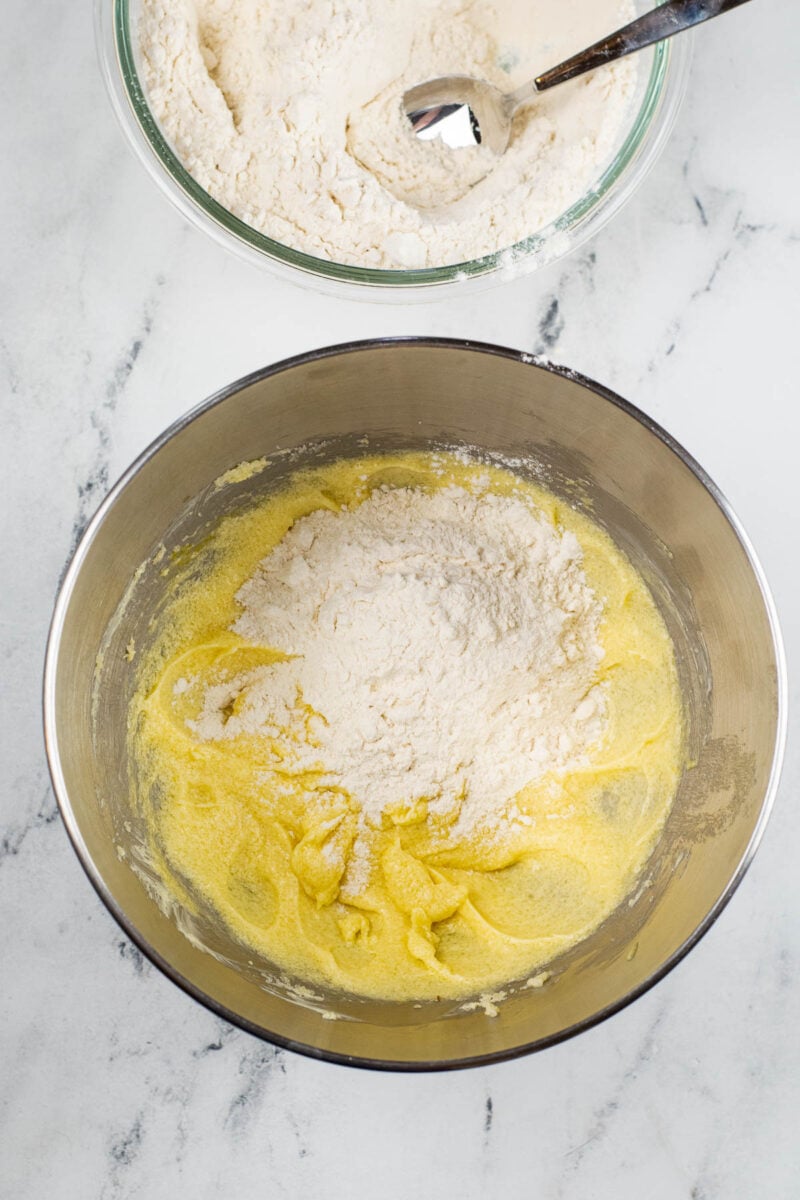
Whisk the flour, baking powder, and salt in a separate bowl. Then add the flour mixture to the wet ingredients, about 1/3 at a time. Mix well after each addition.
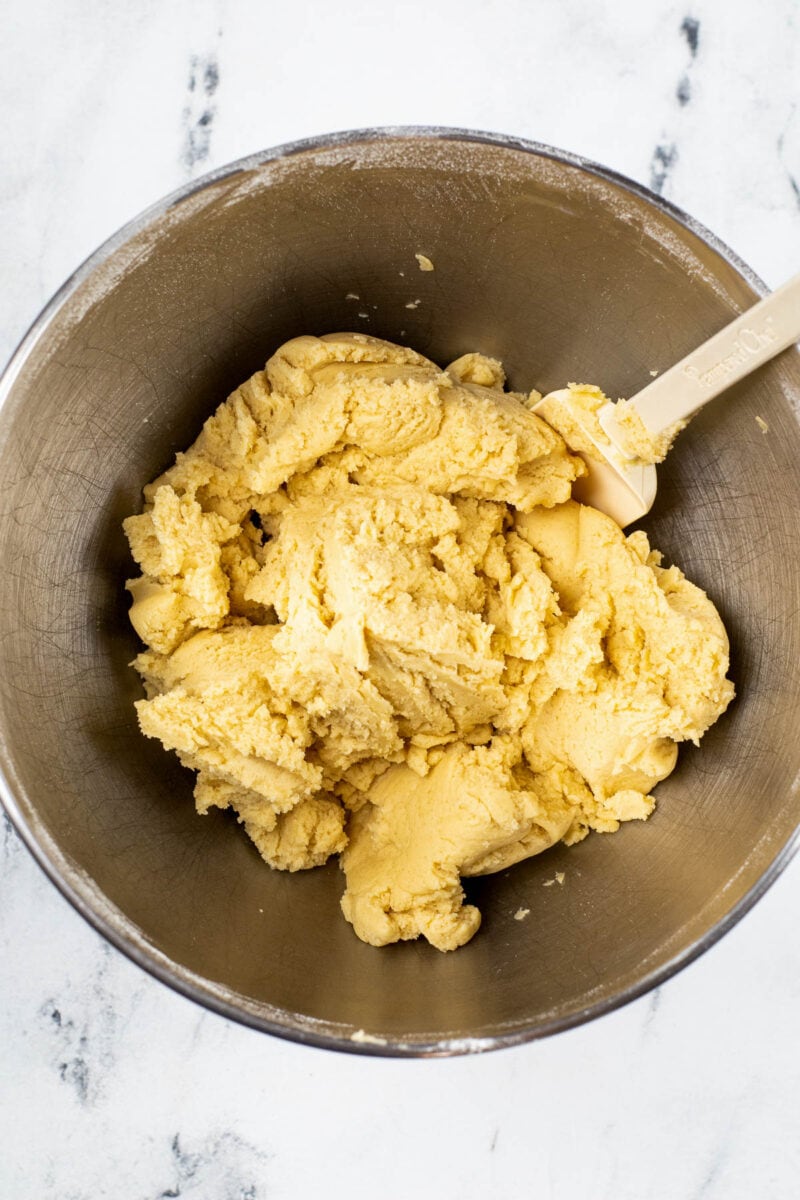
2. Make Layers
Divide the cookie dough in half. Use gel food coloring to color one half orange and one half black. Knead the dough pieces to mix until the color is well distributed.
Put each half of the colored dough onto wax or parchment paper pieces. Use a rolling pin to flatten each part separately into a rectangle about 9 x 15 inches.
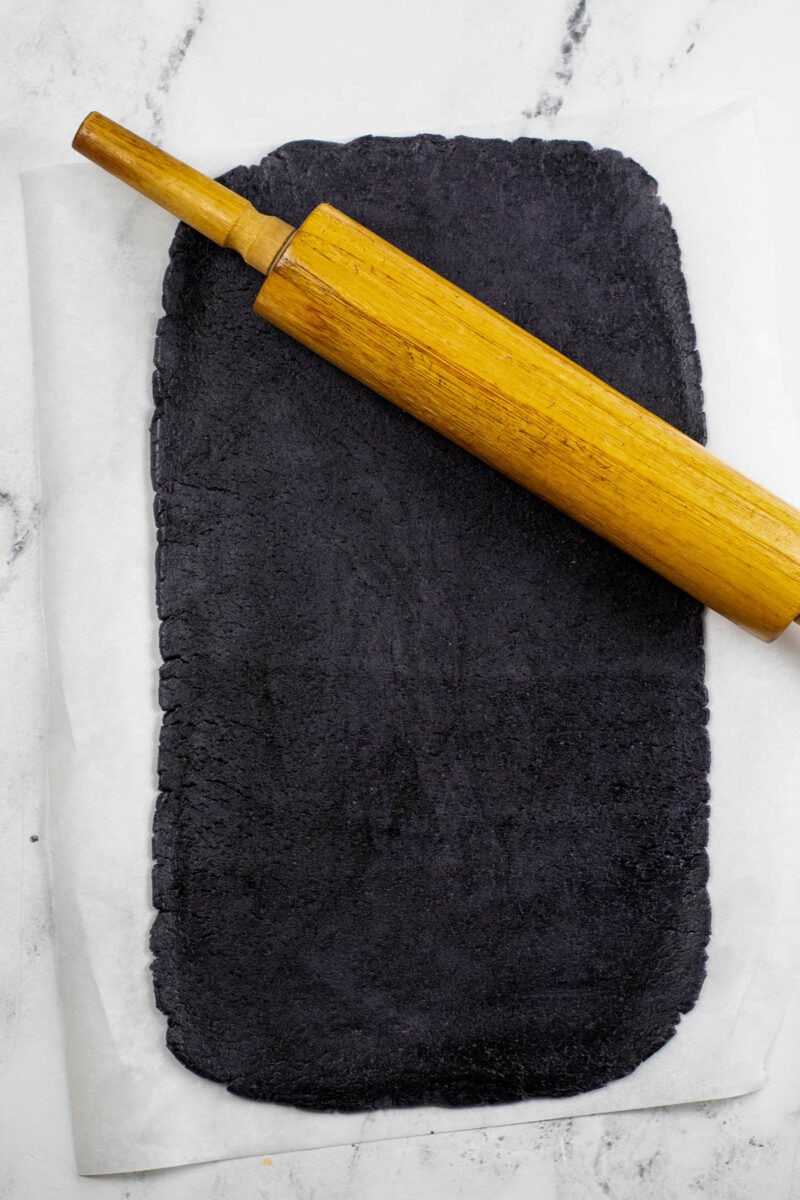
Place the flattened pieces in the refrigerator. You can stack them if you need to make them fit, but make sure the parchment paper stays between the layers. Do not combine the colors yet. Chill for about 20 minutes.
3. Roll the Dough
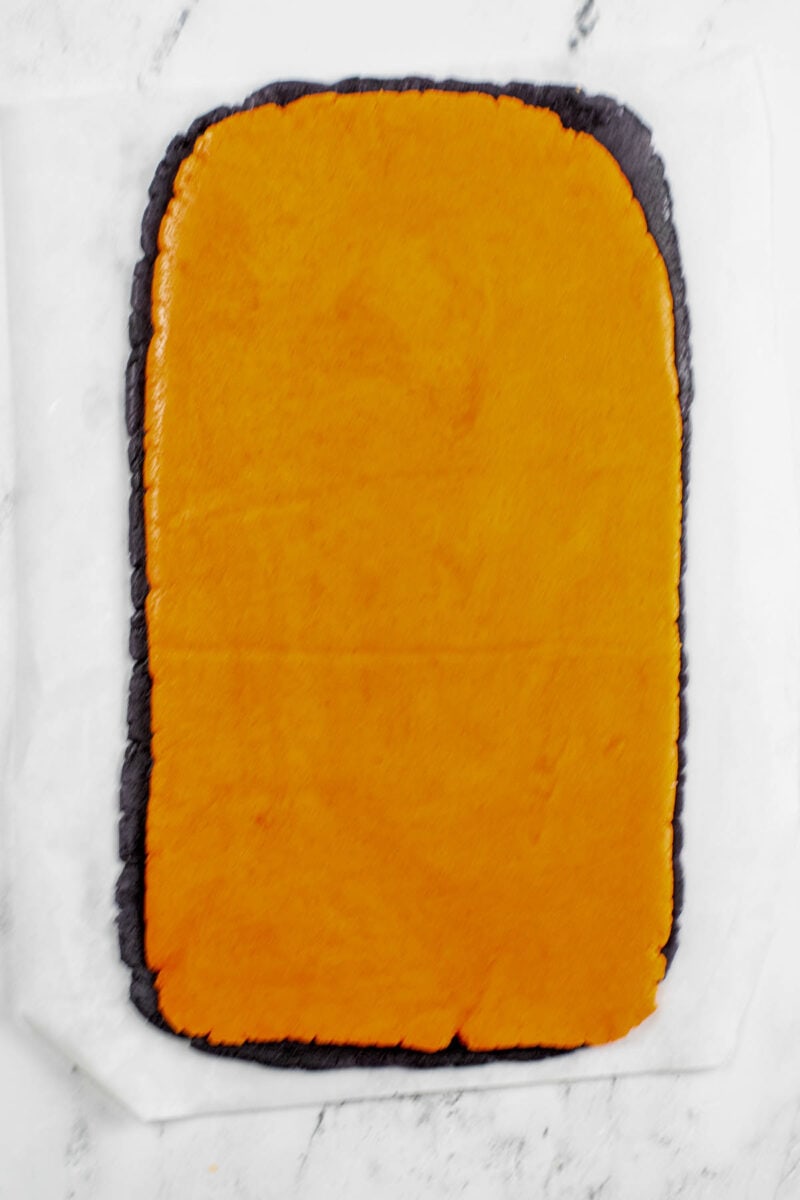
Place the black rectangle on a cutting board. Then place the orange one on top, this time with the parchment paper side up, so the rectangles are combined. Line up the edges as well as you can.
Slowly peel the parchment paper off the orange layer. Trim the edge of the layers with a pizza cutter or sharp knife to form a rectangle.
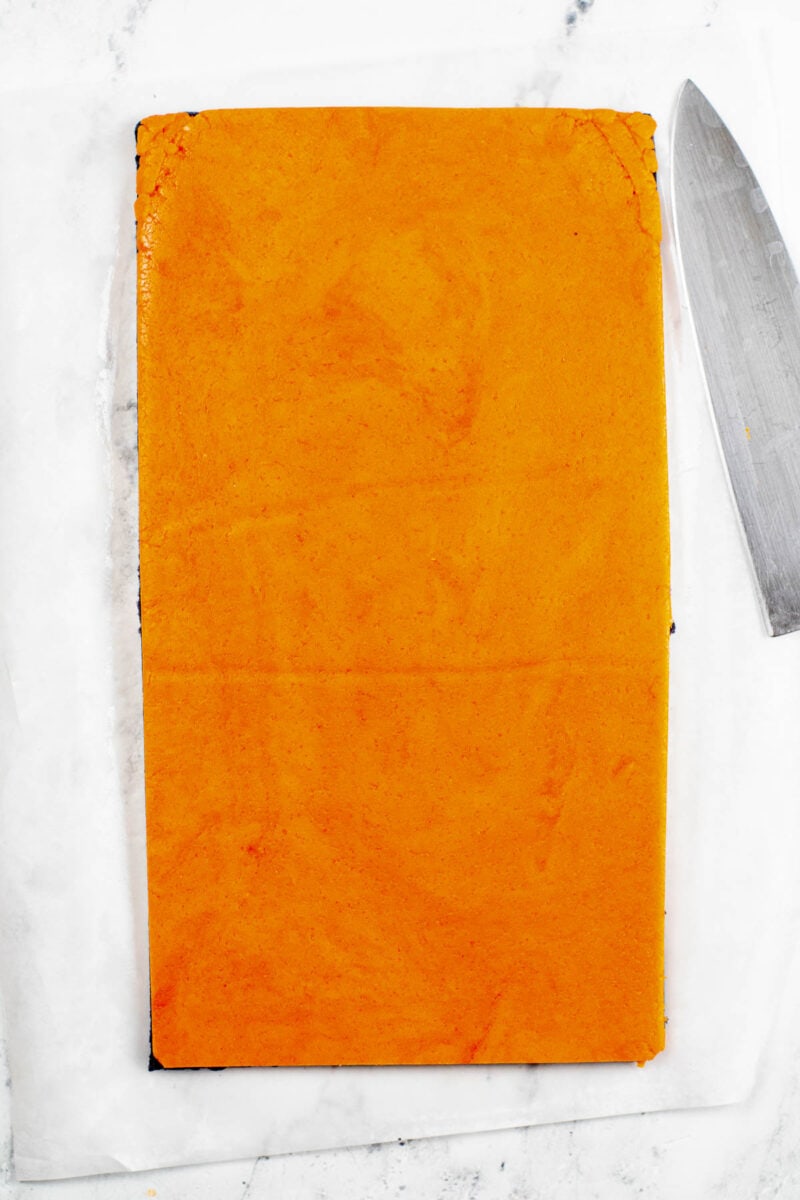
Roll up the layers from the short end. Roll slowly and carefully, and use the parchment paper to help. Add a little pressure as you roll, so the layers stick together.
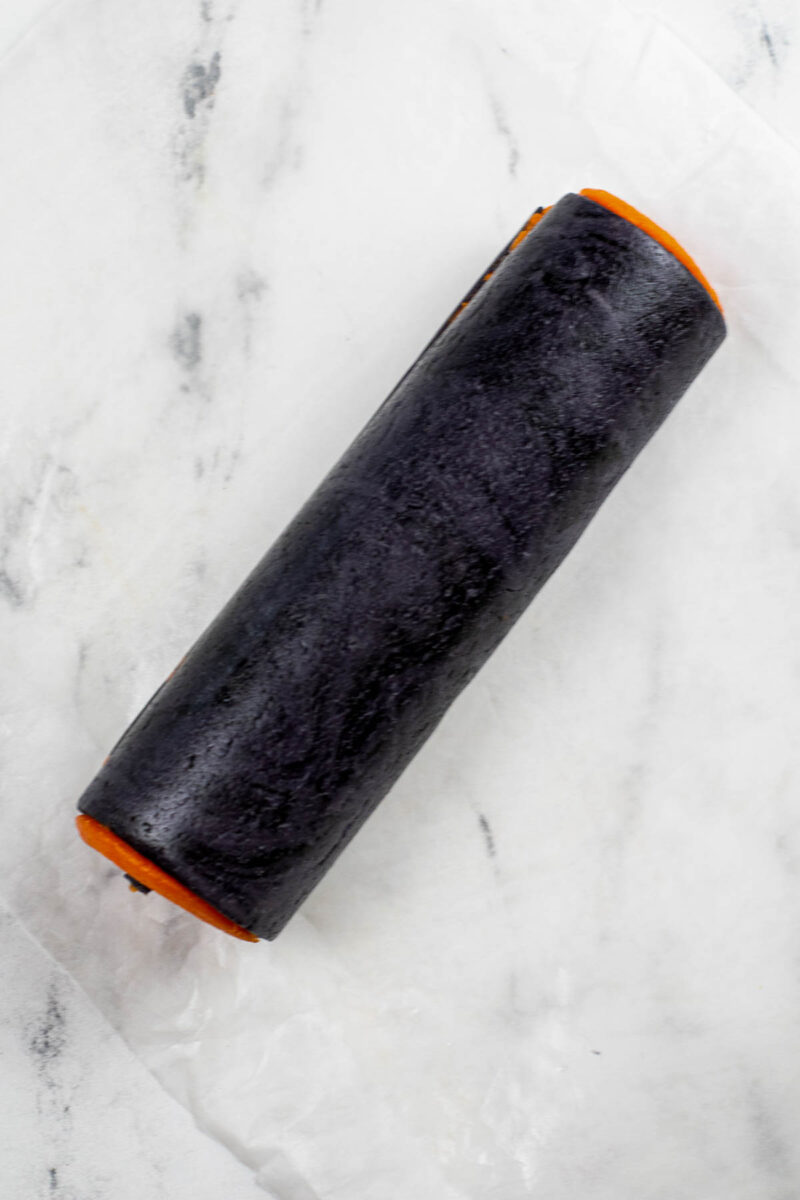
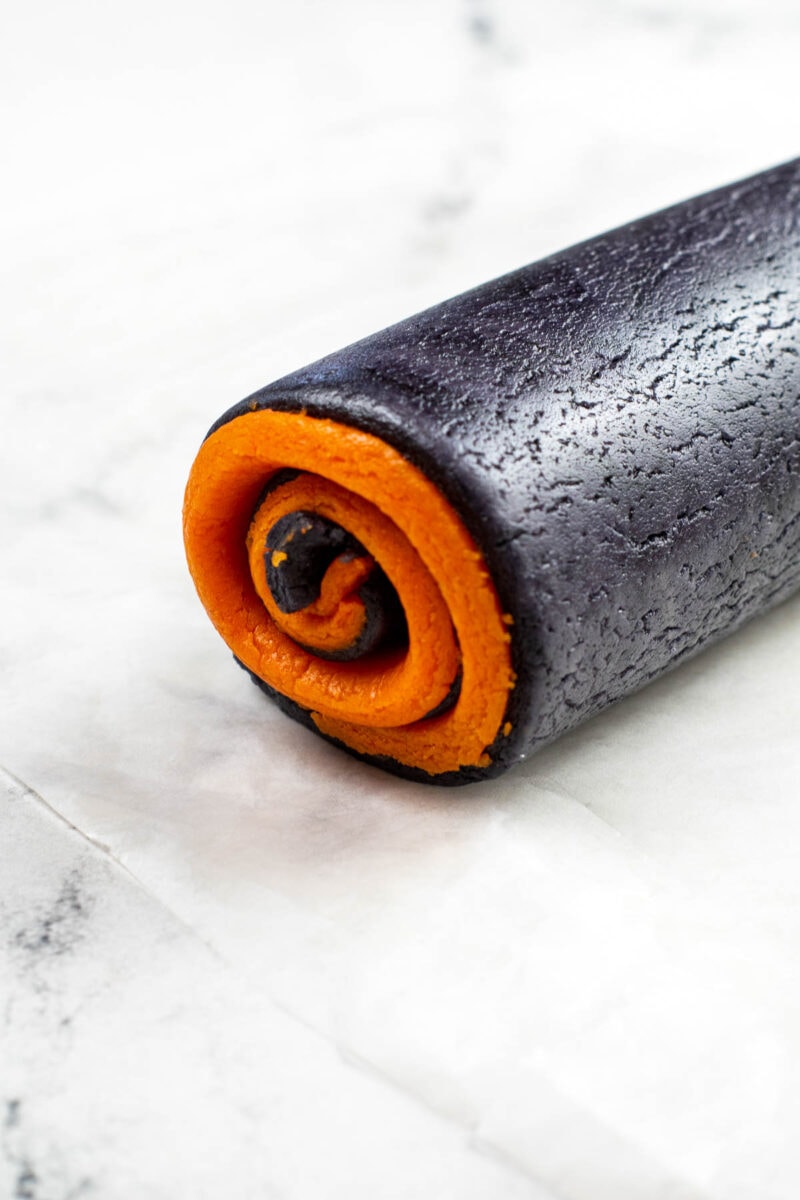
Wrap the rolled-up dough in parchment paper or plastic wrap and put it in the refrigerator for at least 2 hours to chill. You can keep the dough log in the fridge for 1-2 days if you want to make it in advance. But don’t try to skip the chilling step!
4. Slice and Bake
Once the chilling time is done, preheat the oven to 350 degrees F. Then using a sharp knife, slice dough into ¼-inch slices. Place each slice on a baking tray lined with parchment paper.
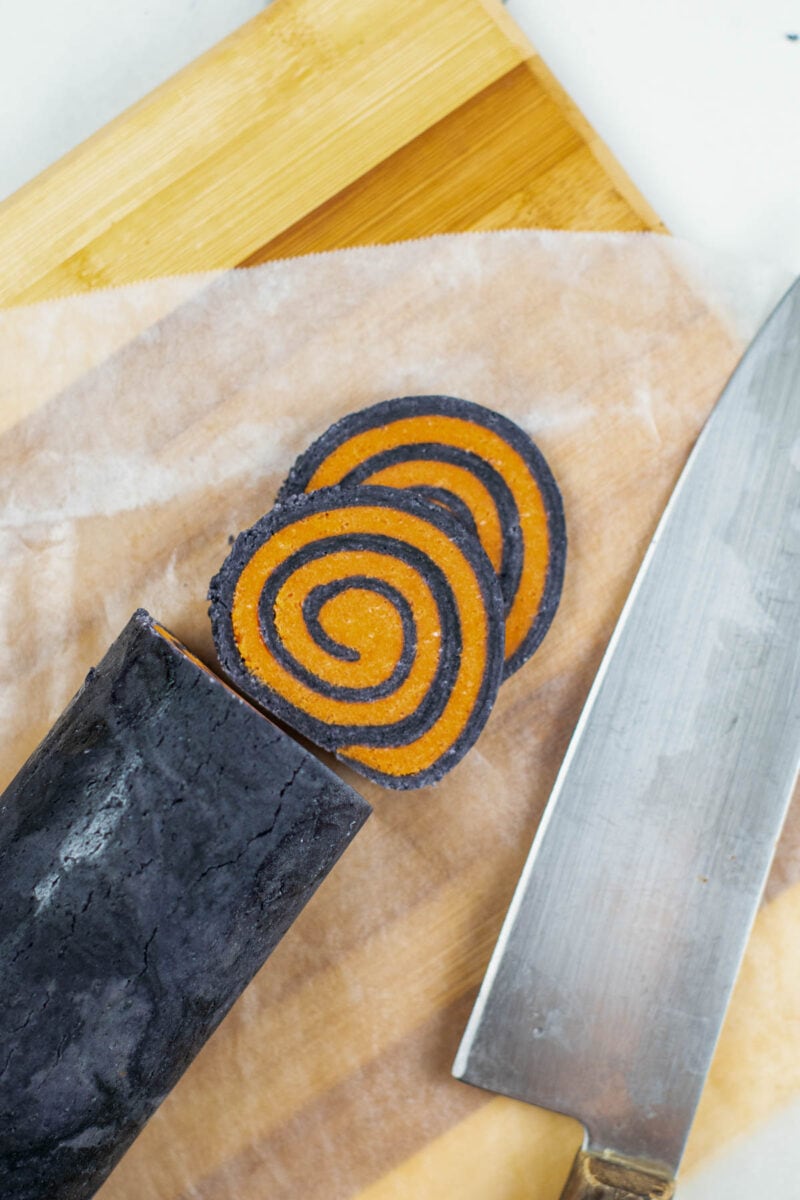
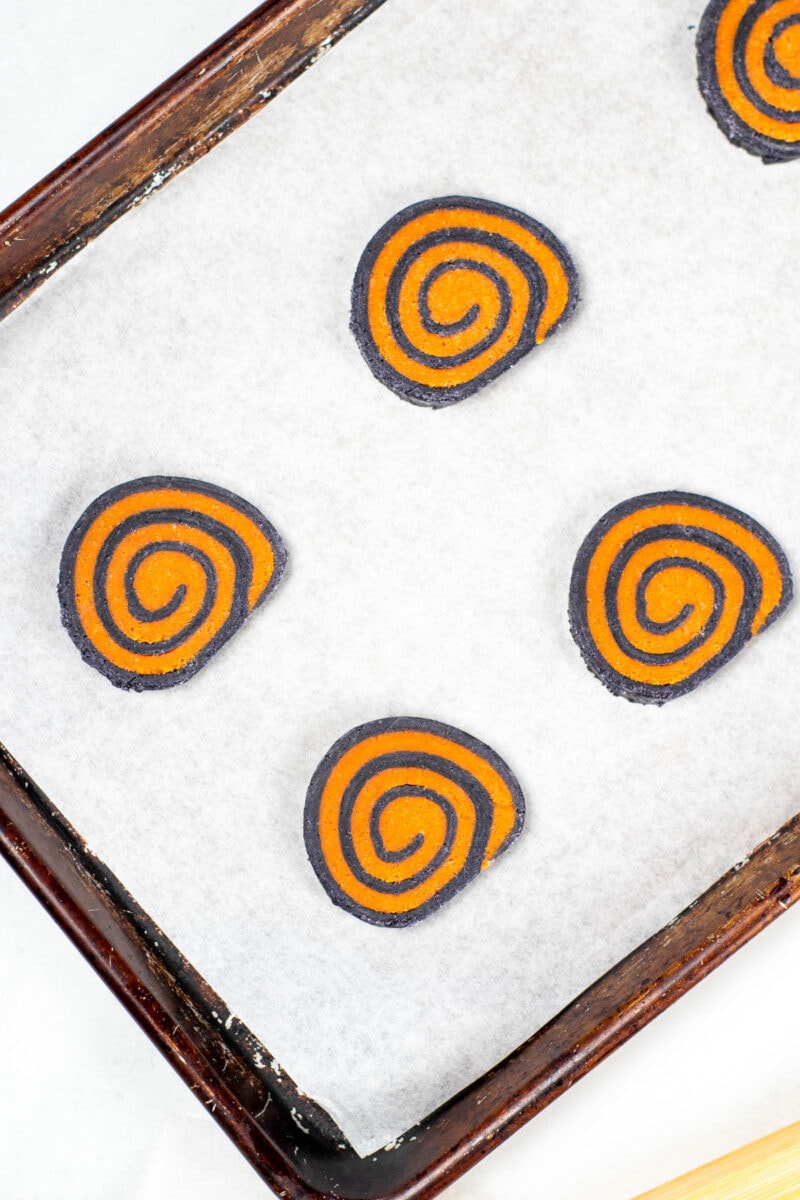
As you slice the cookies, the log will start to flatten on the bottom. So roll after you slice a few cookies to keep its round shape. Bake the cookies for 10 minutes until the edges start to brown.
✨Variations
- Sprinkle some sparkling sugar on top before baking.
- Add sprinkles to the edges of the cookies by rolling the outside of the dough in sprinkles before slicing.
- Add 1 teaspoon of pumpkin spice to the flour mixture for a fun, seasonal flavor variation.
💭How to Store
Store these fun and festive cookies in an airtight container at room temperature for 3-4 days. These cookies also freeze well. Freeze them in an airtight container for 2-3 months. Leave them on the counter overnight to thaw.
⭐Tips for Making the Best Halloween Pinwheel Cookies
Be sure to check out the step by step instructions
- Pinwheel cookies are forgiving, so don’t worry if your rectangles aren’t quite square or your cookies are more oval than round. These cookies will expand as they bake, and you will end up with nice-looking cookies, even if they don’t have perfect swirls!
- Use gel food coloring for vibrant festive color.
- Don’t be tempted to rush the chilling process.
Did You Make This? Leave a Star Rating!
Halloween Pinwheel Cookies Recipe
Ingredients
- 1 cup unsalted butter softened
- 1 cup granulated sugar
- 2 eggs
- 1 teaspoon almond extract or vanilla extract
- 1 teaspoons vanilla extract
- 3 cups all-purpose flour
- ¼ teaspoon salt
- ½ teaspoon baking powder
- gel food coloring – orange and black
Instructions
Make the Cookie Dough
- Use an electric mixer to beat the white sugar and butter until they are light and fluffy.1 cup unsalted butter, 1 cup granulated sugar
- Add the eggs, almond extract, and vanilla extract to the mixing bowl. Continue mixing until they are well combined.2 eggs, 1 teaspoon almond extract, 1 teaspoons vanilla extract
- Mix the flour with the salt and baking powder in a separate mixing bowl.¼ teaspoon salt, 3 cups all-purpose flour, ½ teaspoon baking powder
- Add the dry ingredients into the butter mixture, one-third at a time. Mix well in between each addition until all the flour is combined.
Add Color
- Take the cookie dough out of the mixing bowl and divide it in half.
- To one half, add 1/4 teaspoon of orange gel food coloring. Knead until the piece is orange.gel food coloring – orange and black
- To the other half, add 1/4 teaspoon of black gel food coloring. Mix until well combined, and it is dark black.
- Put the black dough on a piece of parchment paper and roll it out into a rectangle, about 9 x 15 inches in size. Take another piece of parchment paper and roll the orange dough into a 9 x 15-inch rectangle.
- Keep the pieces on the parchment paper and place both orange and black dough in the refrigerator for 15-20 minutes. Don’t combine the two yet! You can stack them but keep parchment paper between the layers.
Make a Dough Log
- Take the dough out and place the black rectangle on a cutting board. Lay the orange rectangle on top of the black one, this time with parchment paper facing up, so the two are layered. Carefully peel the parchment paper off the orange layer.
- Trim the edges to make them even and form a rectangle. Use a sharp knife or a pizza cutter.
- Roll up the dough, starting at the short edge. Use the parchment paper to help you roll and exert gentle pressure as you go.
- Wrap the roll of dough in plastic wrap or parchment paper. Refrigerate it for 2 hours before baking the cookies.
Bake the Cookies
- Preheat the oven to 350 degrees F. Line the baking sheets with parchment paper or a silicone baking mat.
- Take the dough out of the refrigerator, unwrap it and place it on a cutting board.
- Slice the dough into 1/4 inch slices and place them on the prepared baking sheet. Use a sharp knife and rotate the dough log if it starts to get squished.
- Bake for 10 minutes. Take the cookie sheets out of the oven and let the cookies cool on the sheets for 1-2 minutes. Then place them on a wire rack to finish cooling.
Notes
- If you don’t have black food coloring use dark purple. Or use yellow for candy corn pinwheel cookies.
- Pinwheel cookies are forgiving, so don’t be concerned if your rectangles aren’t quite square or your cookies are more oval than round. These cookies will expand as they bake, and you will end up with nice-looking cookies.
- Use gel food coloring for vibrant festive color.
- Don’t be tempted to rush the chilling process.
- Sprinkle sparkling sugar on top or roll the edges in sprinkles for extra sparkle.
- Add 1 teaspoon of pumpkin spice to the flour mixture for a seasonal flavor variation.
As an Amazon Associate and member of other affiliate programs, I earn from qualifying purchases.
Recommended Products
Nutrition Information
Nutrition facts are estimates.
