
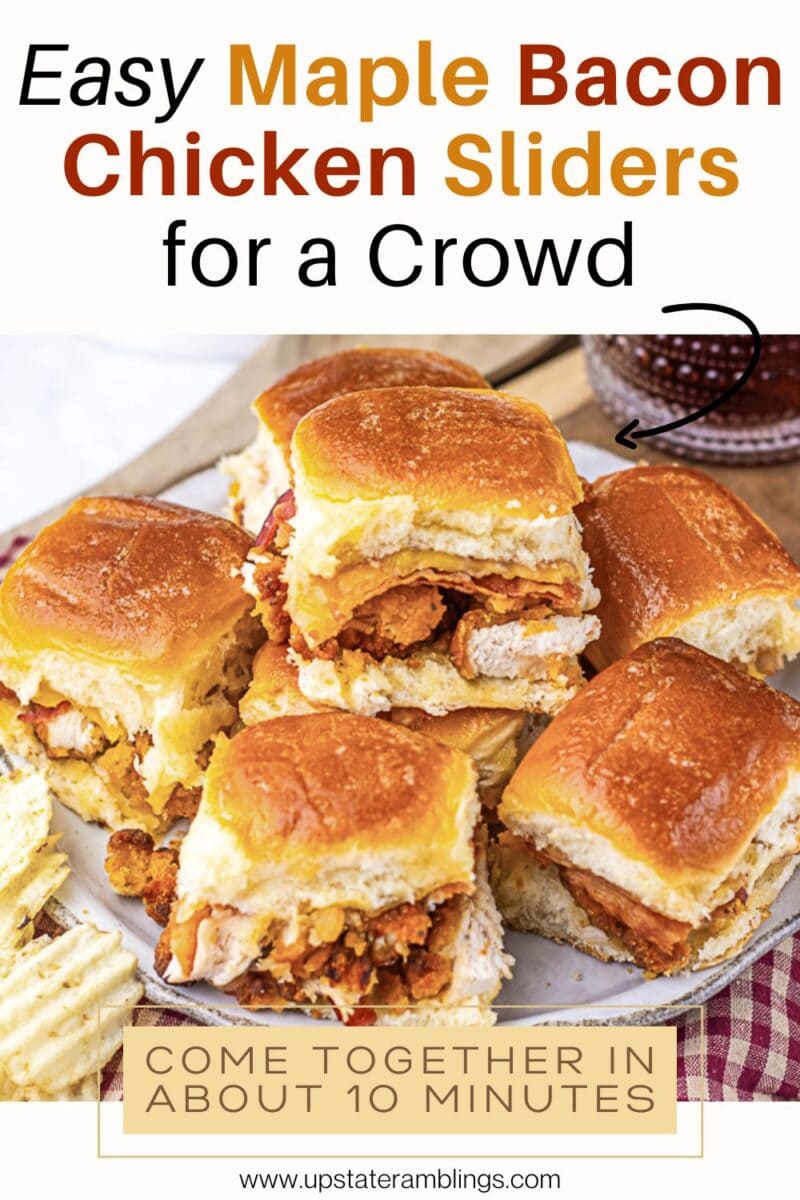
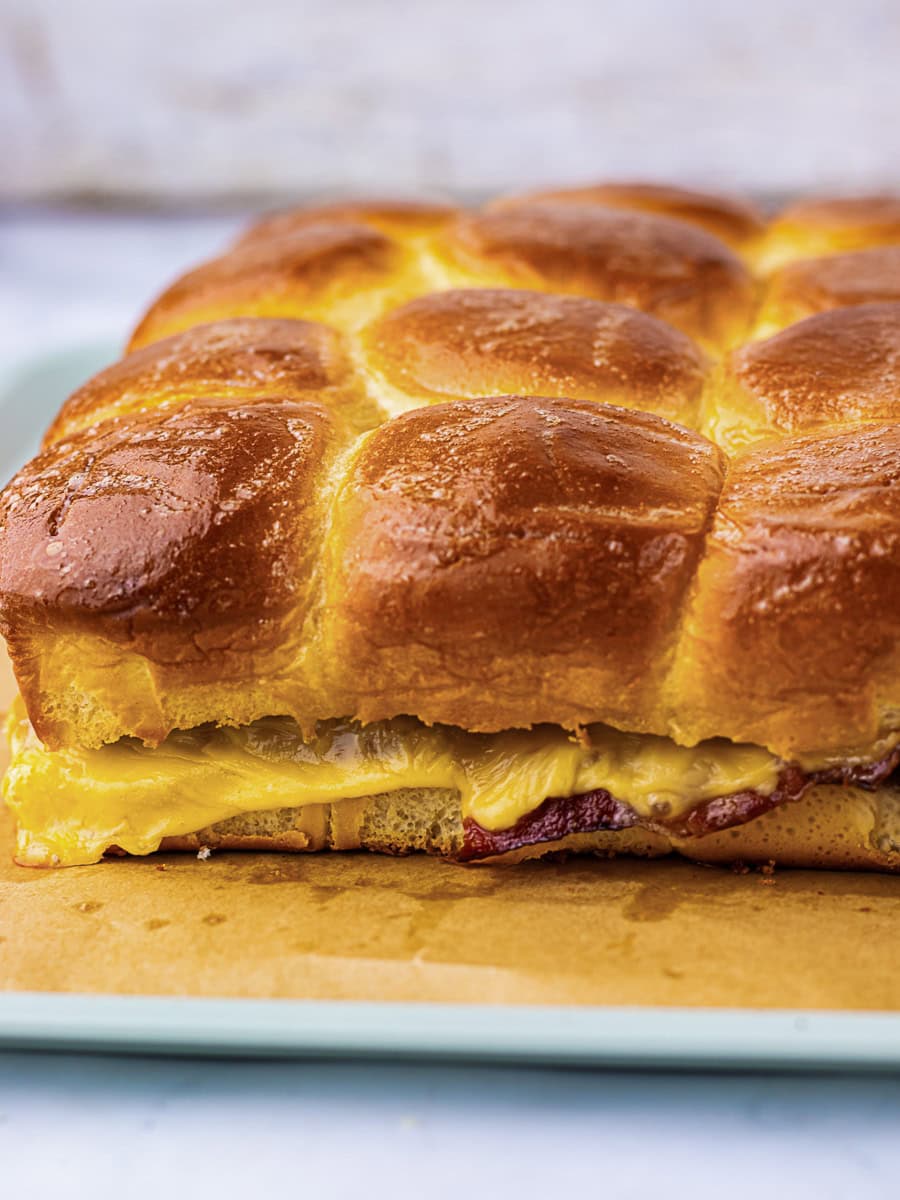
These maple bacon chicken sliders are everything you want on a cool fall afternoon, with sweet maple, salty bacon, and melty Gouda piled on soft Hawaiian rolls. They’re ideal for game day, but I make them on weeknights too, because they come together with precooked chicken strips and about 10 minutes of hands-on work.
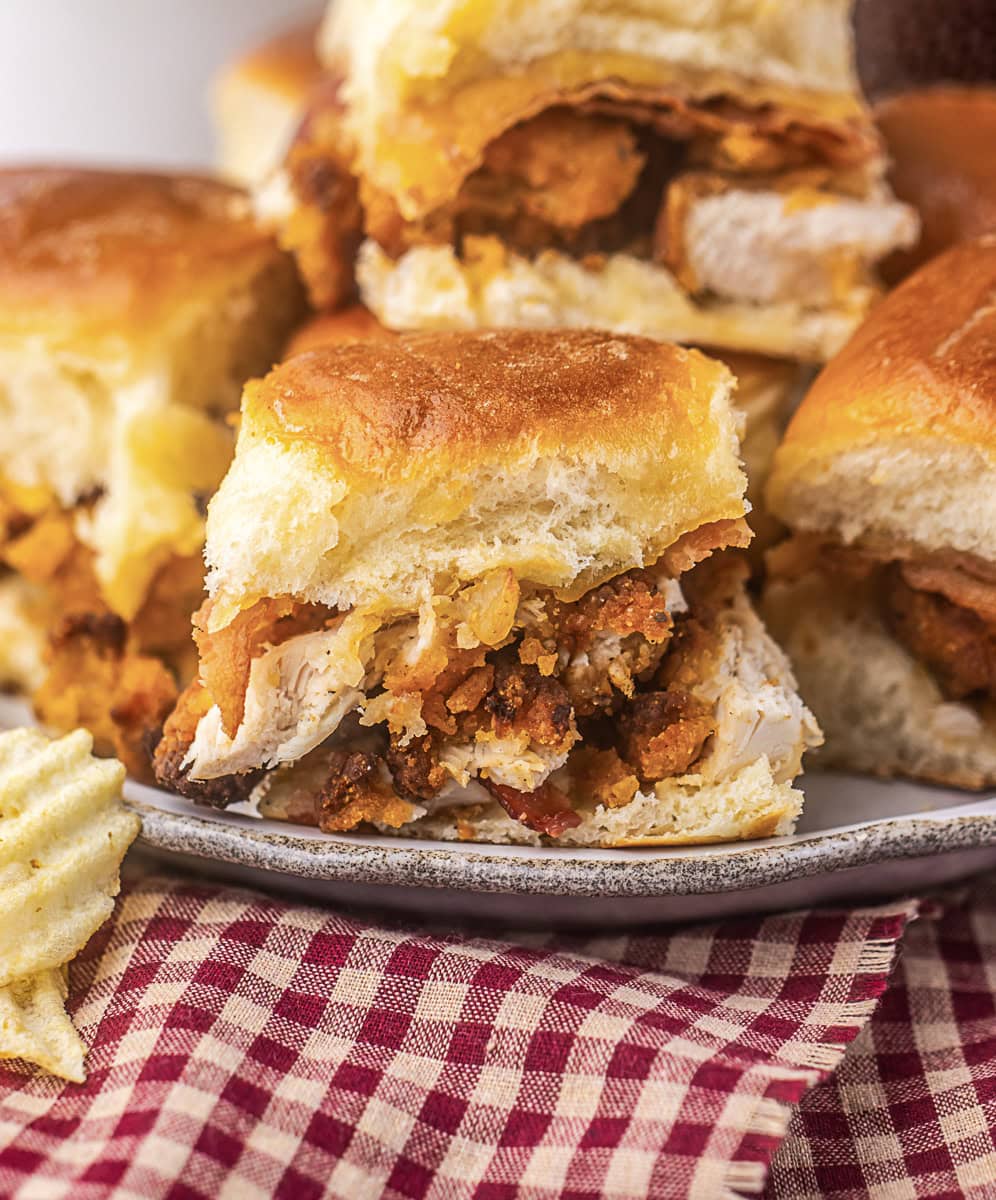
I started making these during football season, because sliders are one of my favorite ways to feed a crowd without getting stuck at the stove all night. I use precooked chicken strips, and if that feels like cheating, don’t worry. Nobody will know or care.
The maple is what sets these apart from your standard slider. A drizzle of maple butter over the chicken and bacon gives you a fabulous sweet-and-salty flavor. The Gouda melts into it all, and the Hawaiian rolls soak it up.
Below, I’ll walk you through the simple steps, share a few swaps in case you want to change things up, and show you how to prep a big batch ahead of time. You’ll have a new favorite recipe for busy nights or game day.
Looking for more slider recipes? Try Italian sub sliders, BBQ chicken sliders, or chili dog sliders for more easy ideas.
Ingredient Notes
For exact amounts needed see the recipe card below
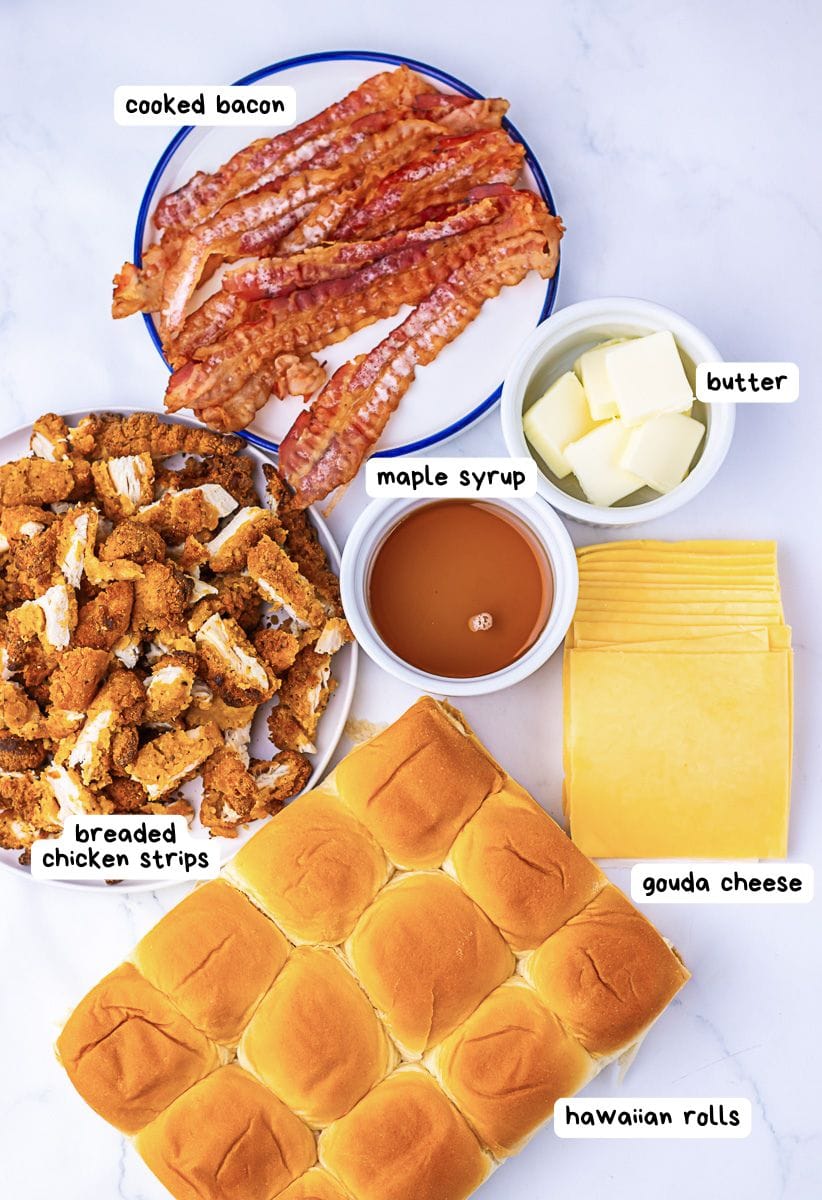
- Hawaiian rolls
- Butter
- Maple syrup
- Breaded chicken strips: I use store-bought frozen chicken strips to keep this recipe ridiculously easy. If you prefer, leftover shredded chicken works great too, though you’ll miss the crispy texture from the breaded coating.
- Cooked bacon
- Gouda cheese
How to Make Maple Butter Chicken Bacon Sliders
- Set your oven to 350 degrees F and line a baking sheet with parchment paper.
- Keep the Hawaiian rolls connected as one unit and place them on your prepared baking sheet. Using a sharp bread knife, carefully slice through the entire slab of rolls horizontally, creating a top and bottom half. Set the top half aside while you build the sliders.
- Cook the chicken strips following the package directions. Then dice them into small pieces.
- Melt the butter in the microwave. Mix the melted butter and maple syrup until well combined. Generously brush some of the maple butter mixture onto the cut side of the bottom half of the rolls.
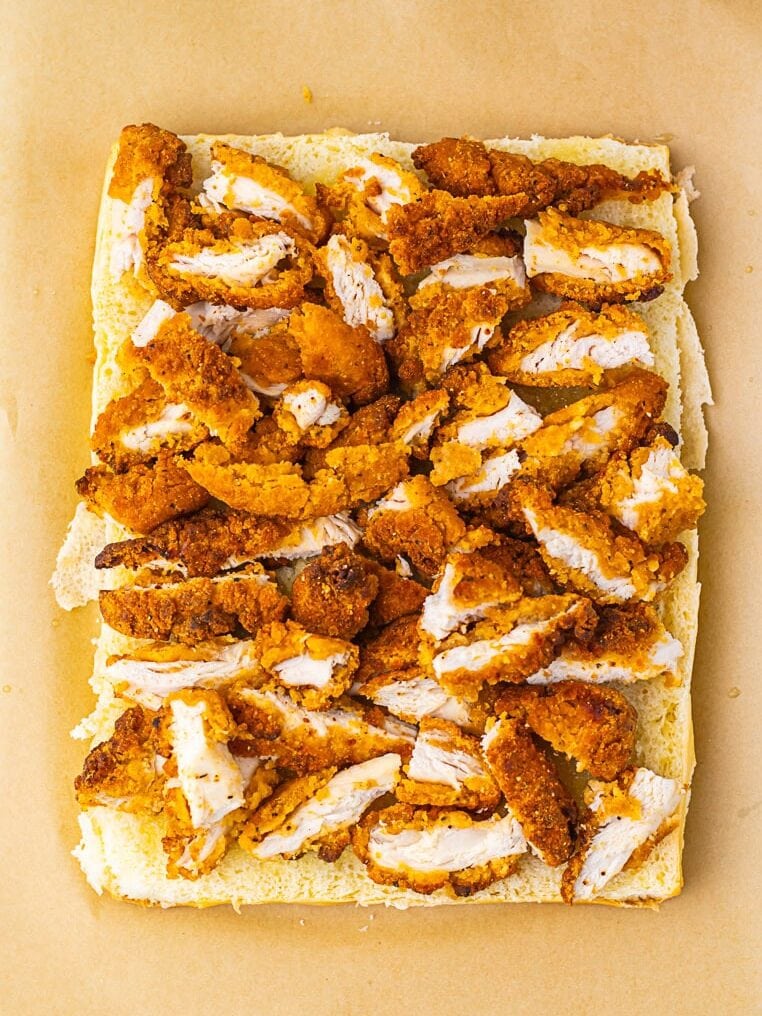
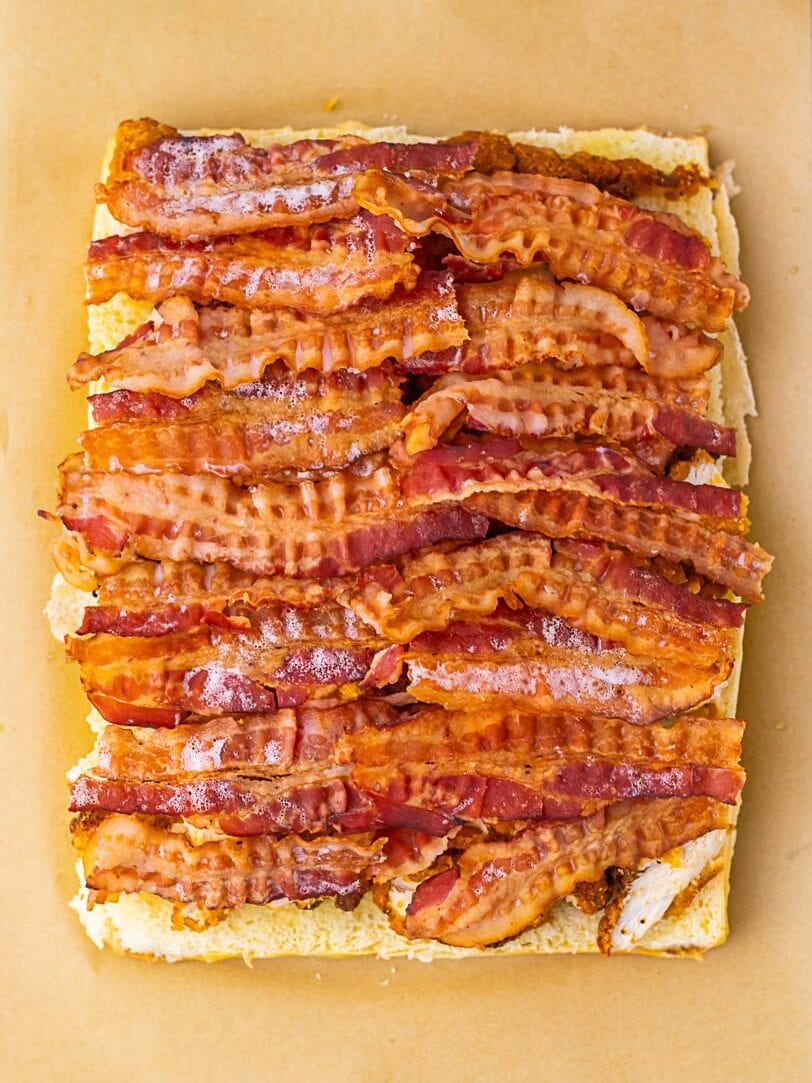
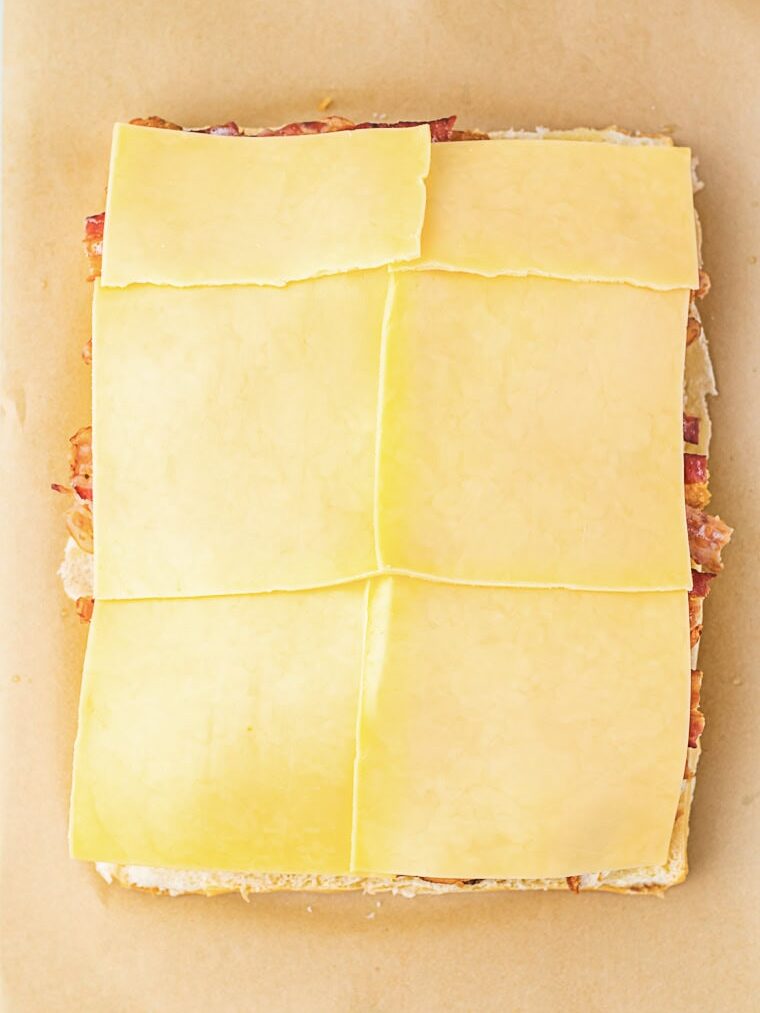
- Spread the chopped breaded chicken strips evenly across the bottom rolls. Layer the cooked bacon slices on top of the chicken, then finish with the Gouda cheese slices, arranging them to cover all the rolls.
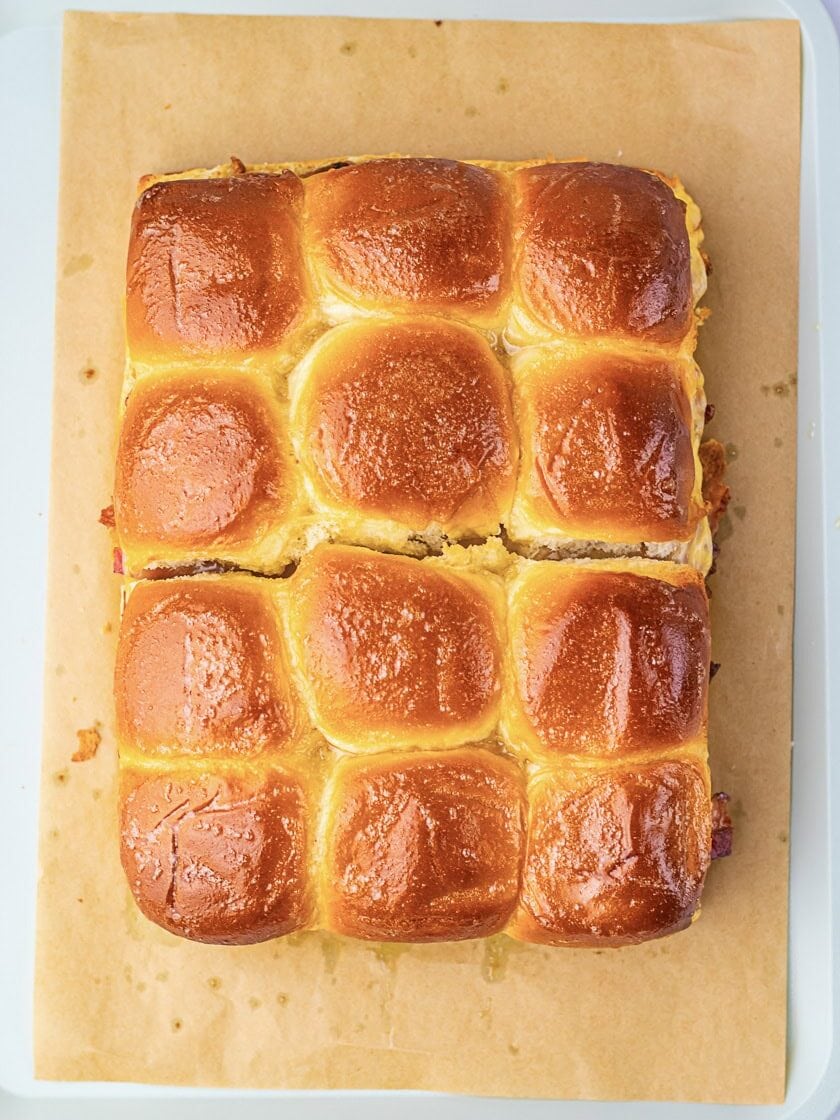
- Place the top half of the rolls back onto your layered sliders to form a complete sandwich slab. Brush the tops generously with the remaining maple butter mixture.
- Bake the sliders for 10 minutes, or until the tops turn golden brown and the cheese is melted and bubbly.
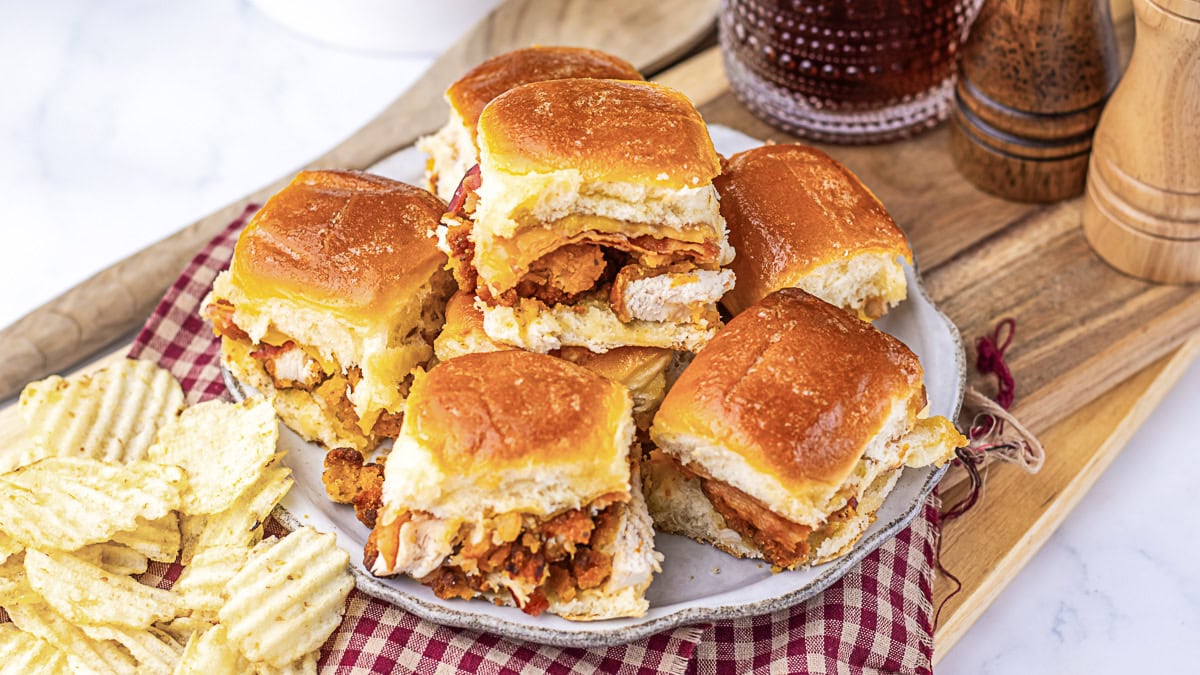
- Remove the sliders from the oven and let them cool for just a minute or two. Using a sharp knife, cut between each roll to separate them into individual sliders. Serve them hot while the cheese is still melty and the maple butter glaze is at its stickiest.
Serving Ideas
These sliders are perfect for game day as an appetizer or dinner. I put them next to a big bowl of chips and a cold veggie tray, because I always feel guilty if there isn’t at least one vegetable on the table.
If you’re serving these for dinner instead of a party, pair them with something simple like a side salad or roasted broccoli. The sweet maple glaze and smoky bacon are rich enough that you really don’t need much else to round out the plate.
For a party spread, try setting these out with a few dipping sauces on the side. A little extra maple syrup for drizzling never hurts, and a small dish of Dijon mustard gives people a tangy option. Since these are already sliced into individual portions, they’re an easy grab-and-go option for game day, a lazy Sunday brunch, or even packed lunches the next day.
How to Store
Put any extra sliders into an airtight container and stash them in the fridge, where they’ll stay good for 2 to 3 days. When you’re ready to eat them again, I recommend reheating in the oven or air fryer rather than the microwave.
A quick 5 minutes at 350 degrees F crisps the rolls back up and melts the cheese again, while the microwave tends to leave everything a little soft.
If you know you won’t get through all 12 in a few days, these freeze pretty well, too. Wrap them individually in foil or plastic wrap, then store them in a freezer bag for up to a month. Thaw them in the fridge overnight before reheating, and they’ll taste nearly as good as the day you made them.
Tips & Tricks
Be sure to check out the step by step instructions
- You can assemble these sliders completely (minus the final baking step), cover them tightly with foil, and stash them in the fridge for up to 4 hours before you need them. When guests arrive, put them in the oven and brush on that maple butter.
- Breaded chicken strips give you a crispy texture contrast, but shredded rotisserie chicken works just as well and cuts down on prep time even more. Just make sure whatever chicken you use is already cooked.
- Whatever chicken you use, chop it finely. Smaller pieces distribute evenly across the rolls and make each bite balanced.
- While Gouda brings a rich, creamy element to these sliders, you can absolutely switch it up based on what’s in your fridge. Cheddar works great if you want something sharper, Swiss adds a milder flavor, and pepper jack gives you a nice kick.
- The maple butter glaze makes these sliders special, so brush it on generously.
- Use a sharp serrated knife to cut the individual sliders apart after baking. A dull knife will squash them and pull out all that melty cheese and filling.
Reader Questions
Sure, regular dinner rolls work fine too. Brioche rolls would be an excellent substitute if you want to keep that hint of sweetness.
Yes. If you’re leaving out the bacon, I’d suggest adding a little smoked paprika to the maple butter or using a smoked cheese to keep some of that depth of flavor.
You’ll get 12 sliders from one package of King’s Hawaiian rolls. In my house, that serves about 4-6 people depending on whether we’re serving them as a main dish with sides or as an appetizer. For game day parties, I usually figure 2-3 sliders per person if other snacks are available.
Definitely, use two baking sheets and double all the ingredients.
Yes, but keep in mind you’re working with limited space between small rolls. Thinly sliced tomatoes or a bit of arugula added after baking work well. I wouldn’t add anything too wet or bulky during baking, or you’ll end up with a soggy mess that falls apart.
Did You Make This? Leave a Star Rating!

Maple Butter Chicken Bacon Sliders
Ingredients
- 12 Hawaiian rolls
- 5 tablespoons butter melted
- ¼ cup maple syrup
- 8 breaded chicken strips chopped
- 10 slices bacon cooked
- 5 slices Gouda cheese
Instructions
- Preheat the oven to 350 degrees F and line a baking sheet with parchment paper.
- Cook the chicken strips following the package directions and dice them into small pieces.8 breaded chicken strips
- Leave the rolls connected and place on the baking sheet. Taking a bread knife cut the rolls horizontally. Set the top half aside.12 Hawaiian rolls
- Mix the melted butter and maple syrup together and brush some of it on the bottom half of the rolls. Add the chicken pieces on top, the bacon and then the cheese.5 tablespoons butter, ¼ cup maple syrup, 10 slices bacon, 5 slices Gouda cheese
- Place the top half of the rolls back on and brush the tops of the rolls with the maple butter. Bake in the oven for 10 minutes or until the tops are golden brown.
- Let the sliders cool for a couple minutes, then cut between each roll to separate them into individual sliders.
Notes
- You can assemble these sliders completely (minus the final baking step), cover them tightly with foil, and stash them in the fridge for up to 4 hours before you need them. When guests arrive, put them in the oven and brush on the maple butter.
- Breaded chicken strips give you a crispy texture contrast, but shredded rotisserie chicken works just as well and cuts down on prep time even more. Just make sure whatever chicken you use is already cooked.
- Whatever chicken you use, chop it finely.
- Switch up the cheese if you like. Cheddar works great if you want something sharper, Swiss adds a milder flavor, and pepper jack gives you a nice kick.
- Use a sharp serrated knife to cut the individual sliders apart after baking. A dull knife will squash them and pull out all that melty cheese and filling.
As an Amazon Associate and member of other affiliate programs, I earn from qualifying purchases.
Nutrition Information
Nutrition facts are estimates.