These crisp and spicy quick pickled green beans are a fabulous summer treat. You can make a quick batch of dilly beans in no time! They’re perfect for healthy snacks, salads, antipasto plates and appetizers. A traditional recipe for using fresh summer green beans.
I like to make quick, refrigerator pickles. I rarely bother with doing complicated canning and preserving, but I enjoy making jars of pickles with fresh vegetables all summer long.
Pickled green beans, frequently called dilly beans, are a favorite pickle of mine. They are fresh, crisp and crunchy and make a nice change from traditional dill pickles.
Check out my recipe for air fryer green beans for more serving ideas for beans!
Refrigerator Pickles
When I make refrigerator pickled vegetables I almost always make a small batch, consisting of one jar at a time. This way I can change things up and make a different type of pickle every few weeks. Pickled beets, pickled radishes, pickled zucchini and even pickled green tomatoes are all delicious and easy to make.
I don’t have room in my refrigerator for more than a few jars of pickles at a time and I like to have variety! But you can easily double or triple the recipe if you have a lot of beans and want to make more than one jar of pickled green beans.
What Kind of Beans Should I Pickle?
Any kind of string bean will work in this recipe. Yellow wax beans or purple beans can be used to make dilly beans just as easily as green beans. The purple beans will turn green after pickling, but the yellow ones will stay yellow. So a combination of yellow and green beans will look very pretty in the jar.
The pickled green beans are best when you use beans that are all a uniform thickness, and very thin beans don’t pickle as well. So don’t use skinny french green beans for pickling.
The most important thing in pickling green beans (and really any vegetable) is to make sure you are using the freshest vegetables you can. Wash them and remove the stems before pickling them. I like to put the beans in the jar and cut them all to a uniform length before I blanch them, so I know they will all fit in the mason jar.
Blanching the Green Beans
The process of making these pickled green beans is a little more complicated than some pickle recipes, because it is best to blanch the beans before pickling them.
Blanching is the process of cooking the beans quickly in hot water for a few minutes and then cooling them in ice water. This rapid cooking followed by cooling helps prevent the beans from losing their color, texture and flavor.
To blanch the green beans bring a pot of water to a boil and add the green beans once the water is boiling rapidly. Let them cook for 1 minute and then drain them in a colander. Once they are drained submerge them in a bowl of ice water so they don’t continue cooking.
While blanching the beans is recommended if you don’t do it it isn’t the end of the world. The pickles might not be quite as crisp or quite as green, but they will still taste pretty darn good.
Making the Pickle Brine
I make the brine for these dilly beans from a combination of white vinegar and apple cider vinegar. Bring the vinegar to a boil in a sauce pan, along with some salt, sugar and water.
As the brine boils stir it to make sure the sugar and salt dissolve completely. Then take it off the heat and let it cool while you fill the jars with beans.
Filling the Jars
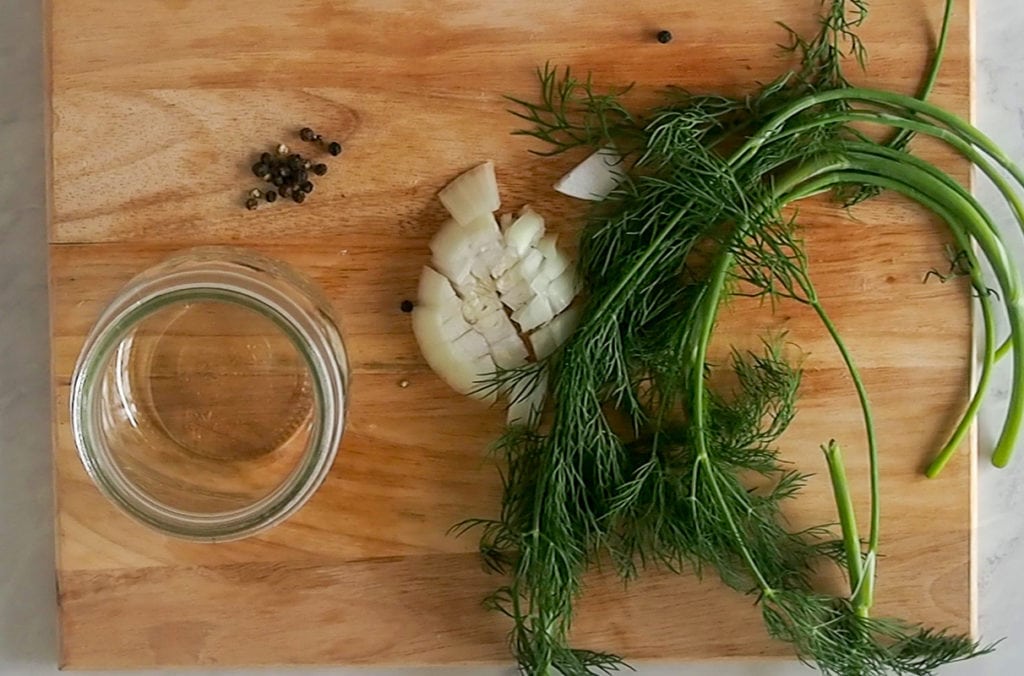
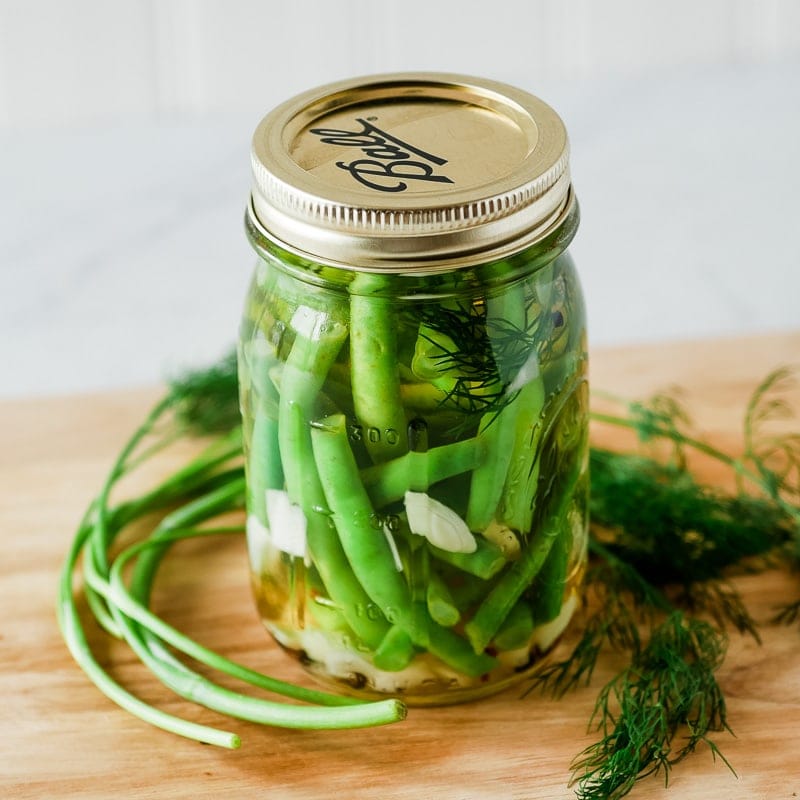
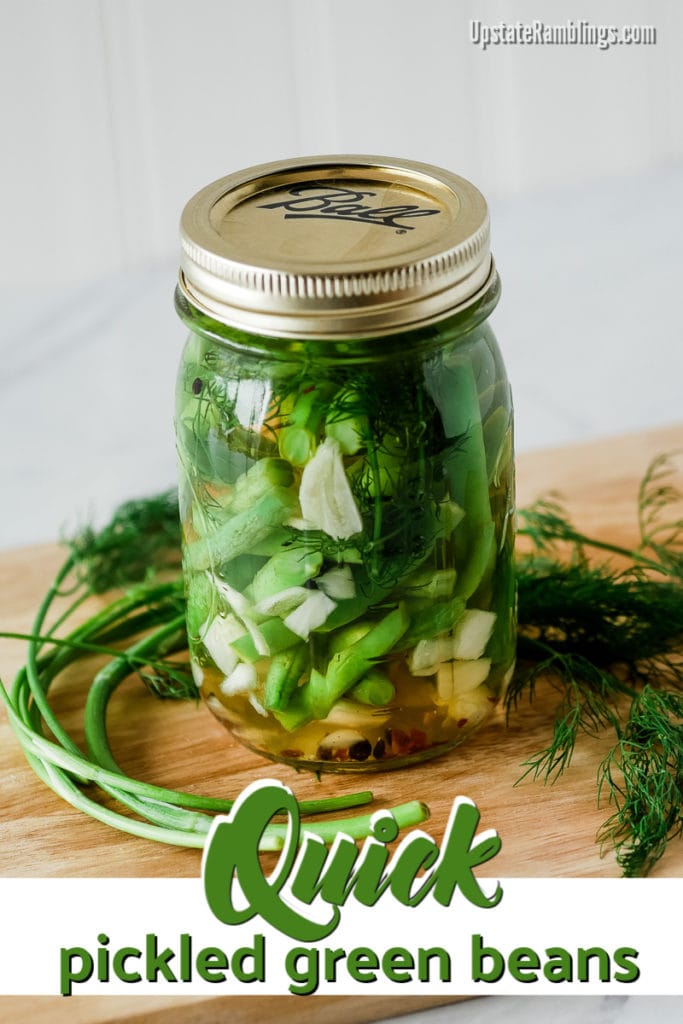
Take a clean pint size mason jar and put a few slices of onion, some garlic slices, peppercorns and crushed red pepper in the bottom of the jar.Then fill the jar with the cooled green beans and add some sprigs of dill.
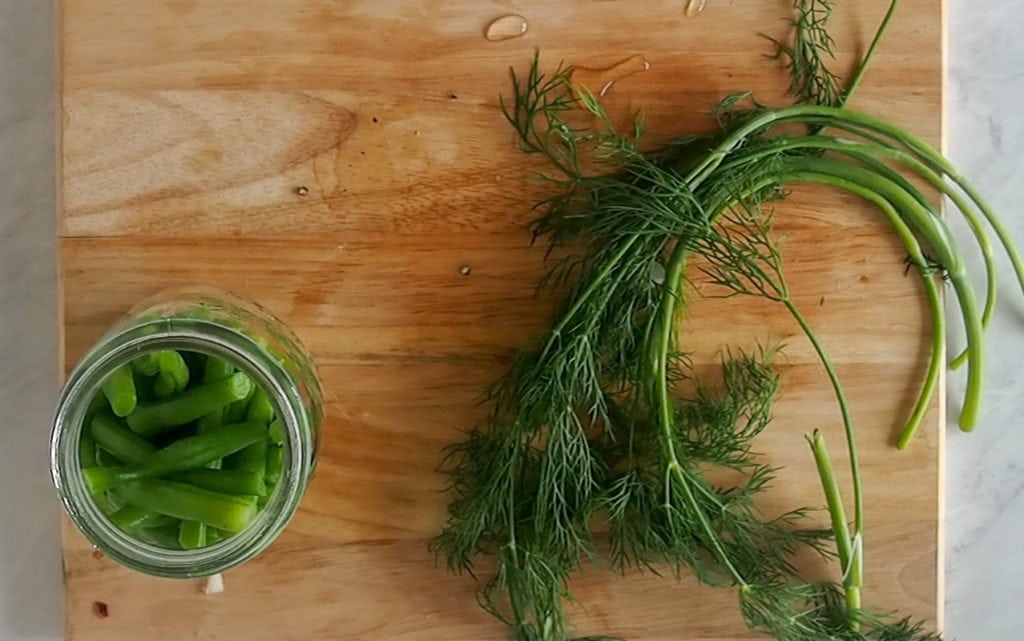
If you chose not to blanch the beans you can get some of the same benefits as blanching by pouring the brine on top of the beans while it is still hot. If you blanched the beans then let the brine cool to close to room temperature before adding it to the jar.
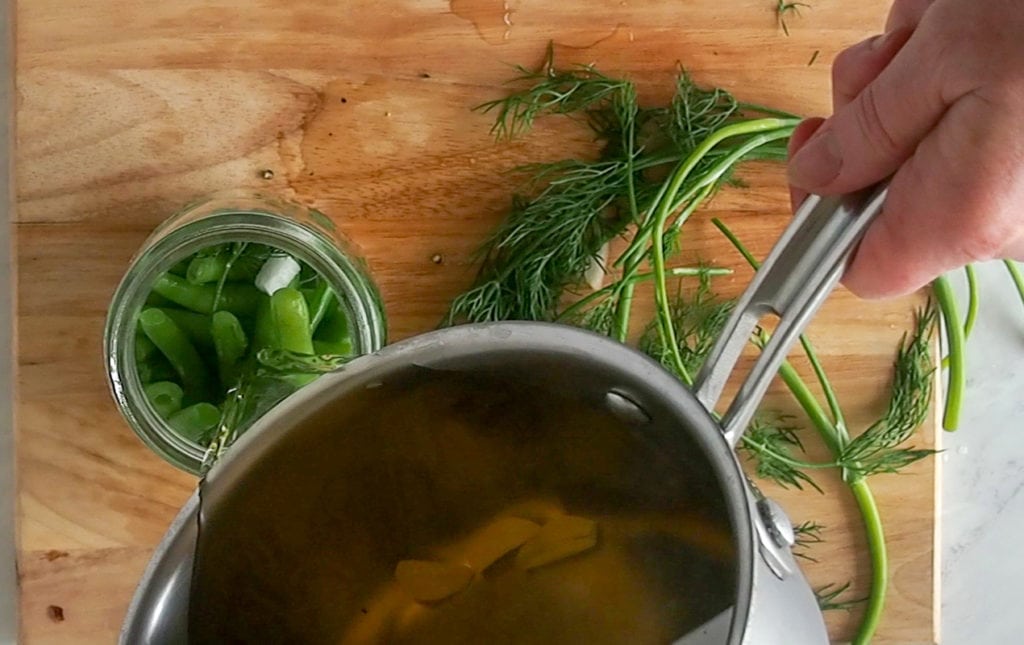
Cover the jar tightly with a lid and a mason jar ring and put it in the refrigerator once it has reached room temperature.
Storing the Dilly Beans
These beans are best if they age for a few days to a week before you start eating them. They will keep for about 2 months in the refrigerator. These beans aren’t canned, so you can’t keep them indefinitely and you can’t store them at room temperature.
How to Serve Pickled Green Beans
You can eat these quick pickled green beans almost any way you’d like. Personally I like to eat a few straight out of the jar as a snack or with a sandwich. They are perfectly sized for a quick snack. They also can be chopped up and used in potato salad or tuna salad just like a standard dill pickle.
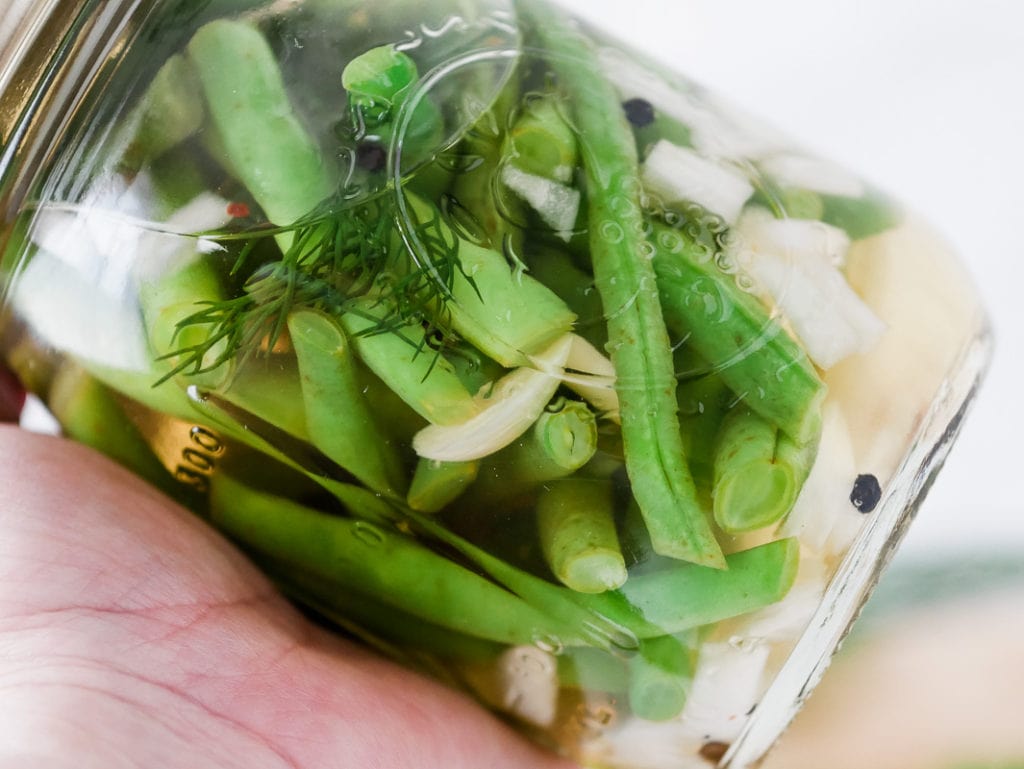
The dilly beans are a little bit spicy and a little bit garlicy. You can vary the amount of garlic or red pepper flakes depending on your preferences. As written the recipe has a noticeable hotness, but not anything that is going to burn your mouth.
These pickled green beans are nice and crisp, much more crisp than a pickled cucumber would be. So the next time you bring home some fresh green beans set a few aside to pickle and enjoy snacking on dilly beans this summer.
Find More Quick Pickle Recipes
Quick Pickled Green Beans
Ingredients
- 1 pound green beans
- 1/2 cup white vinegar
- 1/2 cup apple cider vinegar
- 1/2 cup water
- 1/2 tablespoon sugar
- 1/2 tablespoon salt
- 4 sprigs fresh dill
- 1/2 teaspoon black peppercorns
- 1/4 teaspoon red pepper flakes
- 4 thin slices garlic
Instructions
- Wash the beans and remove the stems. Cut to fit into your canning jar.1 pound green beans
- Blanch the green beans. Bring a pot of water to a boil. Once it is boiling vigorously add the beans and cook for one minute.
- Drain the beans in a colander and then place them in ice water to cool.
- To make the brine bring the white vinegar, cider vinegar, water, salt and sugar to a boil. Stir to make sure the salt and sugar dissolve. Then remove from the heat and let the brine cool.1/2 cup white vinegar, 1/2 cup apple cider vinegar, 1/2 cup water, 1/2 tablespoon sugar, 1/2 tablespoon salt
- Add the onion slices, garlic slices, peppercorns and red pepper flakes to a clean pint size mason jar. Add the cooled beans lengthwise along with a few sprigs of dill.4 sprigs fresh dill, 1/2 teaspoon black peppercorns, 1/4 teaspoon red pepper flakes, 4 thin slices garlic
- When the brine is cool pour it over top of the beans. Put a lid tightly on the jar. Refrigerate once the jar is at room temperature.
- Let sit for about 4 days before eating. The dilly beans will keep in the refrigerator for 2 months.
Notes
- This recipe was not designed for water bath canning.
- If you don’t want to blanch the beans you can skip that step and pour the brine over the beans while the brine is hot instead. The pickles won’t be as crisp if you do this, but they will still be good.
- This recipe makes one pint jar. You can easily double it if you’d like more beans.
As an Amazon Associate and member of other affiliate programs, I earn from qualifying purchases.
Nutrition Information
Nutrition facts are estimates.


How much salt is used in this recipe? I don’t find it in the list of ingredients.
Salt is in the directions, but not in the ingredient list- how much?
How much salt and how much onion? What size canning jar? The one I used was too big and I had to double the brine (estimating salt).