Have you seen cake pops? They are super cute little cakes on a stick that are easy to make and fun to decorate. I’ve been seeing them on the web a lot lately, and have been meaning to try making them. This weekend my 14 year old daughter’s dance class was cancelled, so we had about 3 hours of unexpected time to fill. Now there are many household chores we probably should have done, but I decided we should take advantage of this unexpected time and spend some mother-daughter time bonding. And what is better way to bond than making cute, yummy, bite-sized sweets?
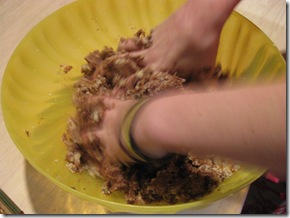
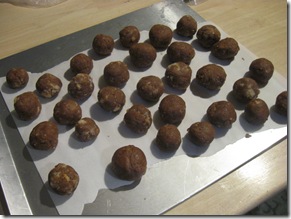
The process of making cake pops is pretty easy, you make a cake, crumble it up, mix in a can of frosting and form it into little balls or other shapes.
Then you put the balls on a stick and decorate them with melted chocolate. We made the balls Friday night, and spent Saturday morning decorating. We decided on a snow theme, because we have lots of snow, so it seemed seasonal.
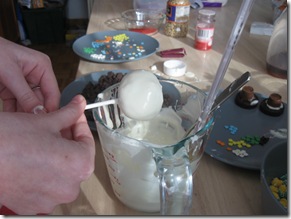
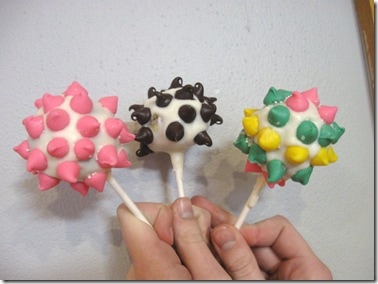
After we had practiced a few simple designs we moved on to making snowmen. We tried to make some with two balls on the stick, but they were too top heavy and ended up toppling over (or melting, as we called it.) So we ditched that idea and stuck with snowmen made from one cake ball. We used sprinkles for the eyes, a mini-chocolate chip for the nose and drew a mouth on with edible color markers. We discovered that the markers don’t work nearly as well as we had hoped on candy melts.
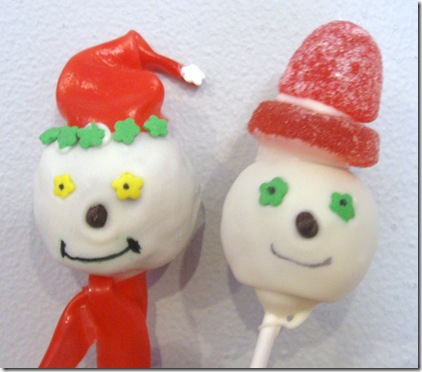
The whole process was tons of fun. My daughter is very artistic, and she really enjoyed decorating and planning the pops. She was so proud of the designs she put some in her lunch box this morning to show off to her friends eat for dessert.

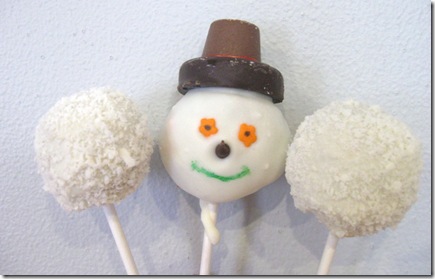

I’m glad you still decided to join in on the fun even though you didn’t get one of the packages. I would have never known if you hadn’t said so! Love the snowmen!
These are delightful. Mine always seem to look like meteors!
Ann