Winter took a while to arrive, but now it is here with a vengeance! To take advantage of the cold weather and add a little decorative style to our front porch I made these DIY Ice Lanterns, candle holders made of ice.
This post contains affiliate links.
They look so gorgeous sparkling on the porch among the white snow! I got the idea from this Pinterest pin, which suggests using the Ice Candles as decoration for a winter wedding.
I’m not planning a wedding, but I thought they would make a great winter front porch deccoration too, and they are easy to make with stuff you have around the house.
Supplies for Ice Lanterns
- Plastic molds (I used Rubbermaid containers)
- Paper cups
- Craft Sticks
- Rocks or Coins
- Tea lights
- Water
How to Make DIY Ice Lanterns
To make the candle holders you first need to find a suitable mold for the Ice Lanterns. The pin I was inspired by had cylindrical candle holders, but I decided to use 2 c. Rubbermaid containers which are more square. This was mainly because I have quite a few of them and I wanted to make a bunch of identical ice candles.
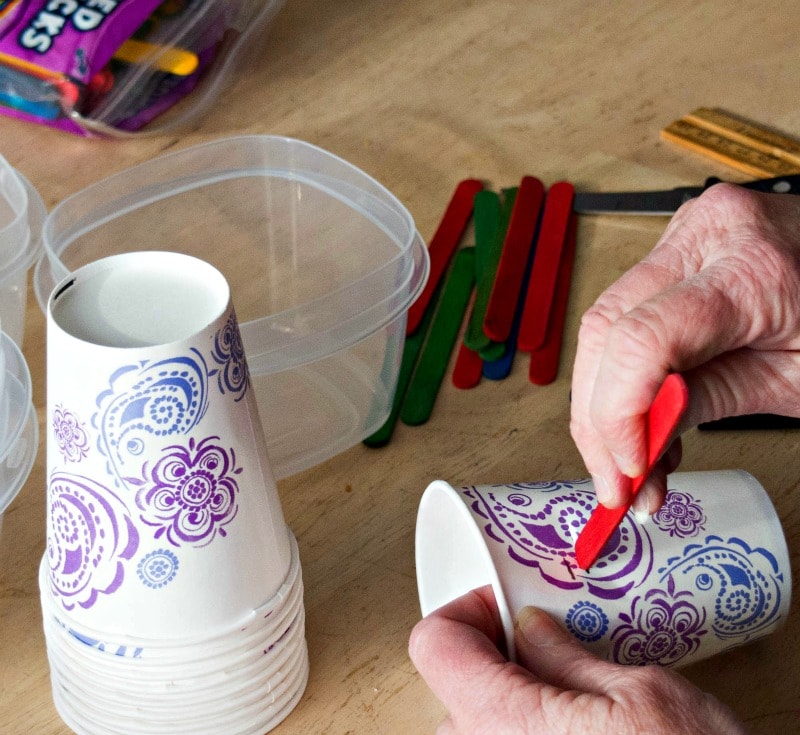
You also need something to make the opening for the candle to sit in, and I used paper cups for this. The paper cups need to be suspended over the plastic containers, so that the cups don’t touch the bottom, which creates a base for the candles. I cut slits in the paper cups and stuck a craft stick through them to hold them up.
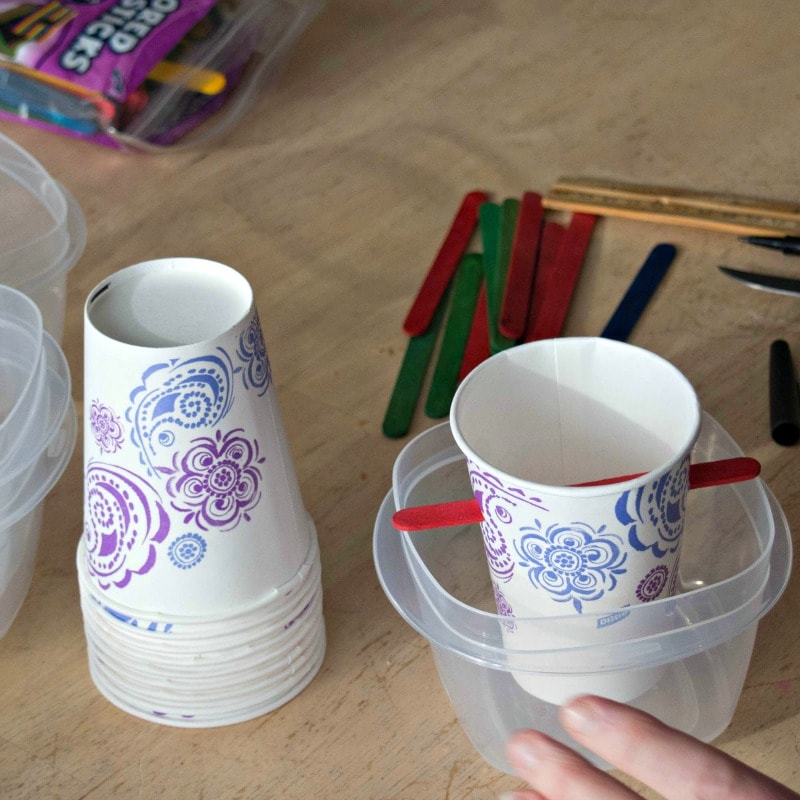
To weigh the paper cups down and keep them in place I added some gravel to the cups. Then I filled the plastic containers with water, and quickly realized that I need more weight in the cups! So I added up some coins to make the cups even heavier and hold them in place.
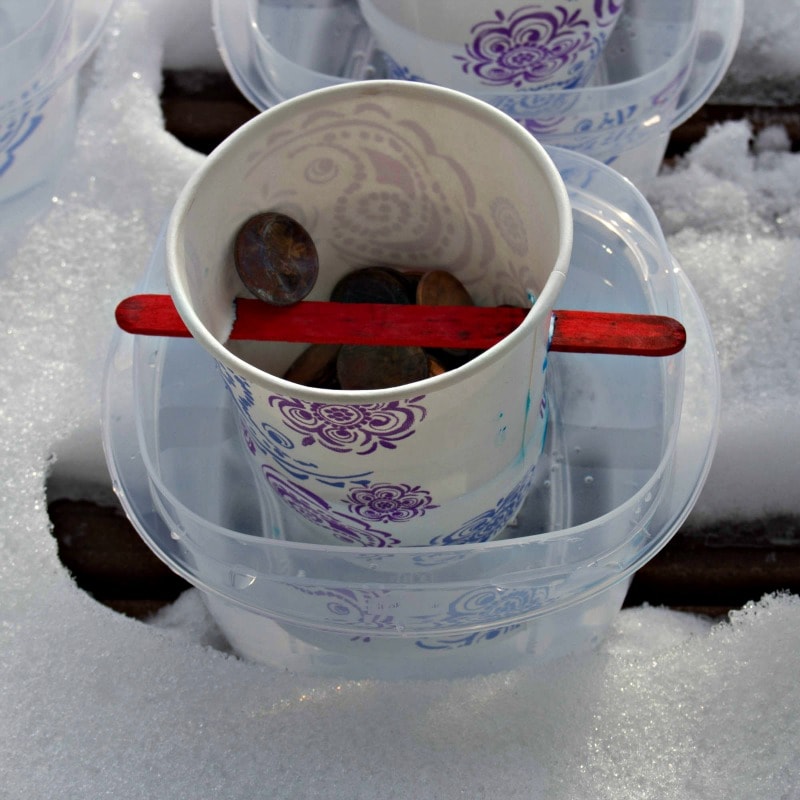
I put my ice lantern molds on the deck and topped them off by pouring more water around the edges, and centering the cups so my candle holders would be more or less symmetric. After they sat overnight they were frozen solid.
I took them inside and dumped out the coins and gravel and then ran some hot water into the cup, which quickly loosened it so I could take the paper cup out. The ice lanterns came right out of the plastic container, and were ready to go.
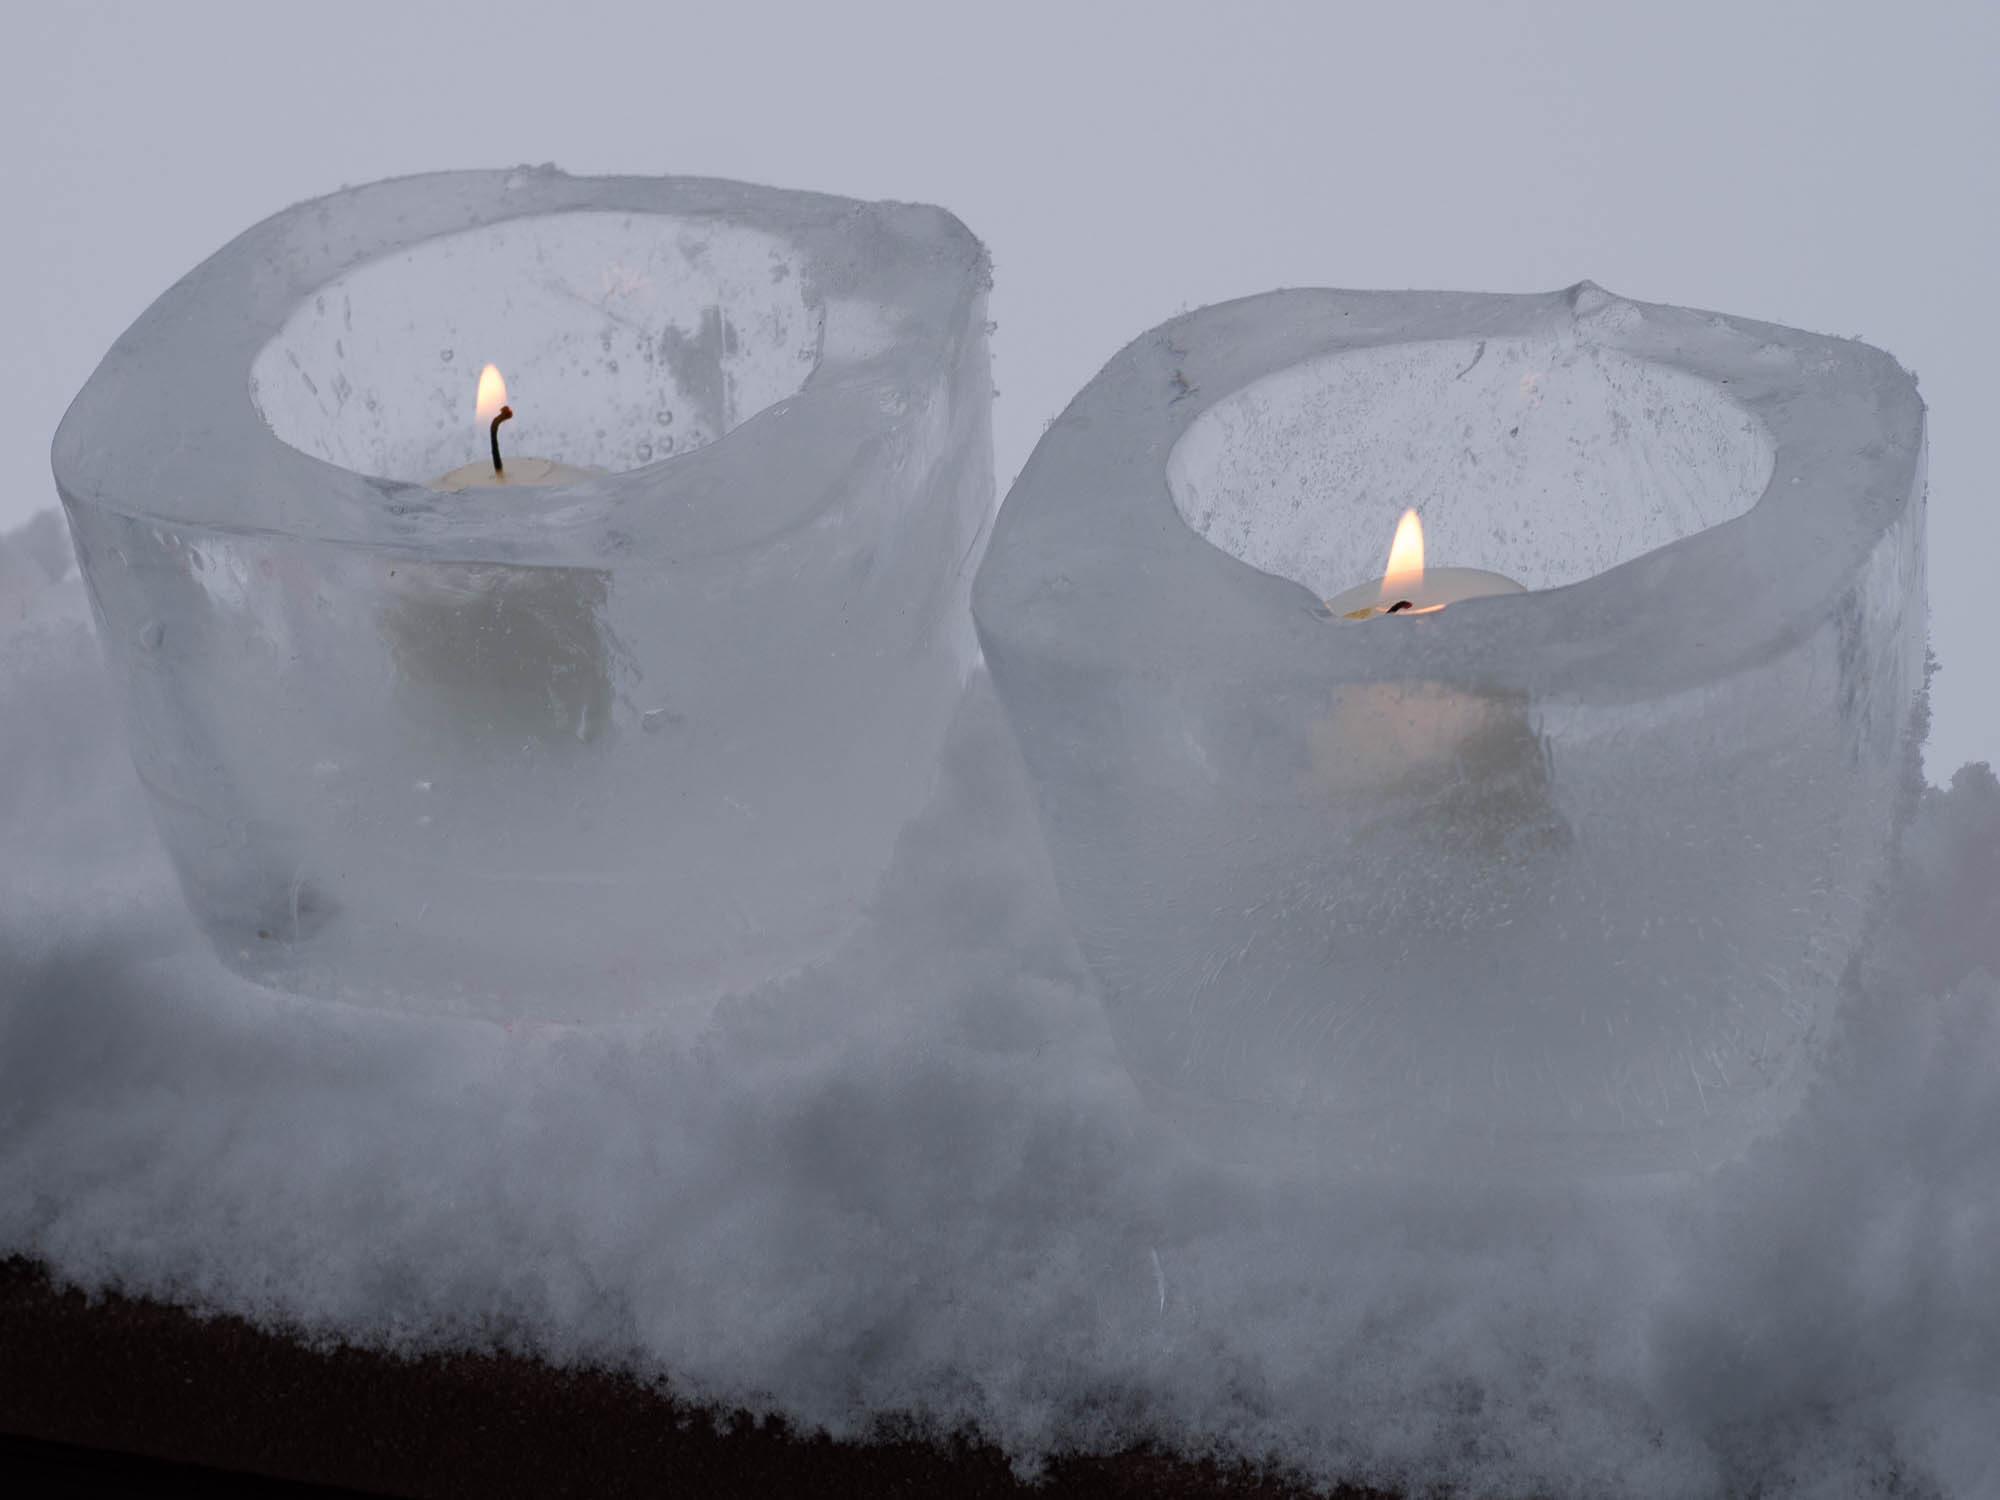
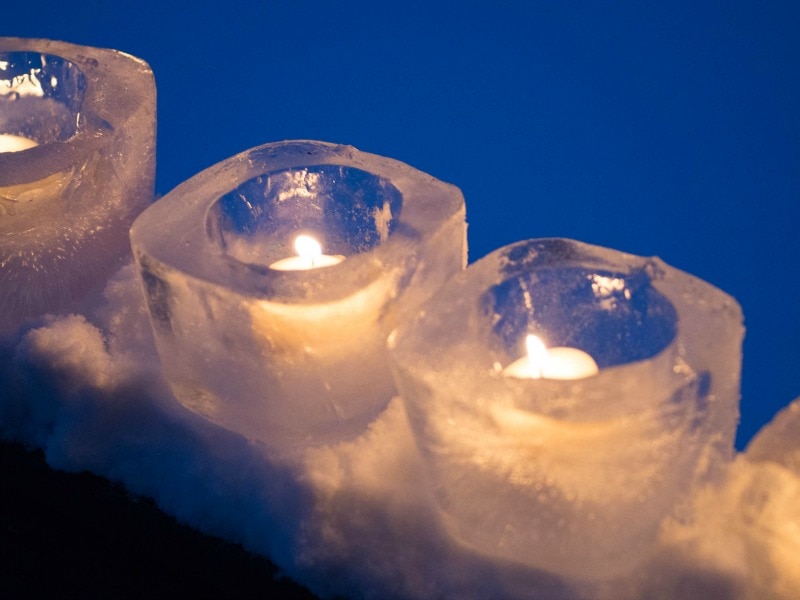
I lined up all my ice candle holders on the porch, added tea lights, and waited for it to get dark enough to light them. Now obviously these have a limited life span, but they are quite pretty while they last!
The tea light candles don’t throw a lot of heat, so I don’t think they will melt the ice lanterns much, as long as I don’t let them burn all the way down. You could also use battery operated flickering candles in the ice lanterns.
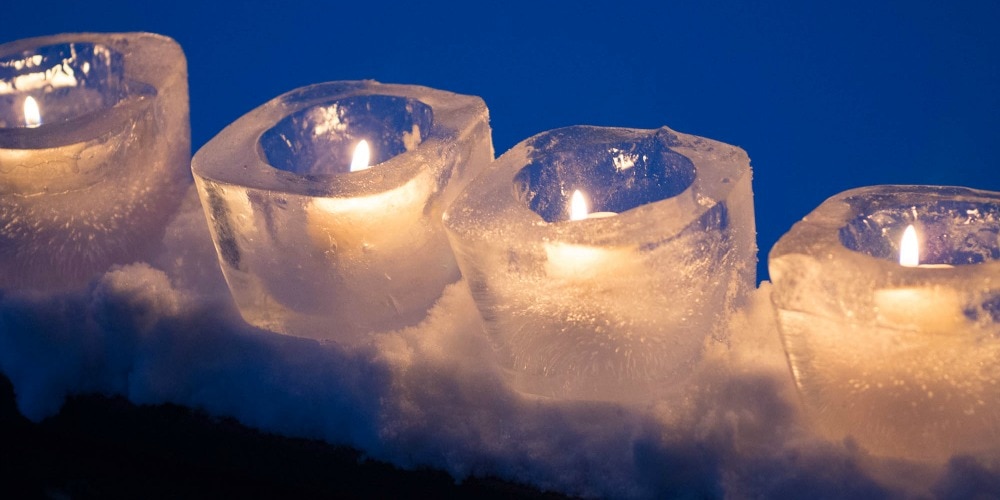
From looking at our forecast I think I might be able to make them last for the next two weeks or so, especially since my porch is not very sunny this time of year.
I am going to make these as Christmas decorations next year, and maybe add food coloring to the water to make them more colorful – the possibilities are endless!



What a great idea! I’m going to try this when the temperatures get a bit colder.
These look like so much fun and perfect for here in Minnesota!
I love this idea. We have a sledding/bonfire gathering in our neighborhood and these lanterns would be perfect for the occasion.
That is such a gorgeous candle display! I agree there could be so many different ways to decorate with them for Christmas and other occasions. It’s such a unique design. Great remake!
These are gorgeous!!
What a lovely idea and you make them look so easy to make. At the moment I’m in summer and it is 36C today so they may melt. I’ll need to pin this for a winter activity. Thanks for sharing and linking up with us at #overthemoon.
Very pretty craft. Love ice crafts. Thanks for linking up to Merry Monday! Sharing on twitter! Have a great week!
Kim
I wondered how you made those ice lanterns – your tutorial is awesome. Thank you! I’ll try making some next year for Christmas.
Pinned and shared. Thanks for linking up at #ThursdayFavoriteThings! I hope to see you also at #OverTheMoon.
What a fantastic idea! These ice molds are so pretty! Pinning and sharing. Anne, Thanks so much for partying with us @ Dream. Create. Inspire. Link. Take care, Tara
I really love this Idea Anne, and it has also come at a time when winter is here and doesn’t seem to be forgiving. I think I should try to make something like this instead of complaining about the weather.
Thanks for sharing.
Cindy
They look so pretty! They remind me of Olaf actually. They would look perfect for the Advent season! But I’m too impatient to wait for that HAHAHA. Anyways, thanks for sharing your tutorial to us. Cheers! 🙂
I can’t wait to do this with my granddaughter in the winter! They are Great! Thanks for sharing.
Peggy
I have made these using pails. I put water at varying heights and used pillar candles.
Really impressive!!!