 This is a layered relief print art project my 12 year old son did last week. This is a somewhat time consuming project (and therefore perfect for summer vacation) which involves cutting multiple layers out of one printing block, gradually cutting away the entire block. It was fun, and more interesting than just cutting one image into the block since the layers add depth and color.
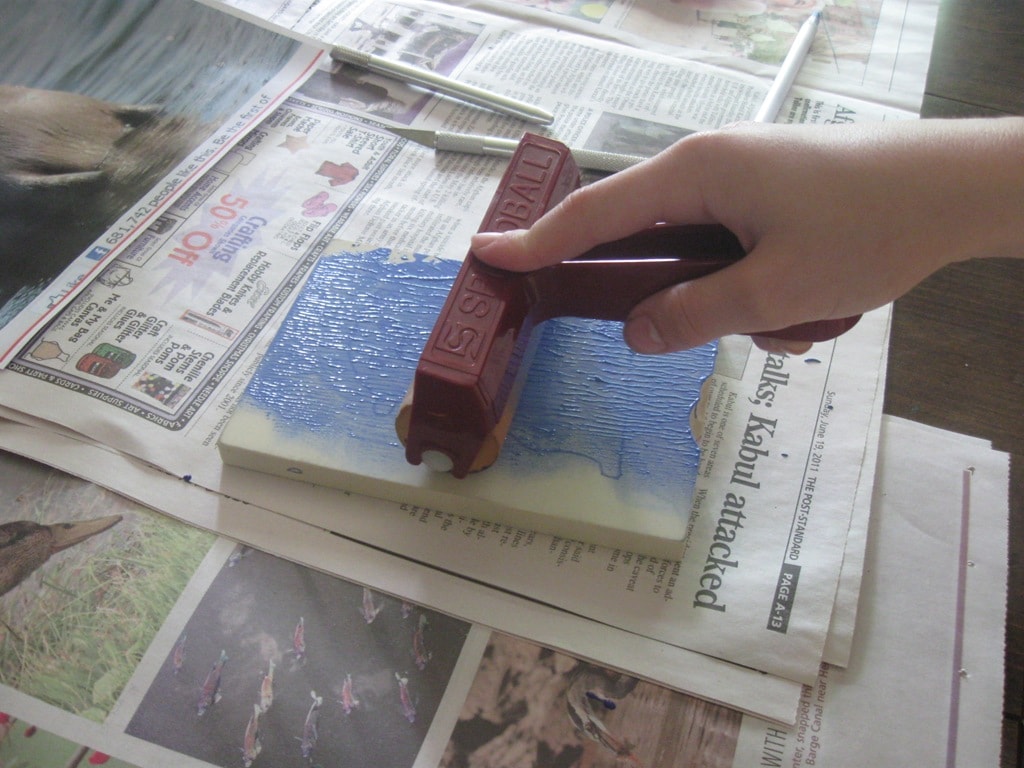
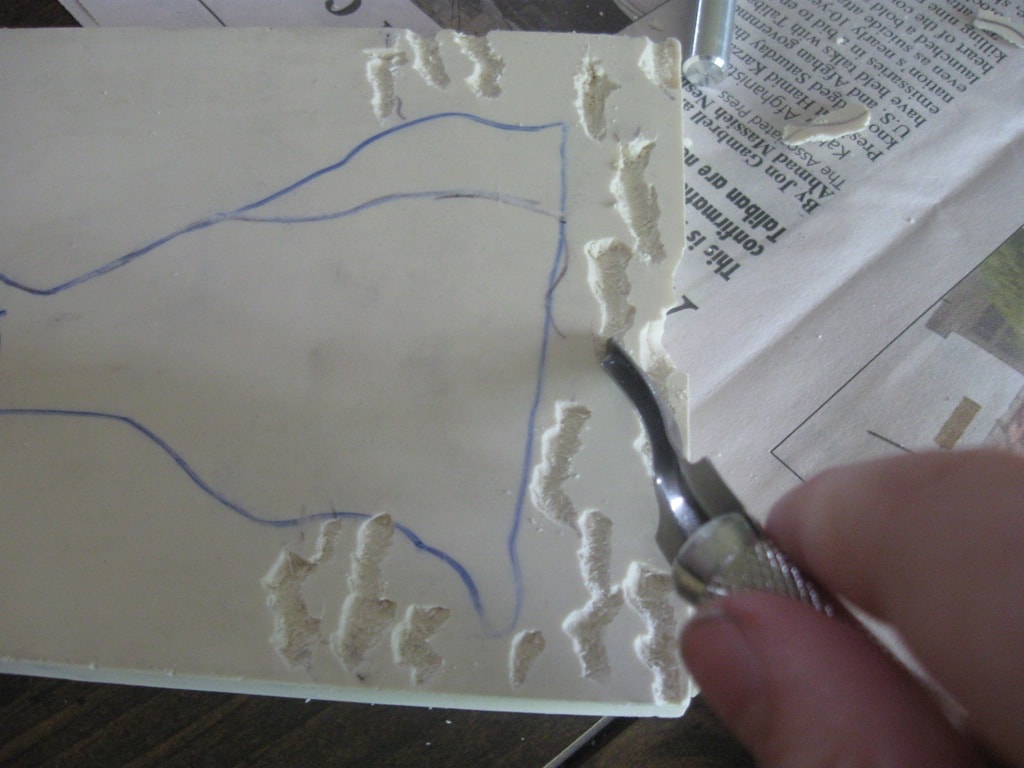
The tools you need are a printing block, brayer and paint and tools to carve with. We got an E-Z cut printing block from our local art store, and the cost was less than $3 for a 4×6 block. The E-Z cut block is made of a synthetic rubber-like material that is very easy to carve. We used X-acto knives to carve the block, and they worked pretty well. We also found some chisel blades for the X-acto knife handle that fit in it and were very helpful when it came to removing lots of material quickly. We used acrylic paints, and a brayer that I had from rubber stamping.
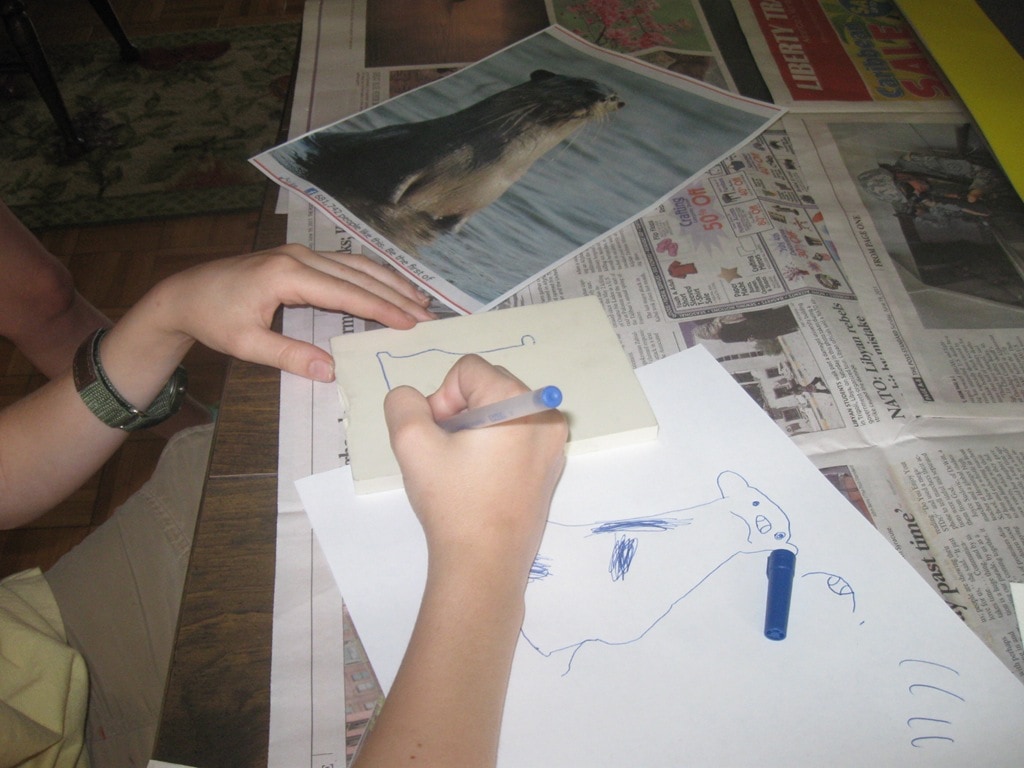
The first step is to find a picture to copy. My son choose an otter, and drew it onto the block. He practiced drawing it on paper first though.
Then he coated the entire block with the background color (light blue) using the brayer, and made 4 prints on the paper of just a blue rectangle.
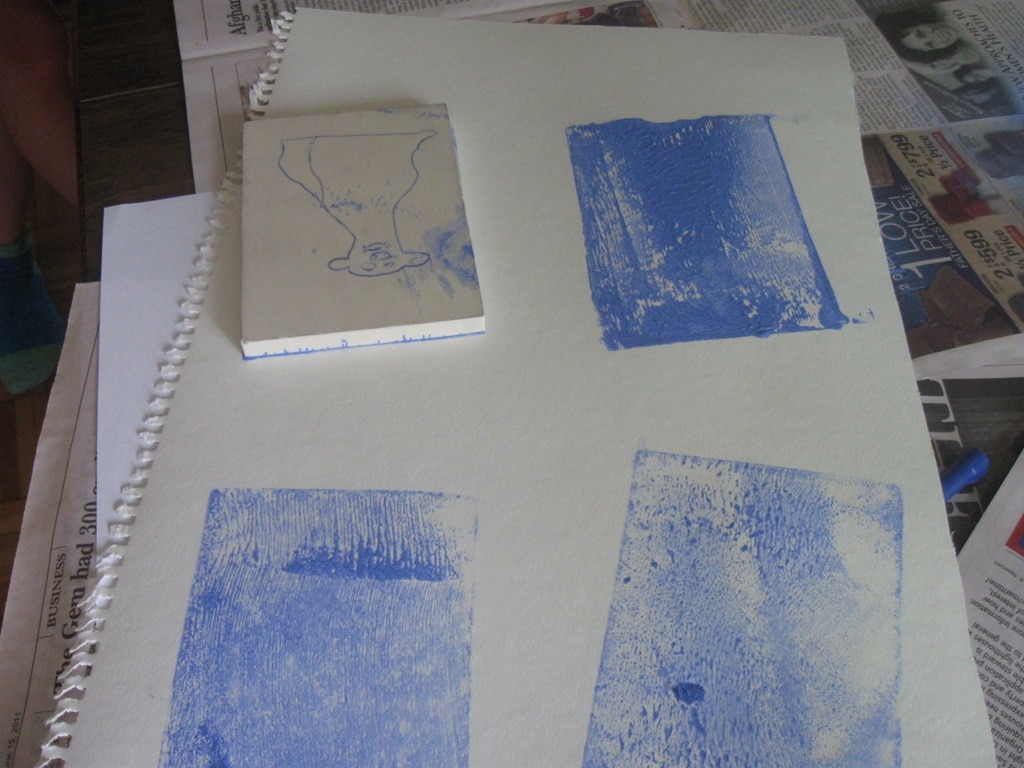
Doing more than one print was my daughter’s idea, and it worked out well since each print was came out a little different, and some turned out better than others. Then my son cut out the first layer, which was the waves in the water.
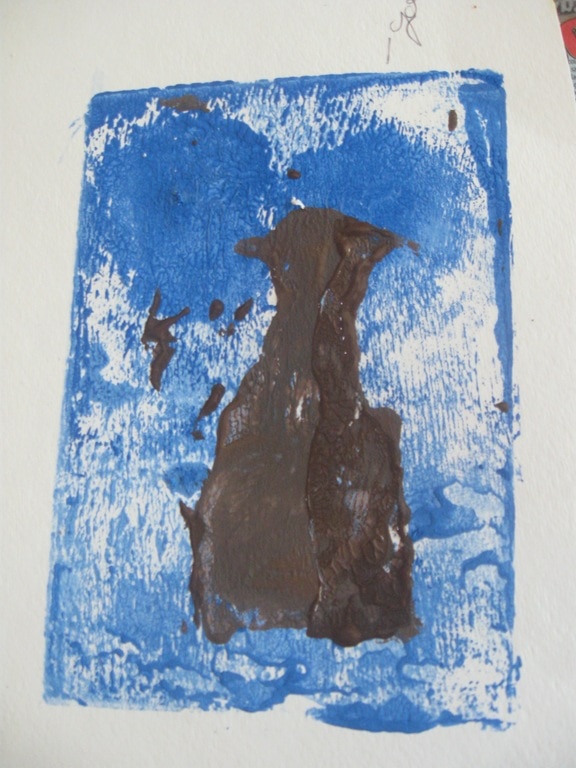
Then he rolled a slightly darker blue color onto the block, and printed it again, on top of the previous prints. The waves stay the lighter blue since they were cut away, and the rest of the picture is now the darker blue. For this to work well you need to let the paint dry in between each layer, and generally work from lighter colors to darker colors. 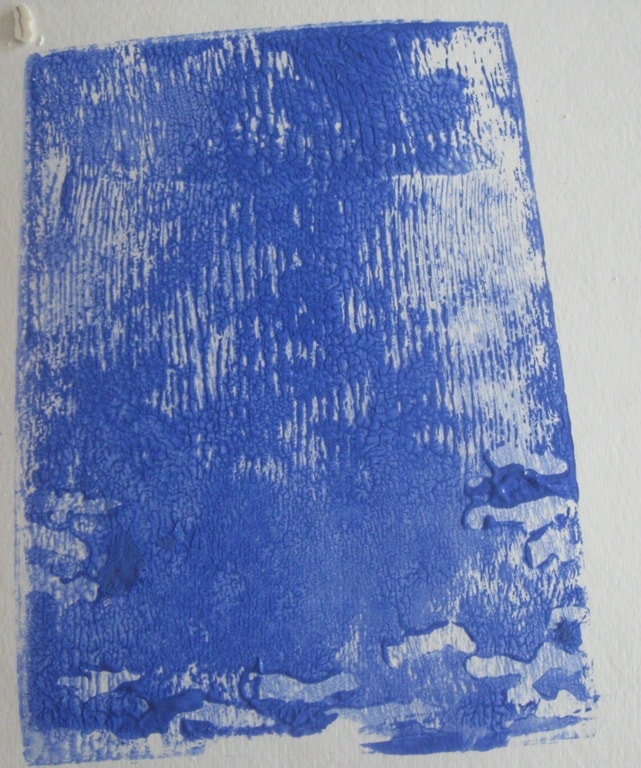
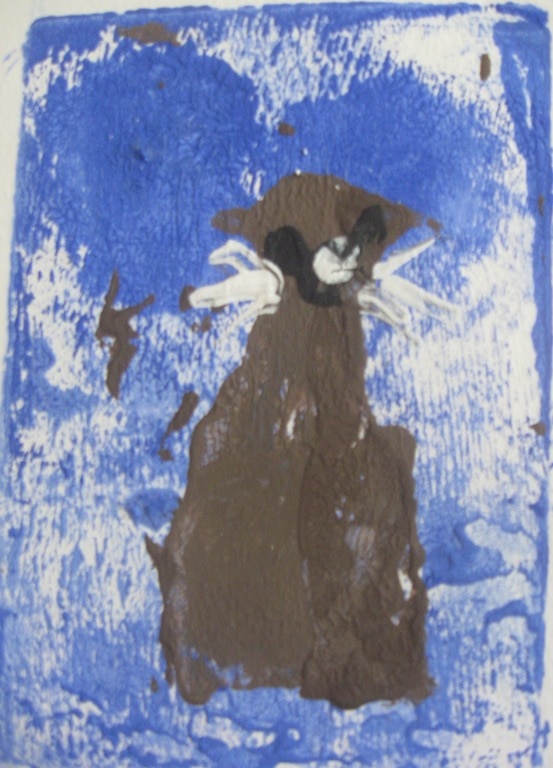
He continued to work, cutting away the block from background to foreground, and printing after each layer. He did three layers of blue for the water, 2 brown layers for the otter and one black for the eyes and nose.

By the end the block was totally cut away, with just the eyes and nose left. My son used a paint brush to add whiskers to the otter with white paint. The whole project took a few hours spread over two days. My son doesn’t always like art projects, but this appealed to him because he got to use knives and cut stuff, and generally make a mess. In the end we cut out the four otter prints, and our favorite is at the top of the post.
My kids would love this. Thanks for sharing.