
This post contains affiliate links and was compensated by Collective Bias, Inc. All opinions are mine alone.
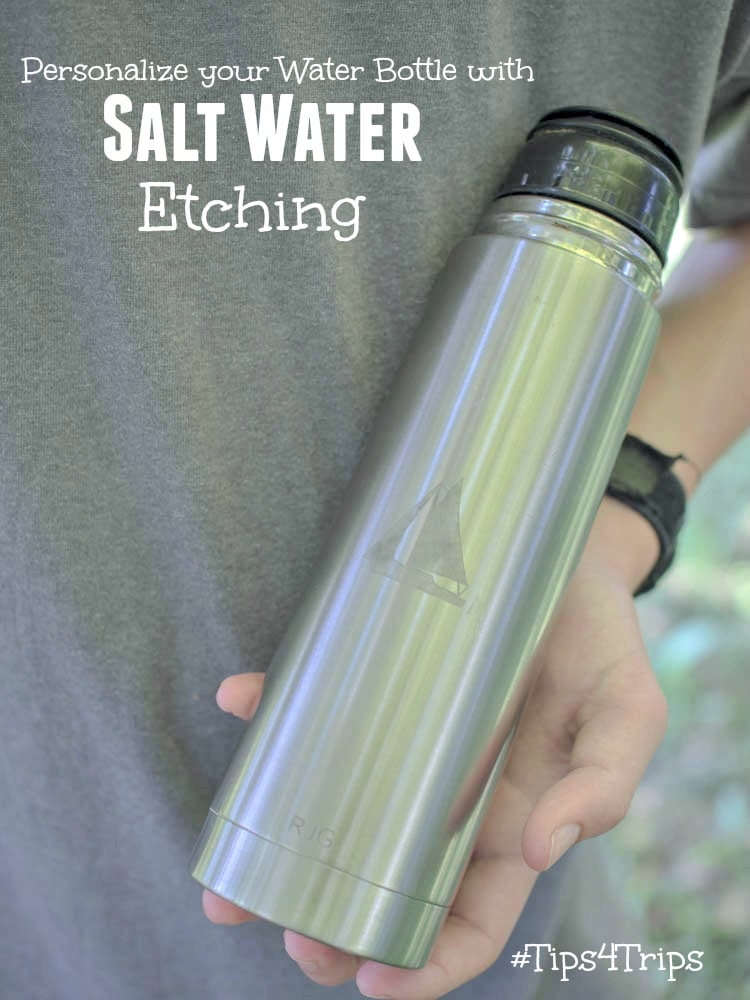
My teen son, Robert, is headed for summer camp next week, so we are in full camp preparation mode. We are running laundry, packing, running out for last minute supplies and we just used this fun salt water etching technique to personalize his metal water bottle!
The Problem
One thing the camp emphasizes is to label everything, or it might be gone forever. For most things labeling is easy, but Robert’s metal water bottle was a little tougher.
I got out the paint pens and suggested he decorate his bottle, but the look he gave me indicated that he was NOT showing up at camp with a cutesy water bottle. I suggested a cool design like camouflage, but it was still not happening.
Apparently teenage boys do not use paint pens, EVER.
The Solution
So I took out my smart phone and searched for ways to label metal bottles, and discovered this Reddit post about using simple household ingredients to etch a design on the bottle.
Using electricity to burn something into metal – this appeals to a teenage boy!
Plus I teach chemistry, so it totally appealed to me too, and is a craft that is both fun and educational. So we gathered up the supplies and went to work adding a sailboat design to the bottle.
It sounds complicated, but actually it is very easy and doesn’t take special equipment. The only thing you might not have on hand to do this is leads with alligator clips, but you can find those online or at your local auto parts store.
How Does it Work?
As a chemistry teacher I feel compelled to explain this whether you want to know or not! The design is created by using the battery to force a chemical reaction between the metal, water and salt. It is a cool example of a redox reaction, and way more fun that a canned chemistry lab.
Salt Water Etching
Supplies

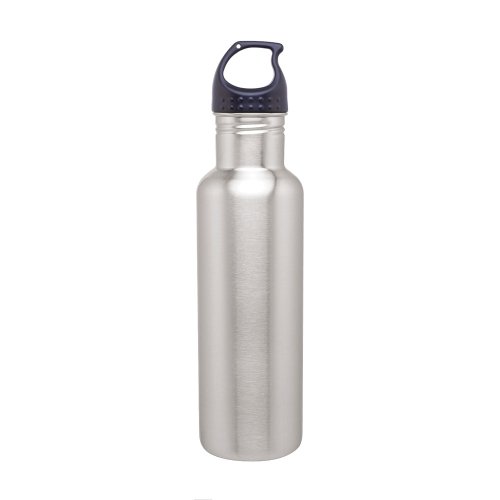
- Stainless steel or aluminum water bottle
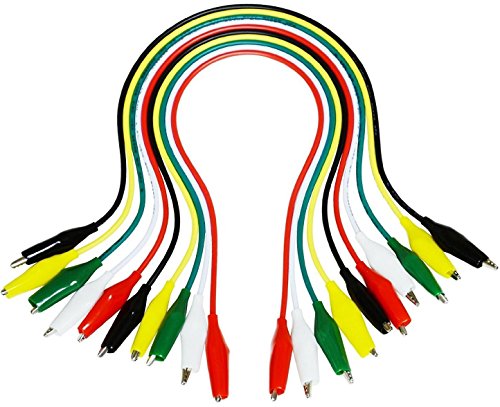
- Lead set with alligator clips
- Pattern to be etched
- 1/2 c. water
- 1/2 t. salt
- 9V battery
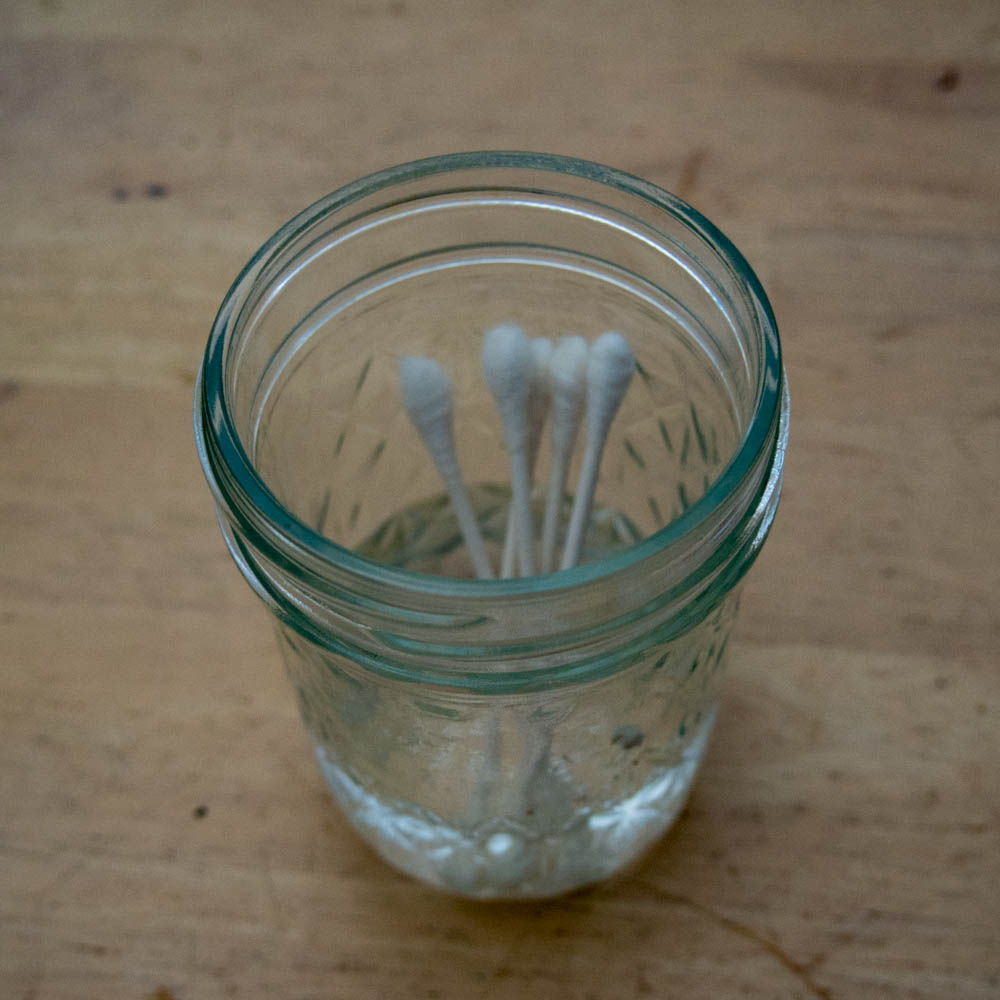
- Q-tips
Stainless Steel Water Bottle Canteen – 24oz. Capacity – Brushed Stainless Elenco TL-6 Alligator Lead Set, 10-Piece, 14 inches(2) Water Bottle Holders W/ Blue Aluminum Carabiner Attachments

&
Directions
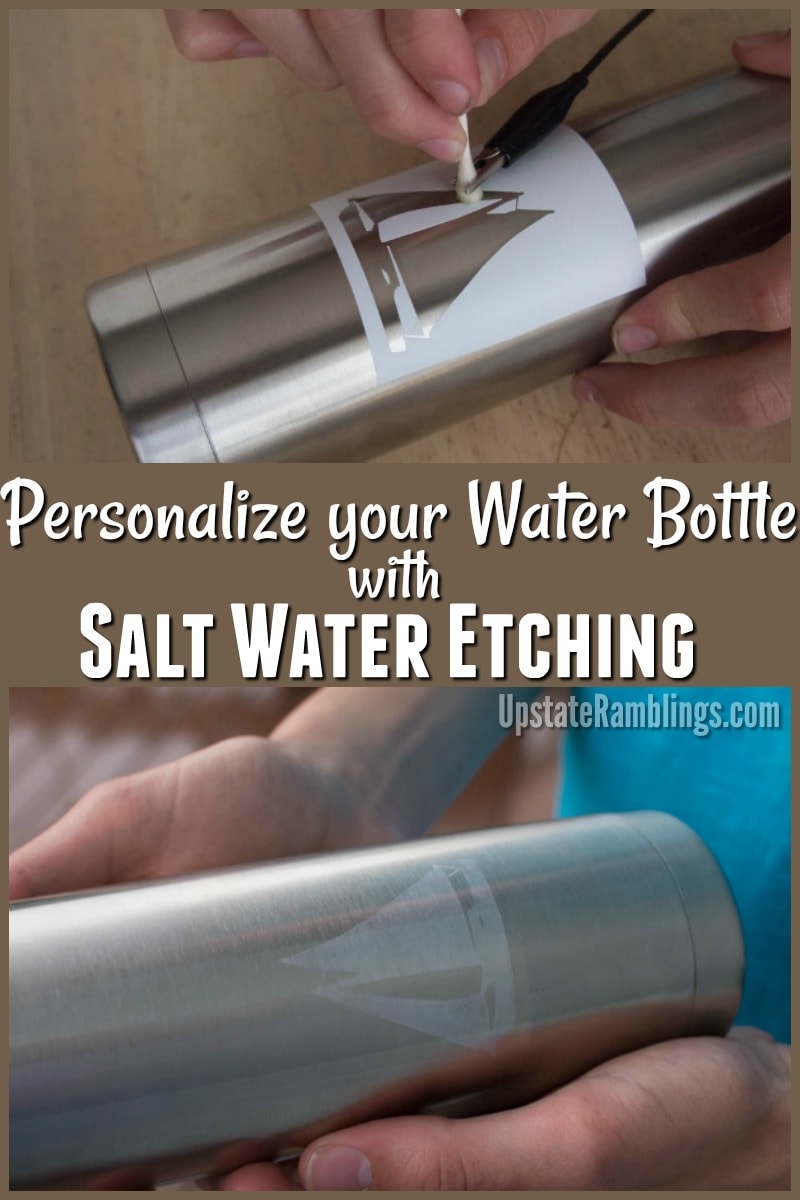
- First find a design that you want to transfer to the bottle. Robert picked a sailboat design, and I printed it out on vinyl on my Silhouette. You could also use a stencil, or even make a design out of masking tape if you are making something simple.

- Stick the design to a clean water bottle. The empty parts of the design will be etched away.
- Mix 1/2 c. of water with the 1/2 t. salt in a jar and stir. Add a bunch of Q-tips to the jar.
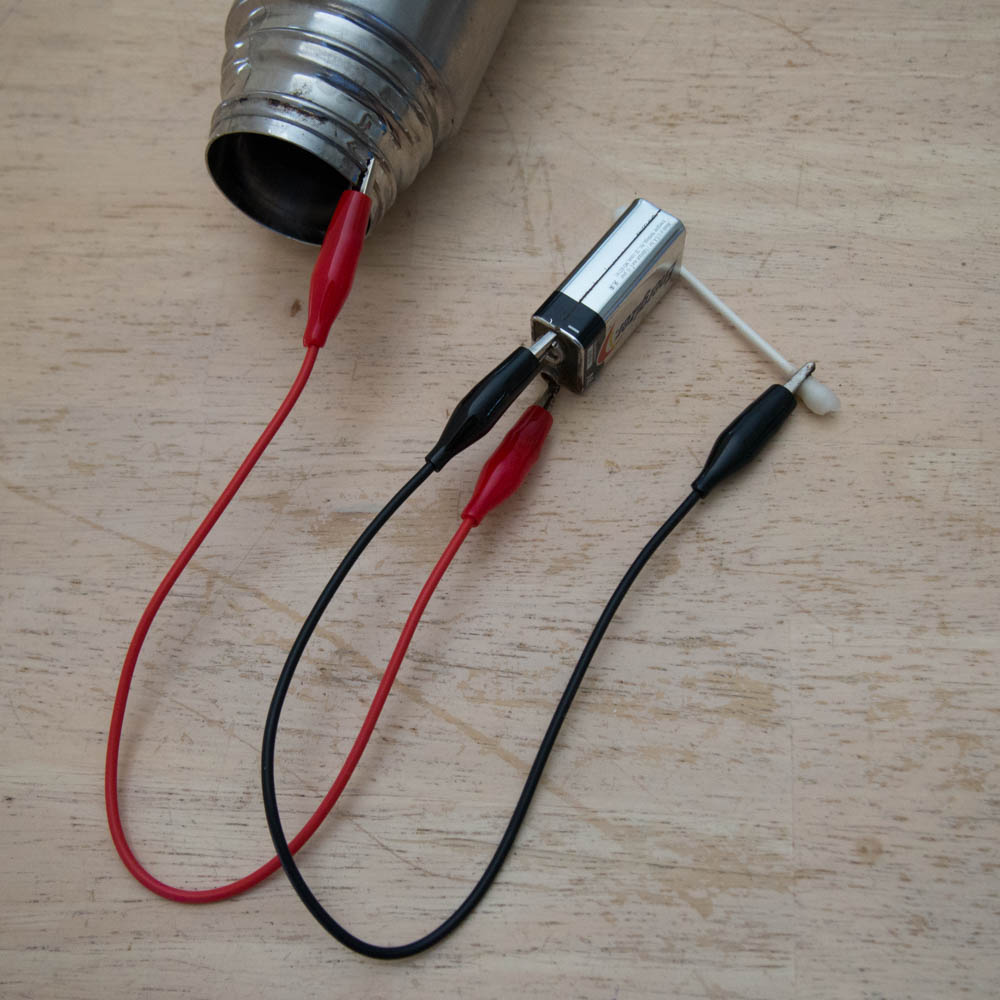
- Hook one wire from the positive terminal of the battery to the metal of the water bottle.
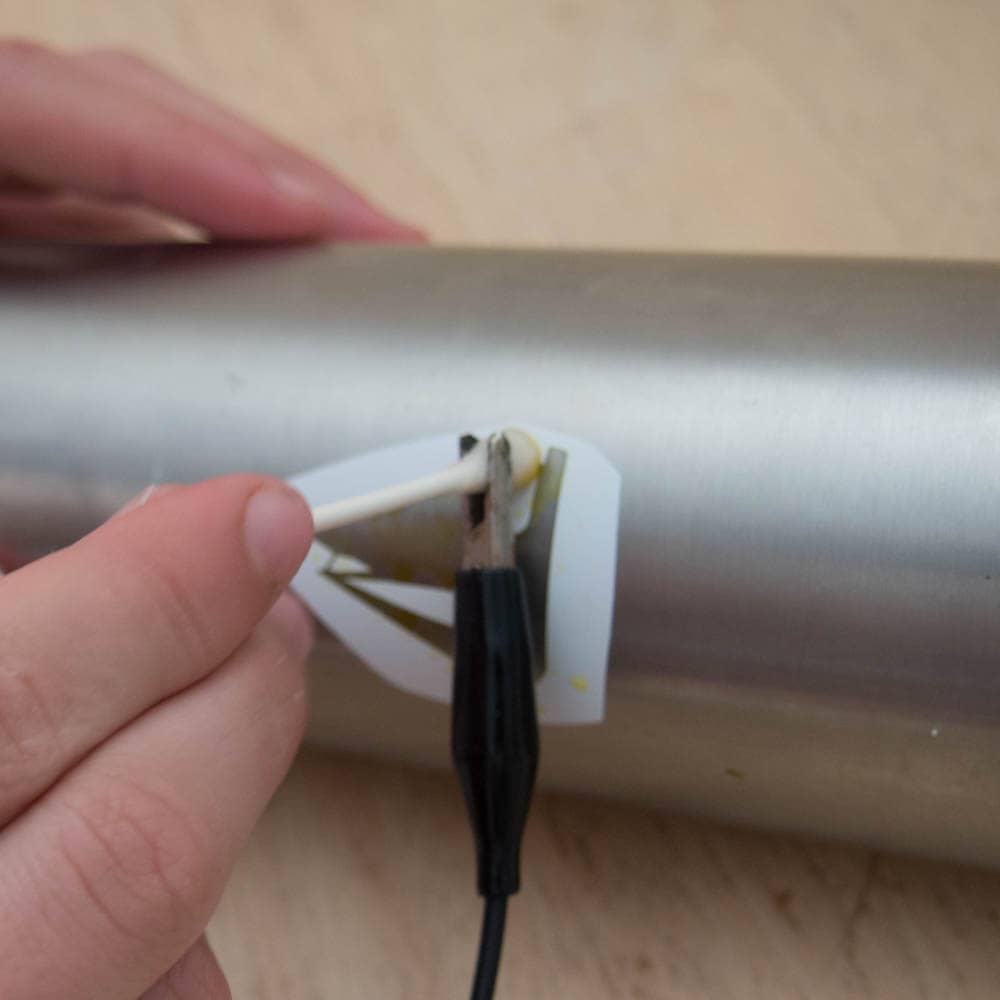
- Hook the other wire from the negative terminal of the battery to the wet end of one of the Q-tips. The clip has to be on the wet part of the Q-tip.
- Place the Q-tip on the bottle where you want the design to appear. Move the Q-tip around to dab the entire area.
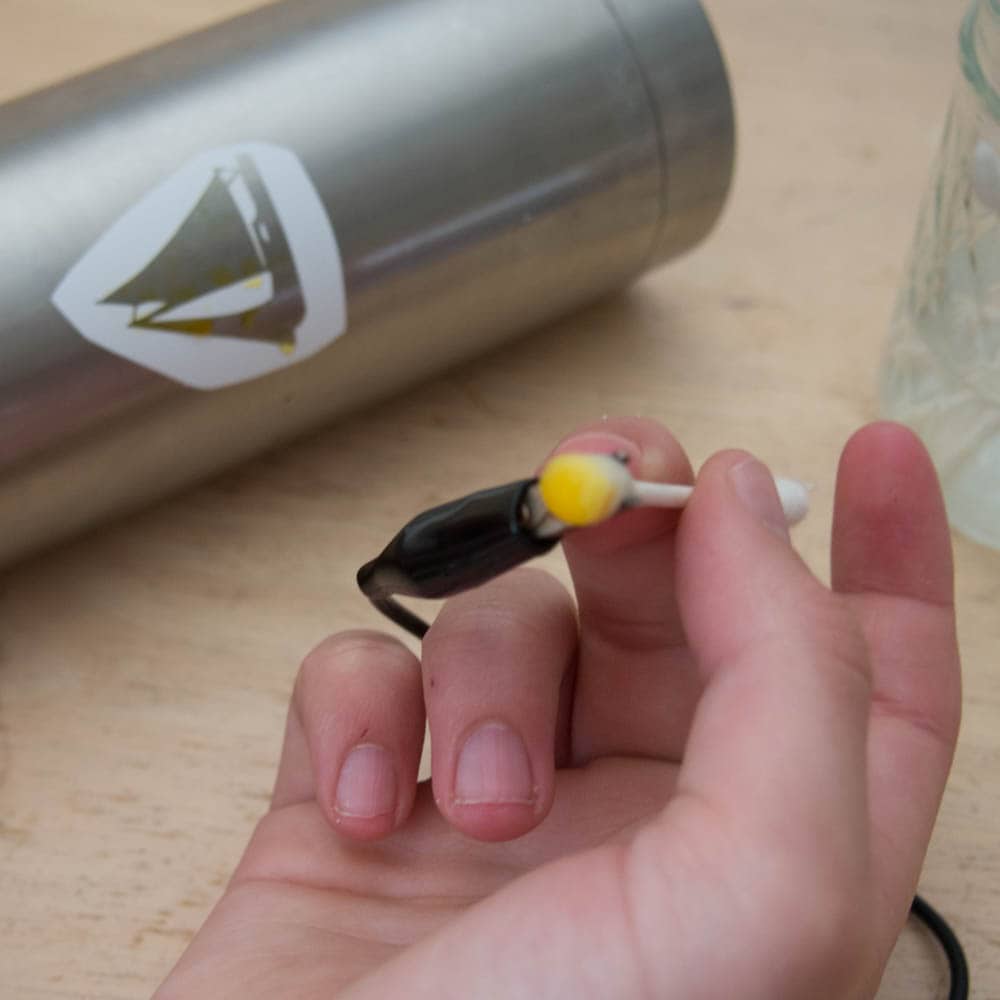
- The top of the Q-tip will become discolored as metal is transferred from the bottle to the Q-tip. So replace the Q-tip often. We used 4 Q-tips for our design.
- Try to cover the area evenly. When you think it is done dry off the design and remove the stencil. Wash the outside of the bottle to remove any remaining liquid.


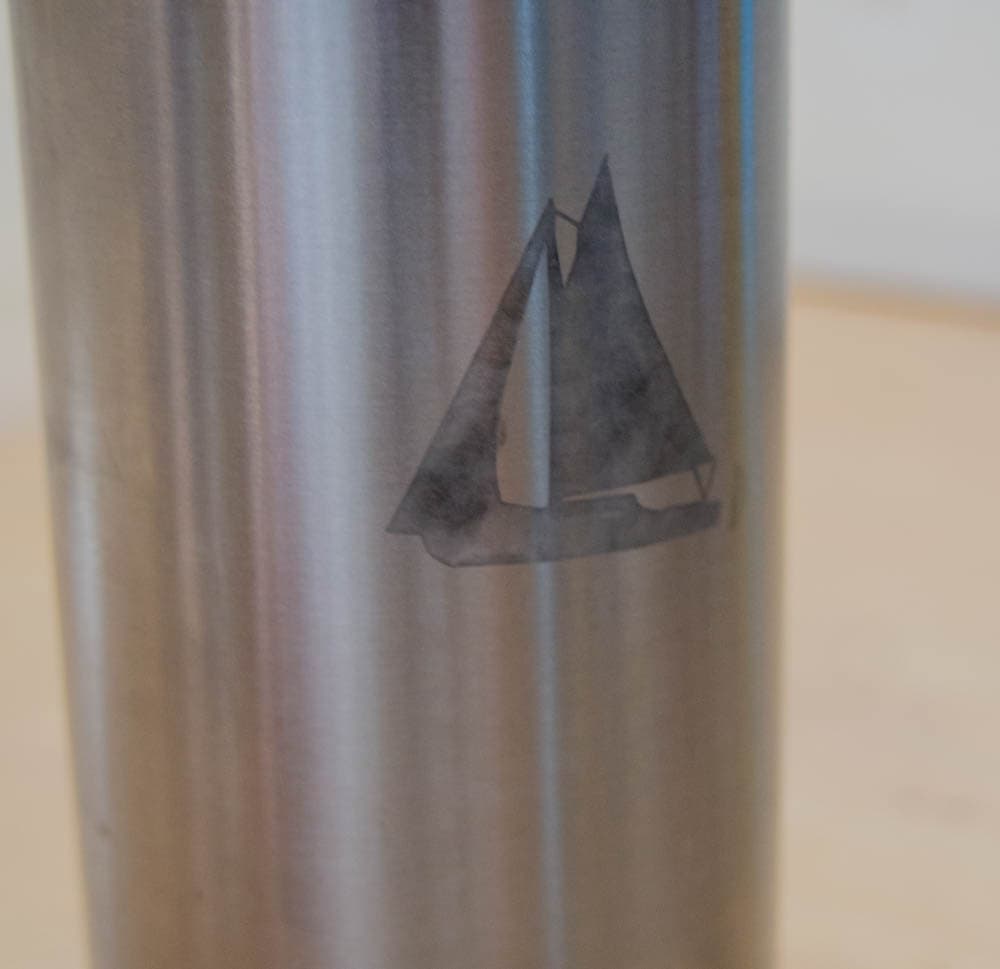
It came out looking great, although it is difficult to photograph! Robert likes it because it is unique and the design is subtle.
It also doesn’t scream, “I made this at my kitchen table” which is a huge plus for a teen!
We also added his initials to the bottle using the same process. Robert is all packed for camp and eager to get away for his adventures, and I am thinking of other fun stuff we could etch into metal.
When it comes to preparing for sleep away camp a smart phone is a huge help! I recently picked up a ZTE ZMAX along with an unlimited data plan from Walmart Family Mobile.
I love how large this phone is, and it is perfect for surfing the web and checking Facebook. It also makes it easy for me to plan our summer trips and activities so that my son and I stay organized.

Can you do this will glass bottles also?
It wouldn’t work because glass isn’t contuctive as metal is.
What e cool idea
Thank-you so much!!! How neat is this?
Just did this to my water bottle. It was so easy and turned out wonderfully!
This is an awesome idea – had no clue it could even be done! Thanks so much!! However, I just can’t help but wonder if/how this would work on the coloured stainless steel drinking containers…any thoughts? Thanks!!
My husband has asked many times about etching metal. I’ve not seen anything until now! This is just AMAZING and I can’t wait to surprise him with an etched metal coffee mug. THANK YOU so much for sharing this tutorial! PINNED!
Could this work with a converted (empty or run out for instance) elt-tip pen to give more precision?
Sorry that should have read Felt-tip pen
This is officially the coolest thing I’ve ever learned on a blog, so congrats on that! Unfortunately the national stockpile of q-tips is going to take a huge hit now that I know how to do this. No metal surface will be safe! Muahaha! Seriously though, you could make such cool party favor gifts this way, and the fact that it’s science related is always a win!
Is it possible to color an etching?
Will this work on copper as well?
Can this be done on colored stainless or aluminum? I have a few I’d like to apply this technique to but I don’t want to damage the color of the metal.
Well well, nice.
I was wondering did the etched area stay in good condition throughout the bottle lifespan- did it rust or discolor after use
Love it! Totally raiding my husband’s shop for those clips !
Mine turned out splotchy with dark and red uneven spots. I tried wiping down with baking soda/lemon paste and cream of tarter/lemon paste (both Pinterest suggestions for stainless steel) -with no avail. The thing that worked is Mrs. Wrights Copper cleaner.
Why not just use etching cream?
Probably because etching cream is an acid and can cause burns (you may not even feel the burns immediately). Also, this was an opportunity for the author to do a diy, with her teen son. Between being a science teacher and homeschooling her son, I can’t imagine her being able to NOT use this process to demonstrate redox reaction.
Can you do this with a hydro flask?
I like it!
… may become a lot of surprising gifts.
Thank you!
Jack from Berlin