
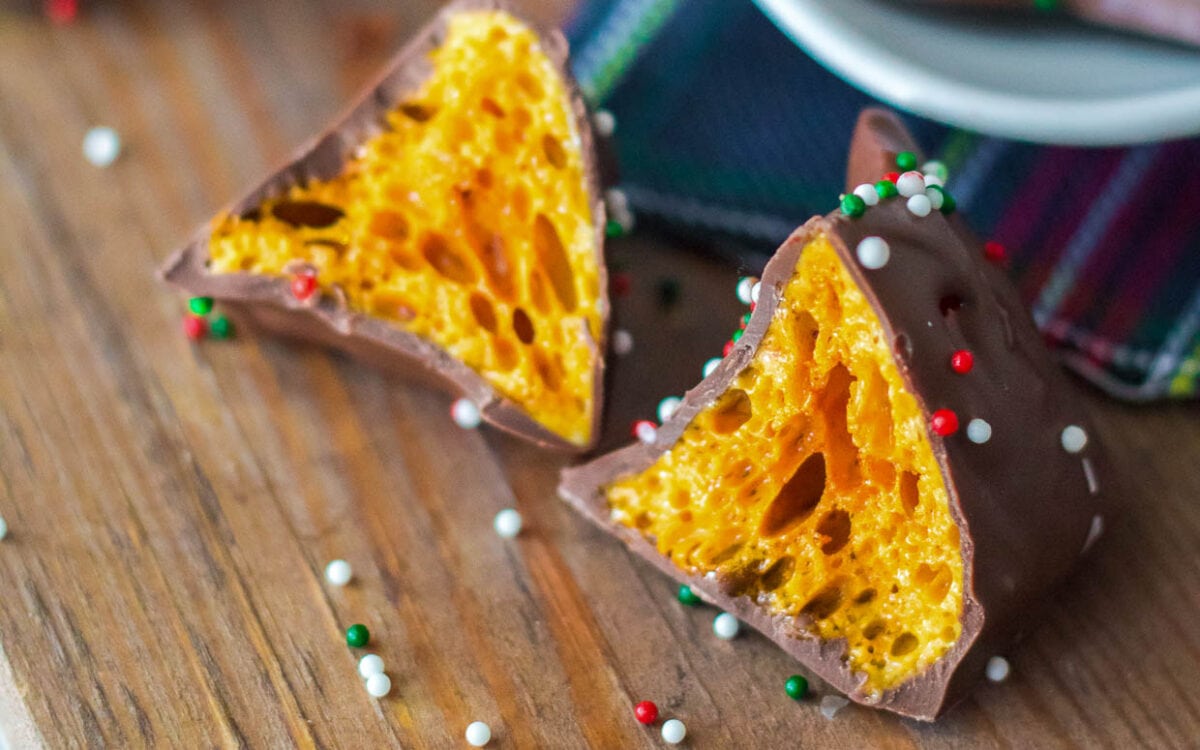
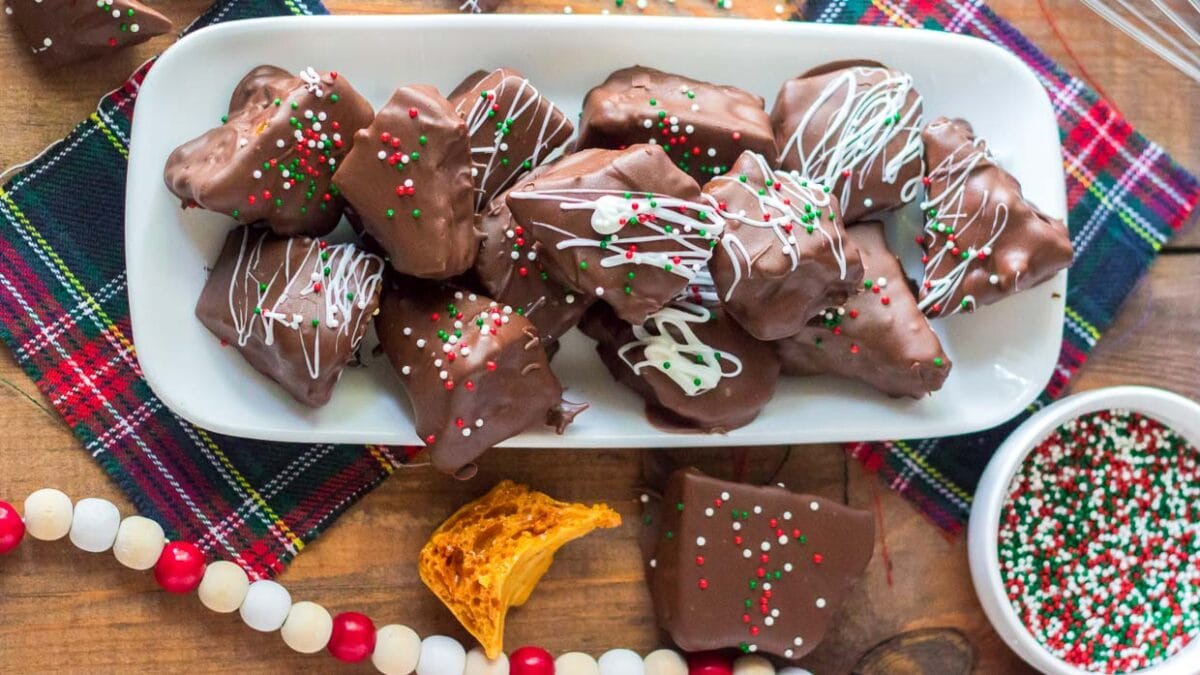
Explore the sweet, crunchy world of chocolate honeycomb candy. This divine confection is a light, crispy treat coated in chocolate for a mouthwatering holiday snack.

Chocolate Covered Honeycomb Candy is a fun holiday treat that is light and full of bubbles. I love making candy around Christmas to give as gifts to family and friends. This honeycomb candy is coated in chocolate for an extra touch, which also keeps it fresh longer.
This sweet treat is fun to make, but it is a little more complicated than some of my other holiday candy recipes, like Christmas cream cheese mints or polar bear claws. You will want a candy thermometer to make these so you can get the sugar at the right temperature to get the light and fluffy texture.
In this post, we’ll walk through the process of making this sweet treat from start to finish. We’ll discuss everything you need to know, from the ingredients to the step-by-step instructions, and even some fun variations to try.
Looking for more ideas for homemade holiday goodies? Try my holiday candy recipes and make your own peppermint patties, peanut brittle, or peanut butter balls.
As an Amazon Associate I earn from qualifying purchases. Read my disclosure policy.
🎅What is Honeycomb Candy?
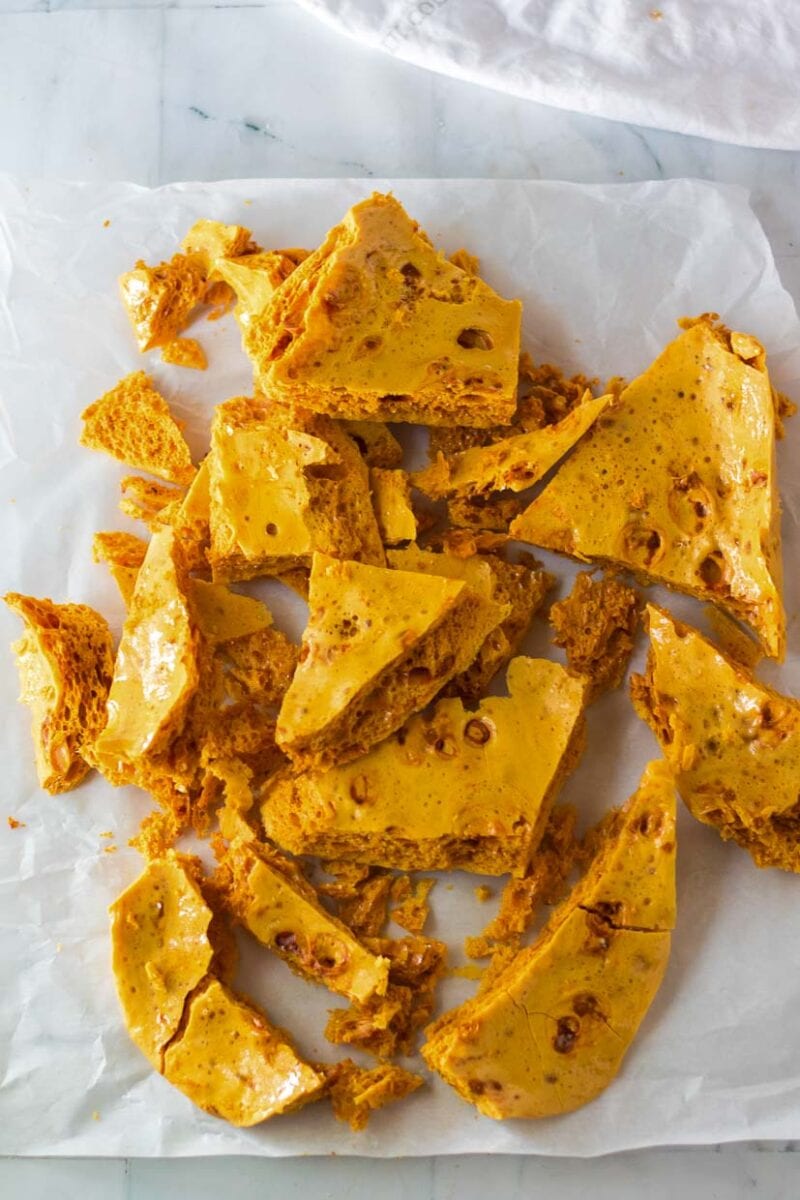
Honeycomb candy, or cinder toffee, is light and airy with a crunchy texture and a caramelized sugar taste. Baking soda is added to it, which reacts with the sugar syrup and creates the toffee’s signature honeycomb-like bubbles.
It has a distinctive taste and dissolves with a satisfying fizz when eaten. It is also called sponge toffee or sponge candy in Canada, hokey pokey in New Zealand, and sea foam in some areas of the U.S. This recipe takes standard honeycomb candy and coats it in melted chocolate.
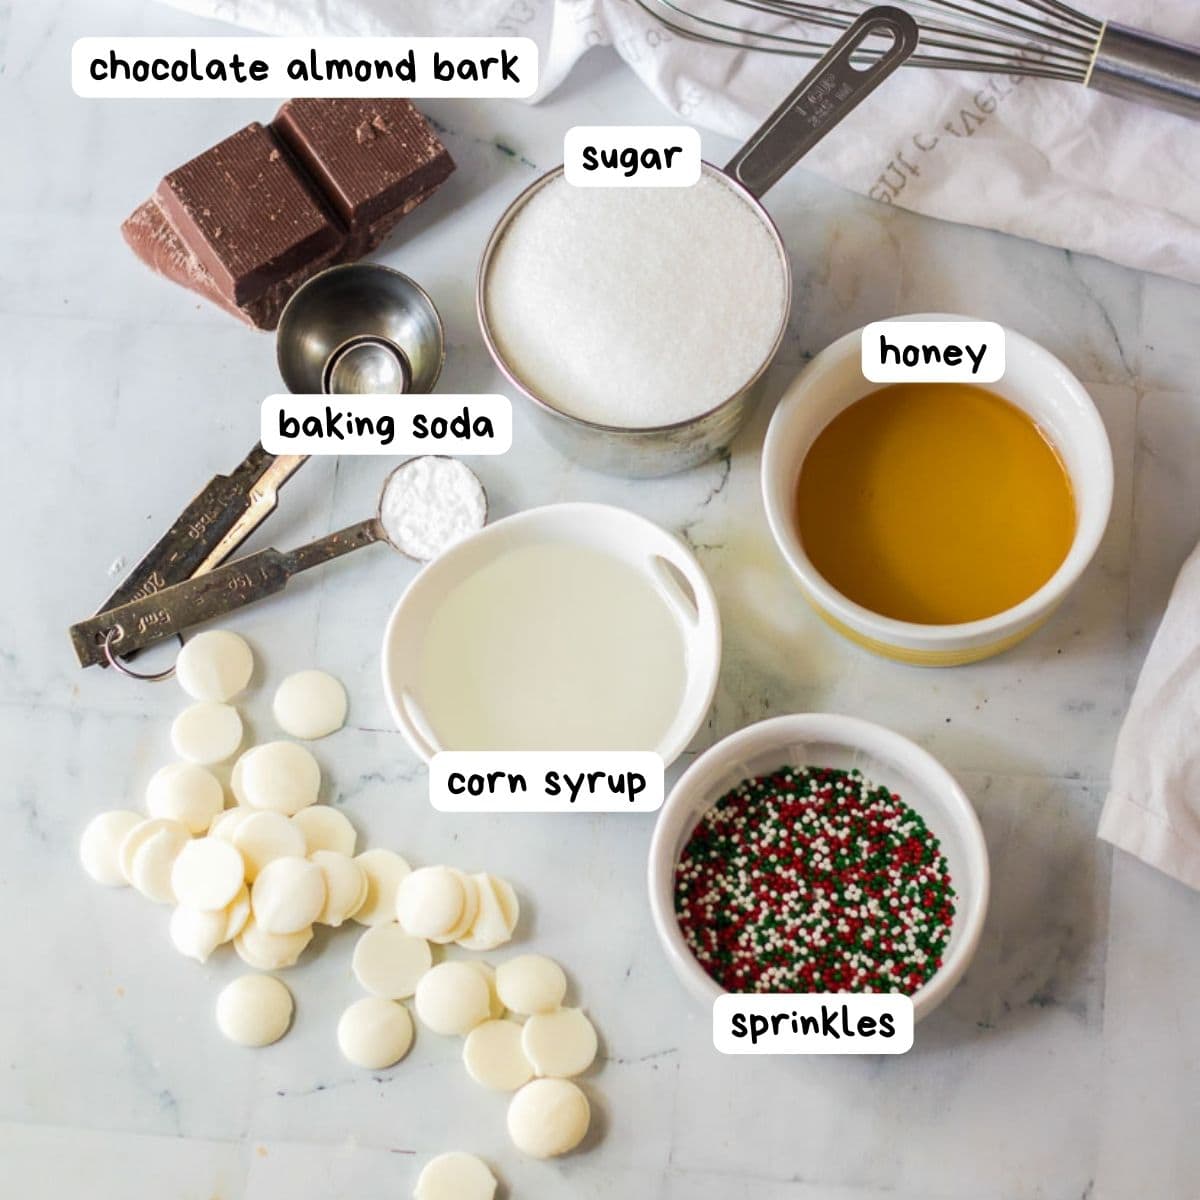
🥘Ingredient Notes
For exact amounts needed see the recipe card below
- Granulated sugar
- Water
- Honey
- Light corn syrup
- Baking soda: The baking soda creates the honeycomb effect in the candy.
- Chocolate almond bark or chocolate melts: These melt smoothly and provide a rich and decadent coating that pairs brilliantly with the lightness of the honeycomb.
- Sprinkles
🥣How to Make Chocolate Honeycomb Candy
Making this candy might seem intimidating, but it’s easier than you think. Just follow these steps, and you’ll be a candy-making master in no time!
- Start by preparing your baking dish. Line it with parchment paper and set it aside. Then, find your candy thermometer.
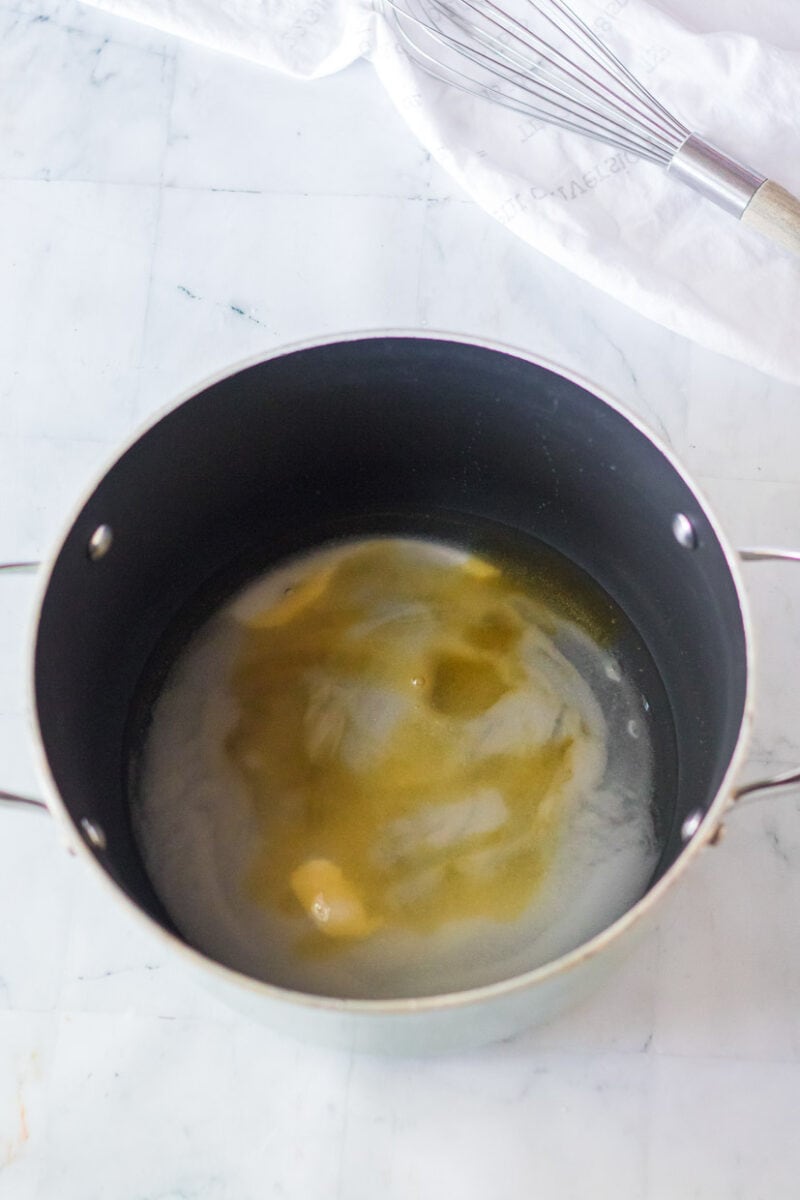
- Next, combine sugar, water, honey, and corn syrup in a large, heavy-bottomed pot. Turn the heat to medium heat and let the mixture bubble until it turns into a light caramel color and the thermometer reads 300 degrees F, the hard crack stage.
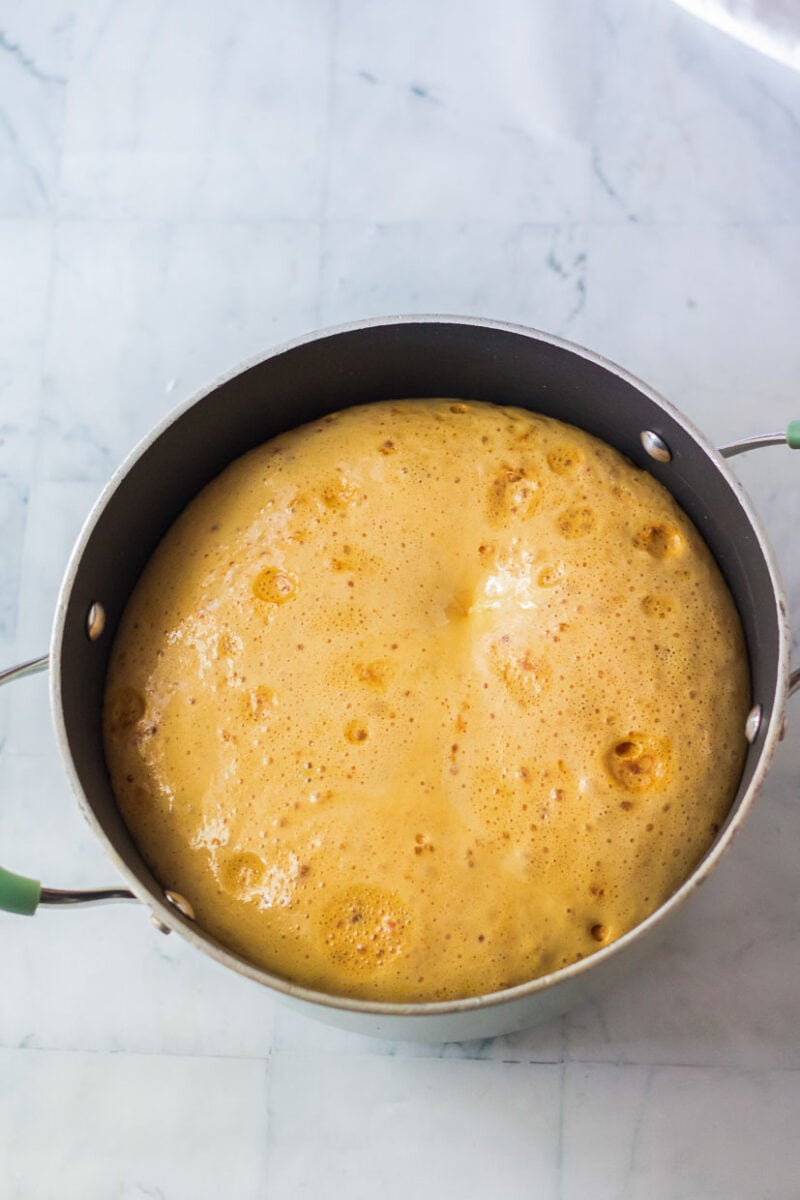
- Remove the pan from the heat and stir the baking soda into the sugar mixture. You’ll see the mixture start to foam up – it’s quite the science experiment!
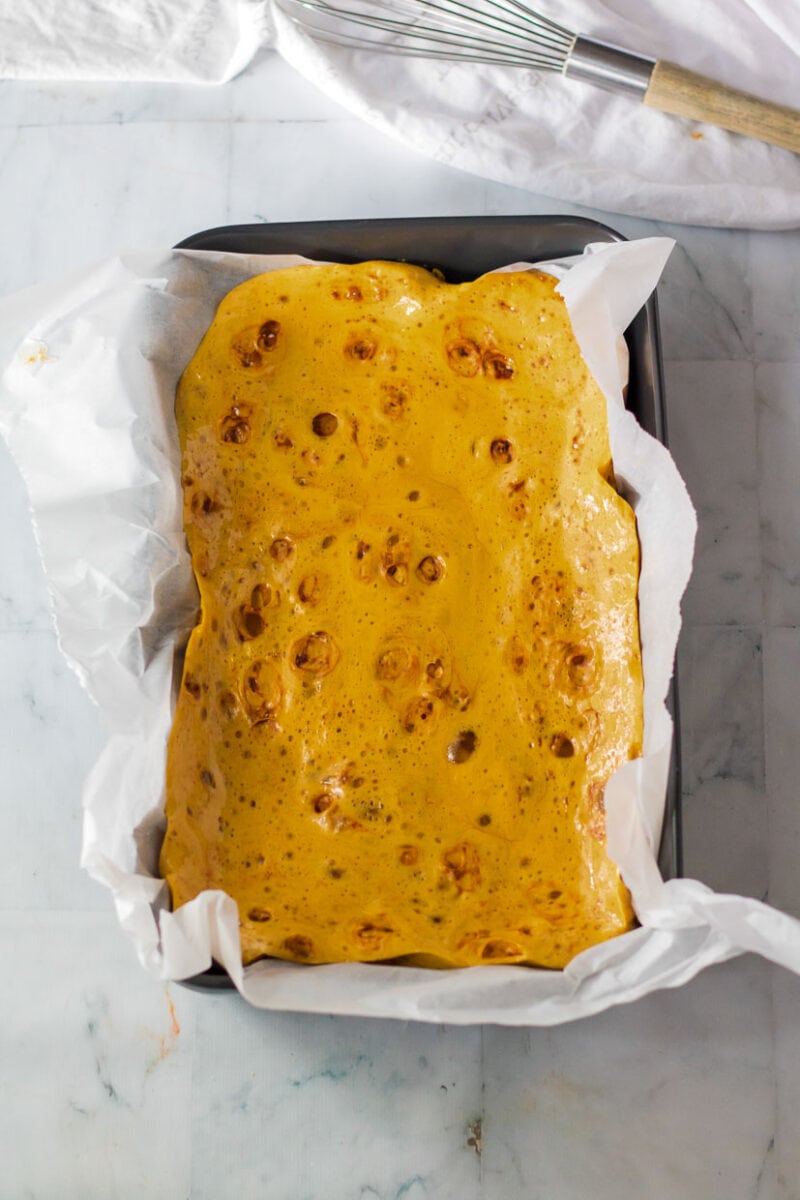
- Immediately pour your foamy concoction into your prepared baking dish and let it set for an hour.
- Once set, lift it from the pan using the parchment paper and drop it onto the counter. This will cause the candy to crack and break into pieces. If you’re feeling brave, you can also use a sharp knife to cut it into pieces, but be warned – this candy can be a bit delicate and can shatter.
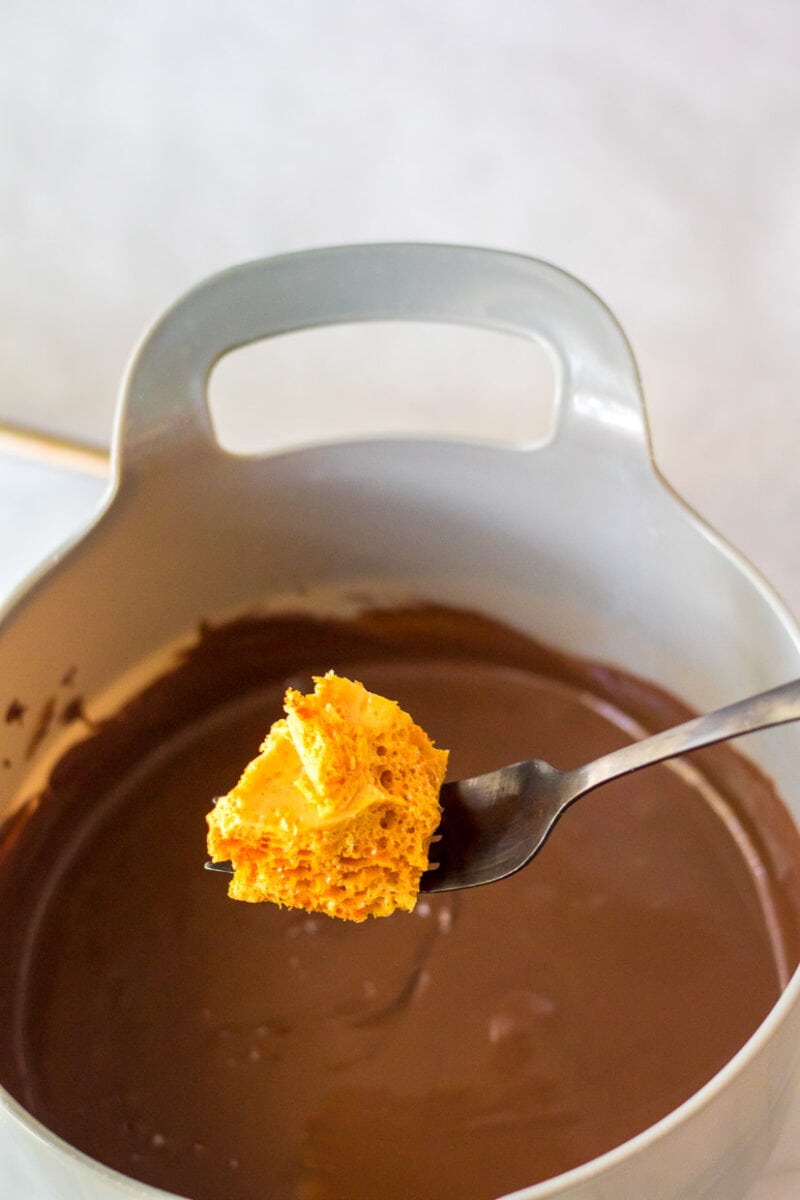
- Melt your chocolate in a microwave-safe bowl in 30-second intervals until it’s smooth and melted.
- Dip each piece of honeycomb into the chocolate, tapping off any excess.
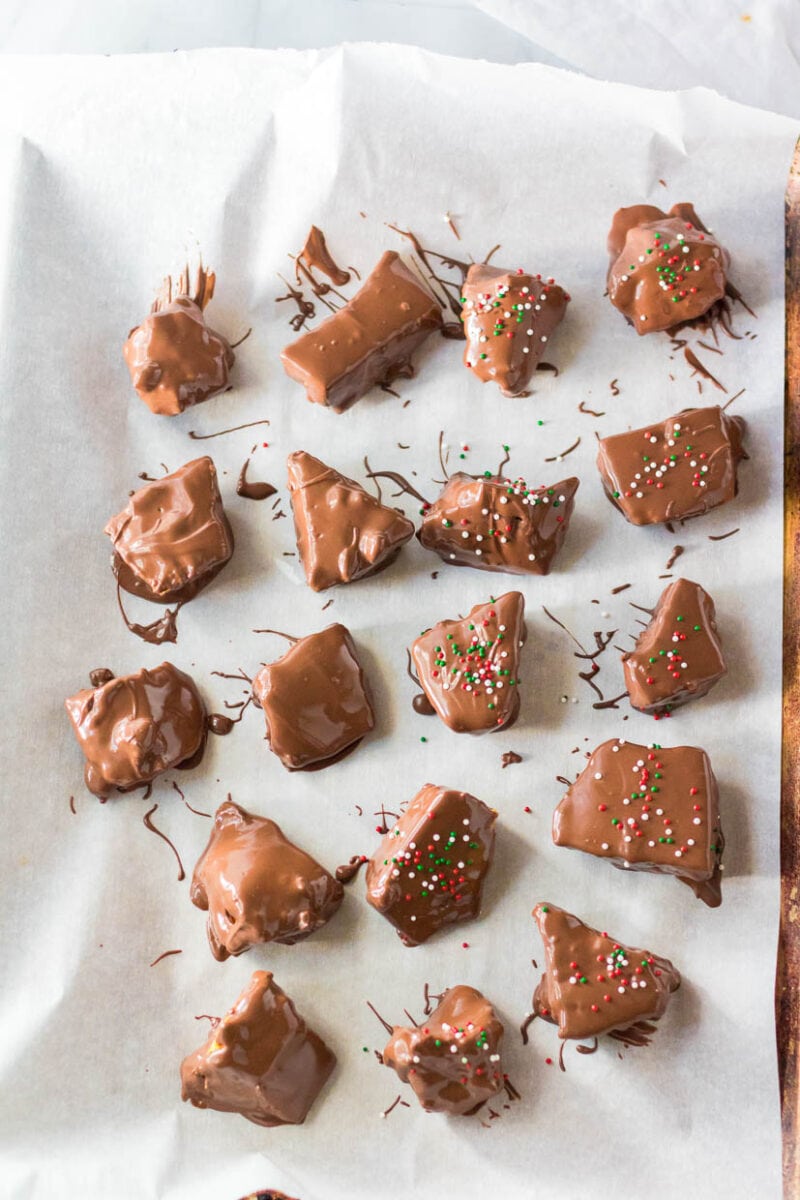
- Once all your honeycomb pieces are chocolate-coated, place them back onto a parchment paper-lined baking sheet and add sprinkles if you’re feeling festive.

🎄Serving Up Some Sweetness
It’s always an option to grab a handful and just eat them – but we can also jazz it up. One of my favorite ways to serve these little sweet treats is by pairing them with a steaming mug of hot cocoa.
The slight bitterness of the cocoa perfectly complements the sweetness of the honeycomb. If you’re feeling extra fancy, use the candy as a garnish on a scoop of vanilla ice cream. The contrast between the cold ice cream and the crunchy honeycomb is a match made in dessert heaven.
🎁Storing Your Honeycomb Candy
Once they’re cool, place your candies in an airtight container. This will keep them from getting stale and losing that delightful crunch you worked hard to achieve.
Now, here’s where the debate comes in: to refrigerate or not to refrigerate? I’ve found that these candies store best at room temperature for up to 5 days.
The fridge can make them a bit too hard, and nobody wants to break a tooth on dessert. However, if your kitchen tends to get hot or you’re battling the summer heat, the refrigerator might be your best bet.
⭐Expert Tips
Be sure to check out the step by step instructions
- First, if you want to switch up the look, try drizzling white chocolate across the top. It adds an extra touch of sophistication and a nice contrast of colors.
- Be careful when working with sugar since it can get extremely hot.
- Use milk chocolate or dark chocolate to coat the candy if you prefer.
- I highly recommend using a candy thermometer, but if you don’t have one, keep a close eye on the color and remove it from the heat when it turns a light caramel color. Or order a thermometer from Amazon and wait a day or two to make the candy!
- For the best results, go for good quality baking chocolate for coating.
- It is hard to wait, especially when the aroma of freshly made honeycomb candy is wafting through your kitchen. But trust me, allowing the honeycomb to cool completely before coating it in chocolate will save you from a melty mess.
📝FAQ
No worries, it’s not a lost cause! It might be that your baking soda was old, or you needed to stir it in more quickly. Don’t worry, though. It will still be delicious, just a bit denser.
Absolutely! Swap out regular honey for a vegan alternative like agave nectar, and use vegan chocolate for the coating.
Did You Make This? Leave a Star Rating!

Chocolate Covered Honeycomb Candy Recipe
Ingredients
- 1 1/2 cups granulated sugar
- 1/2 cup water
- 3 tablespoons honey
- 1/3 cup corn syrup
- 4 teaspoons baking soda
- 1 pound chocolate almond bark or chocolate melts
- sprinkles optional
Instructions
- Line a 9×13 baking dish with parchment paper and set aside.
- In a large, heavy-bottomed pot, add your sugar, water, honey, and corn syrup and gently stir to combine.1 1/2 cups granulated sugar, 1/2 cup water, 3 tablespoons honey, 1/3 cup corn syrup
- Turn the heat to medium-high and let bubble until a light caramel color and your candy thermometer reads 300 degrees.
- You want to avoid stirring this while it is cooking.
- You also want to keep a close eye on it because you want it to stay light. You are looking for a golden caramel color.
- Once the candy has reached 300 degrees F, remove the pan from the heat and stir in your baking soda until foamy.4 teaspoons baking soda
- Immediately pour the honeycomb mixture into your lined baking dish.
- Set aside and let set for 1 hour.
- Once the candy is set, lift it from the pan using the parchment paper and drop it onto the counter, causing it to crack and break into pieces. You can also use a sharp knife to cut it into pieces, but sometimes, that can cause it to shatter as it is a delicate candy.
- Melt your chocolate in a microwave-safe bowl in 30-second intervals until smooth and melted.1 pound chocolate almond bark or chocolate melts
- Dip each piece of honeycomb into the chocolate and tap off the excess chocolate.
- Place the candy back onto parchment paper.
- Add sprinkles if desired.sprinkles
Notes
- You can drizzle white chocolate across the top for a different look.
- Store this candy in an airtight container for up to 5 days.
- Be careful when working with sugar, as it can get extremely hot.
- I highly recommend using a candy thermometer, but if you do not have one, you can keep an eye on the color and pull it off the heat when it is a light caramel color.
- You can also use white chocolate for coating.
As an Amazon Associate and member of other affiliate programs, I earn from qualifying purchases.
Recommended Products
Nutrition Information
Nutrition facts are estimates.