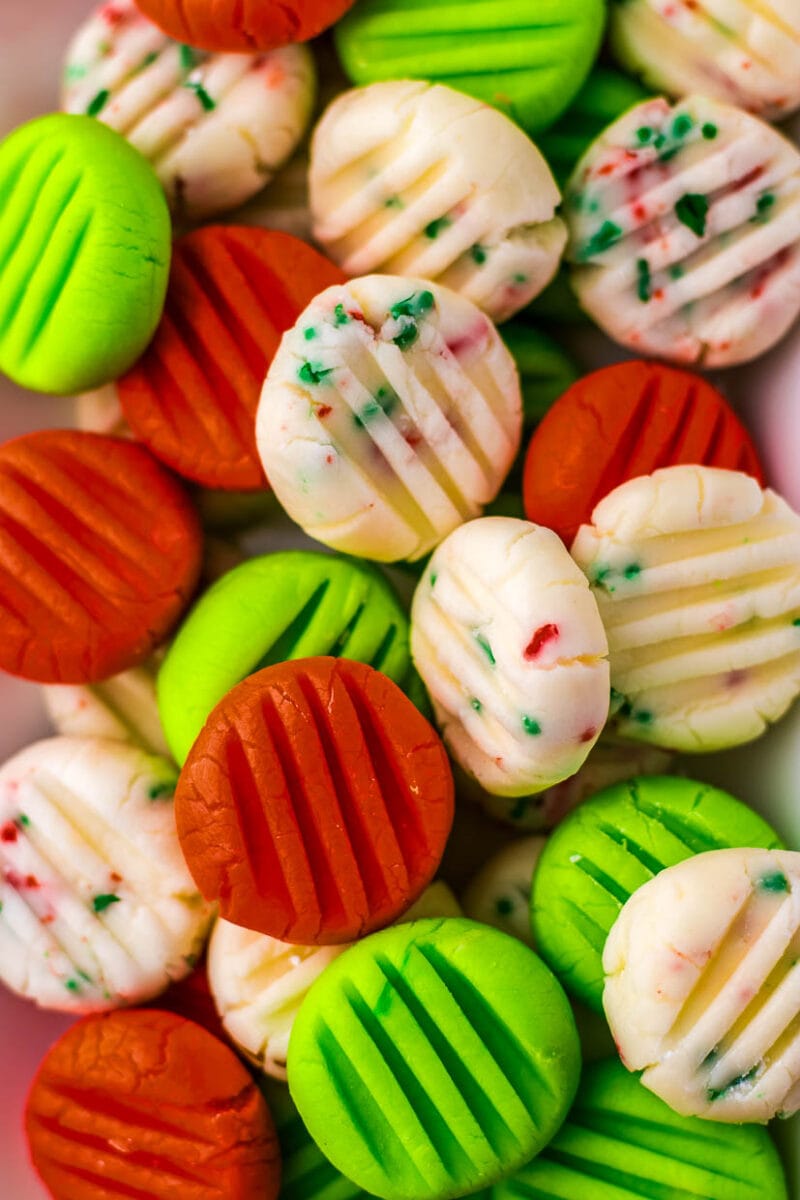
Nothing says ‘Christmas’ quite like a plate of vintage Christmas Cream Cheese Mints, with their bright red and green color. These little bites of heaven make the perfect gift or a late-night snack when wrapping gifts.
And if you think you don’t have time to make candy, well, you will be amazed at how easy these mints are to make. They have only 5 ingredients, and this no-bake recipe is the perfect Christmas recipe that kids can help with.
You’ll be ready to impress your family and friends with your newfound candy-making skills! So, are you ready to get your hands a little sticky and your kitchen full of sweet peppermint flavor?
In this blog post, we’ll dive into the step-by-step process of making these melt-in-your-mouth cream cheese mints. We’ll cover everything from the ingredients you need to the simple steps of making, rolling, shaping, and storing these holiday treats.
Looking for more ideas for homemade holiday goodies? Try my holiday candy recipes and make your own peppermint patties, peanut brittle, honeycomb candy, or peanut butter balls.
As an Amazon Associate I earn from qualifying purchases. Read my disclosure policy.
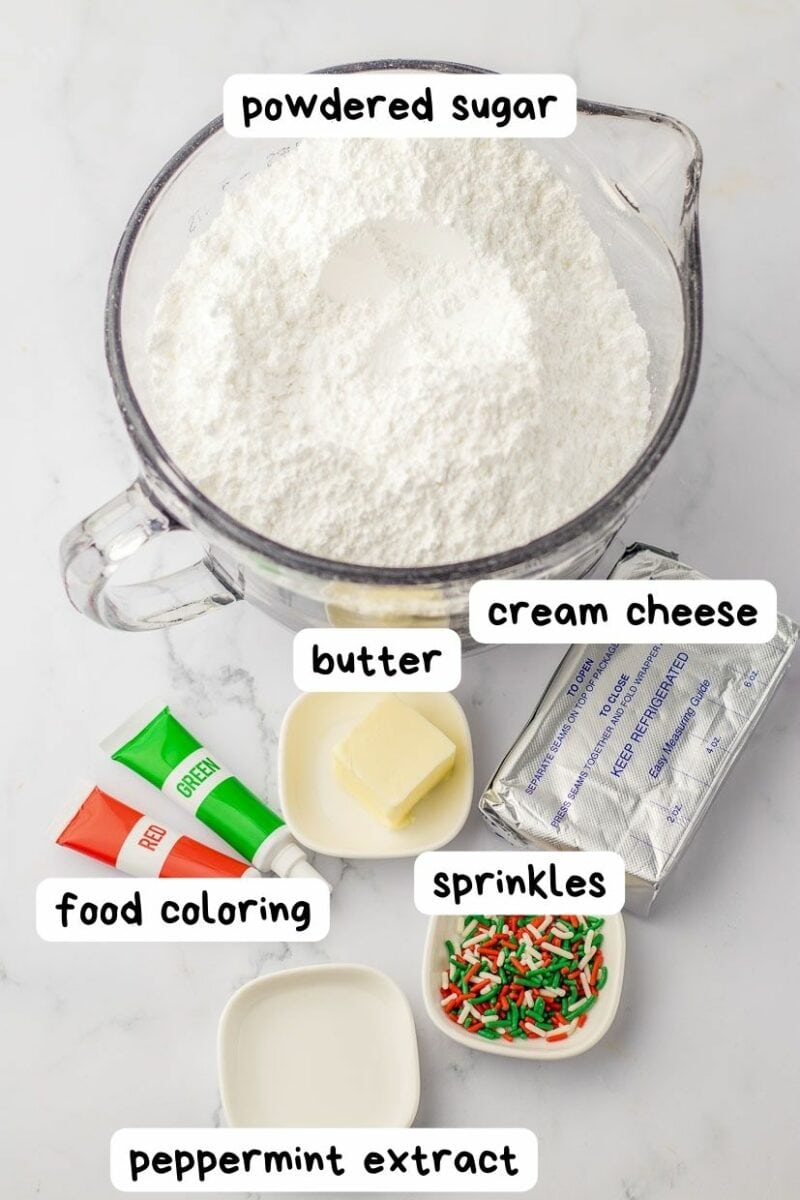
🎄Ingredient Notes
For exact amounts needed see the recipe card below
- Cream cheese: The cream cheese needs to be softened. Just leave it out on your countertop for a while.
- Butter: The butter should be softened, too.
- Powdered sugar
- Peppermint extract: It gives these mints their classic flavor.
- Gel food coloring
- Christmas sprinkles
🥣How to Make Old Fashioned Cream Cheese Mints
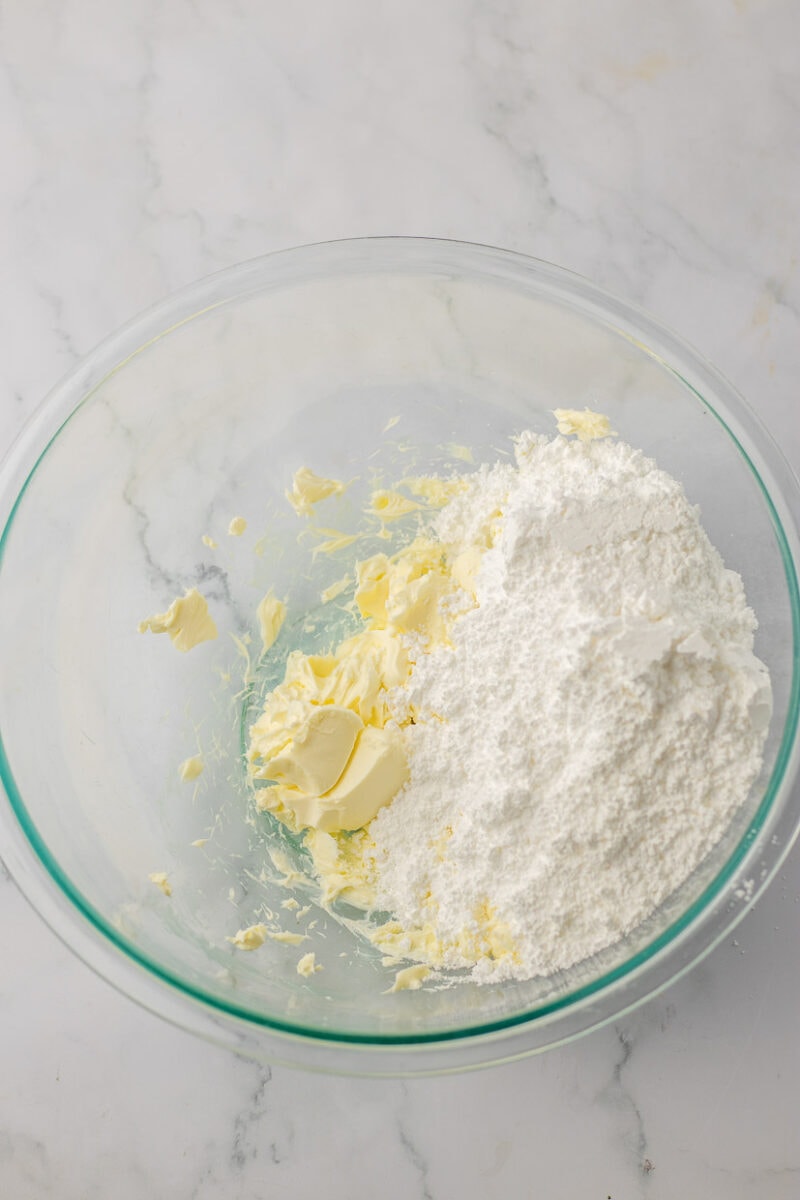
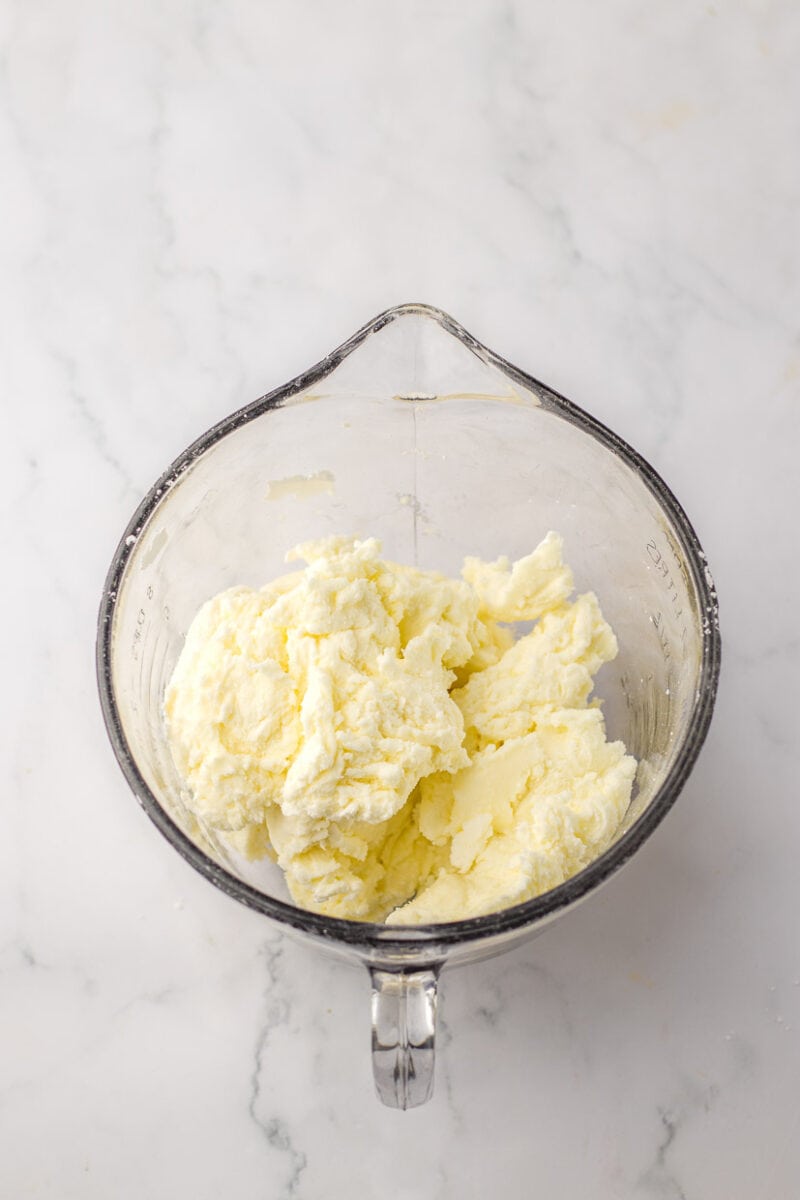
- Start by creaming together the cream cheese and butter in a stand mixer.
- Once they’re smooth, add in the peppermint extract and powdered sugar. Make sure to add the powdered sugar one or two cups at a time, or else you’ll end up in a cloud of it. You should end up with a dough that is not sticky and is the consistency of Play-Doh.
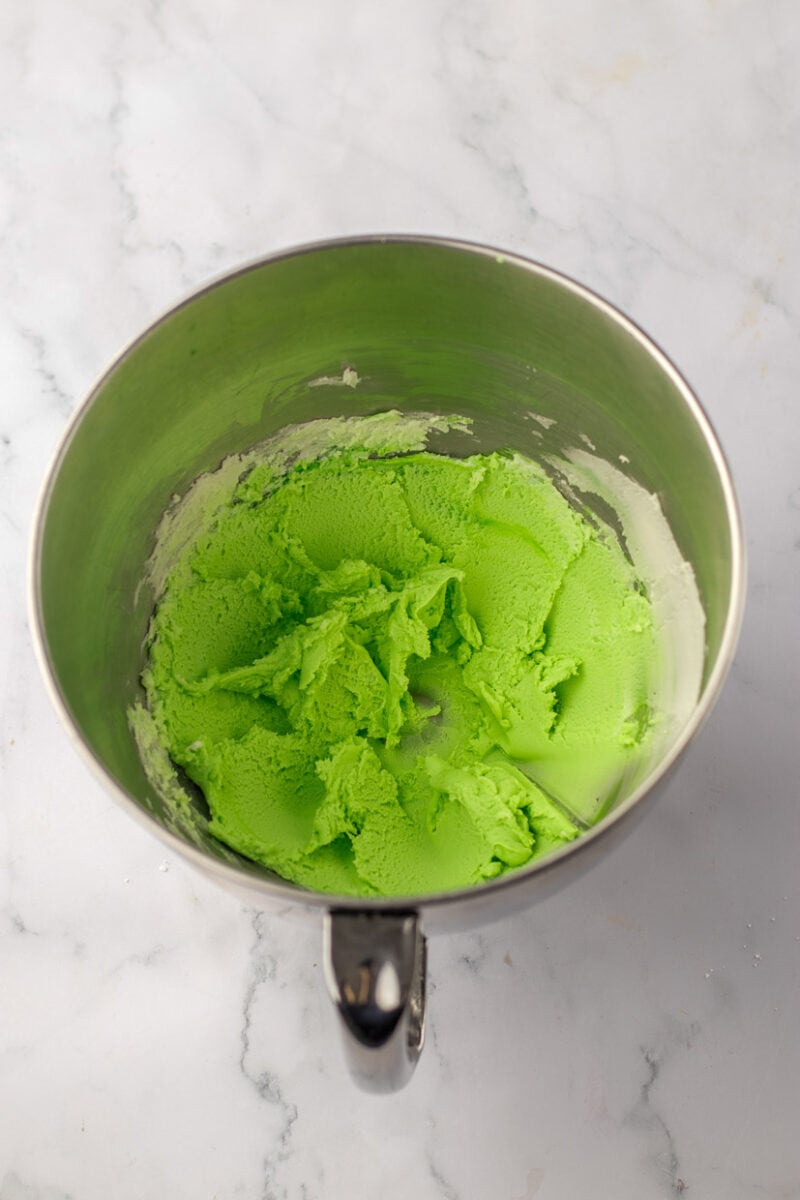
- Once your mint mixture is smooth, divide it into three bowls. Now comes the fun part: adding the colors and sprinkles. I usually go with one bowl of red, one bowl of green, and one with Christmas sprinkles, but feel free to get creative.
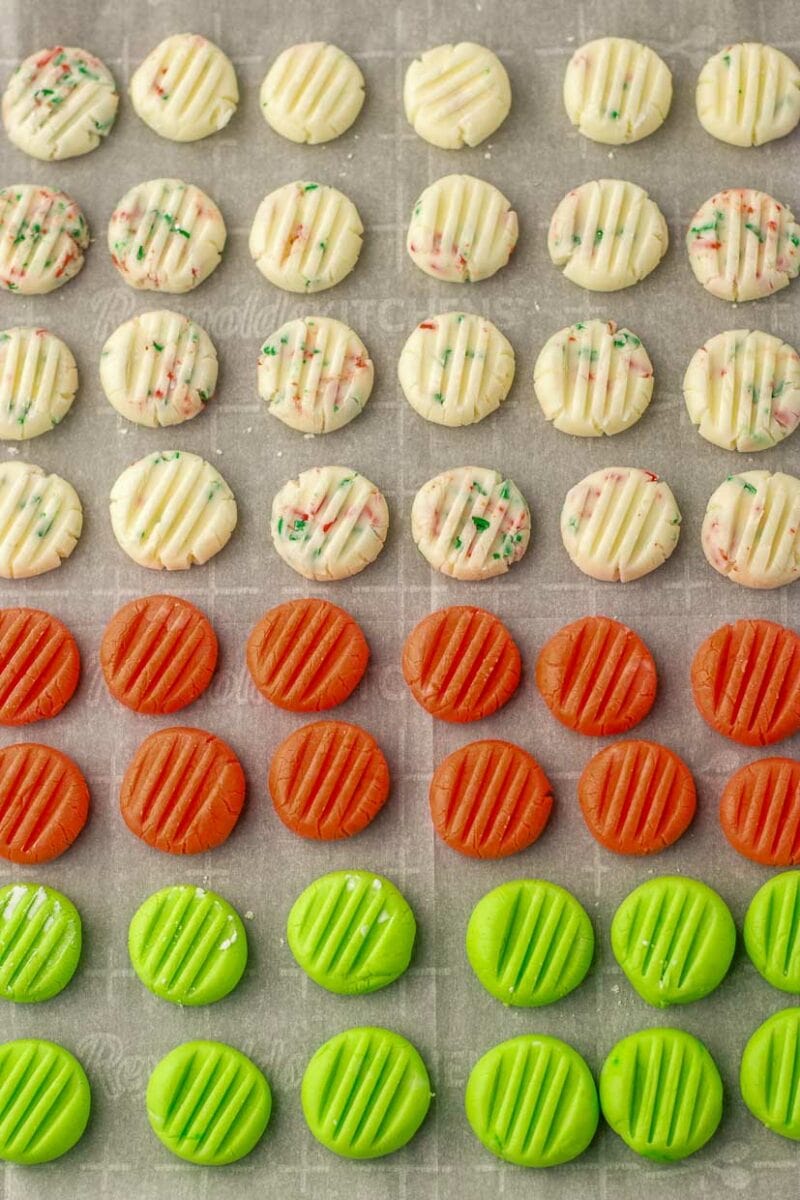
- Roll teaspoonfuls of the dough into little balls and place them on a parchment-lined tray. To get that classic mint shape, dip a fork in powdered sugar and press the tines lightly onto each ball.
- Next is the hardest part – waiting! The mints need to air dry for a couple of hours. Tell your kids it’s like waiting for Santa on Christmas Eve.
🎄Serving Up Some Christmas Cheer
My favorite way to serve these Christmas cream cheese mints is by setting them on your favorite holiday tray. You know, those ones with the cute little reindeer and snowflakes on them!
And let’s not forget about a good old-fashioned cookie exchange! Even though they aren’t cookies, these creamy mint candies are always crowd-pleasers. Or give them as a holiday gift to your friends and neighbors.
If you are hosting a party, they are perfect after-dinner mints. I mean, who has room for an entire slice of pie after feasting on turkey and all the trimmings?
💭Storing the Goodness
These mints are super easy to store. You can simply pop them into an airtight container and keep them in the fridge for up to a month. That’s right, you can make these in early December and enjoy them all month long.
If you want to make them ahead of time for a party or get-together (or to have a stash for yourself), leftover cream cheese mints can be frozen for up to 3 months. When you’re ready to serve them, take them out of the freezer and let them thaw at room temperature for about an hour.

⭐Tips
Be sure to check out the step by step instructions
- Feel free to get creative with food coloring and sprinkles. Just a drop or two can make your mints pop. Try different colors to mix things up. Or make them for baby shower mints or wedding mints.
- Gel color gives more vibrant colors. Liquid food coloring will give more pastel colors.
- Get the kids involved. Even young children can help roll and shape these mints.
- If rolling and pressing isn’t your thing, you can roll the mint dough into a thin log and cut off bite-sized pieces. No one’s going to judge, promise!
- This recipe makes big batches of mints. You can halve it if you want, but since they keep for a month, they will undoubtedly get eaten. It has never been an issue at my house, anyway!
📝FAQ
Sure thing. While I’m partial to the intense mint flavor, feel free to experiment with other flavors. Try lemon, orange, or even almond extract if you’re feeling adventurous. Just remember to adjust the amount to taste. You don’t want to overpower the cream cheese.
Absolutely! In fact, they freeze beautifully. Just make sure to separate layers with wax paper in an airtight container. They’ll keep in the freezer for up to 3 months.
If your mints are cracking, it might be because the mixture is too dry. Try adding a tiny bit more cream cheese until you reach a good consistency. And remember, practice makes perfect. Don’t worry if your first batch of homemade mints doesn’t look like it came from a gourmet candy store.
Did You Make This? Leave a Star Rating!

Christmas Cream Cheese Mints
Ingredients
- 8 ounce cream cheese softened
- 2 tablespoons butter softened
- 8 cups powdered sugar plus more for rolling
- 1 1/2 teaspoon peppermint extract
- Red and green gel food coloring
- 1 tablespoon Christmas sprinkles
Instructions
- Line a baking sheet with parchment paper or a silicone baking mat.
- In the bowl of an electric mixer, cream together the cream cheese and butter until smooth.8 ounce cream cheese, 2 tablespoons butter
- Add the peppermint extract and 2 cups of powdered sugar to the mixing bowl.1 1/2 teaspoon peppermint extract, 8 cups powdered sugar
- Beat on low until all is incorporated.
- Continue adding powdered sugar 1 cup at a time until all the powdered sugar has been incorporated. It should not be sticky and have an almost Play-Doh consistency.
- Separate the dough into 3 separate bowls. Add a small amount of red or green food coloring to two of the bowls. Just add the sprinkles to the third. Mix until the color or sprinkles are well distributed.Red and green gel food coloring, 1 tablespoon Christmas sprinkles
- Roll 1 teaspoon of the dough into a ball and place it on a parchment-lined tray.
- Dip a fork into powdered sugar and use the tines of the fork to press down the balls into a disk shape.
- Leave them to air dry for 2-4 hours.
Notes
- Feel free to get creative with food coloring and sprinkles. Just a small amount can make your mints pop. Try different colors to mix things up.
- Get the kids involved. Even young children can help roll and shape these mints.
- If rolling and pressing isn’t your thing, you can roll the dough into a thin log and cut off bite-sized pieces.
- Store these in the fridge for up to one month, or freeze for up to 3 months.
As an Amazon Associate and member of other affiliate programs, I earn from qualifying purchases.
Recommended Products
Nutrition Information
Nutrition facts are estimates.




OMG I used to help a friend make these but she would never share the recipe. It has been about 45 to 50 years. My kids have asked for some of the old recipes and I wanted to include this one. I know we used liquid food coloring. Maybe gel wasn’t around back then. Again Thank You for sharing.